
interior strip-out and re-fit
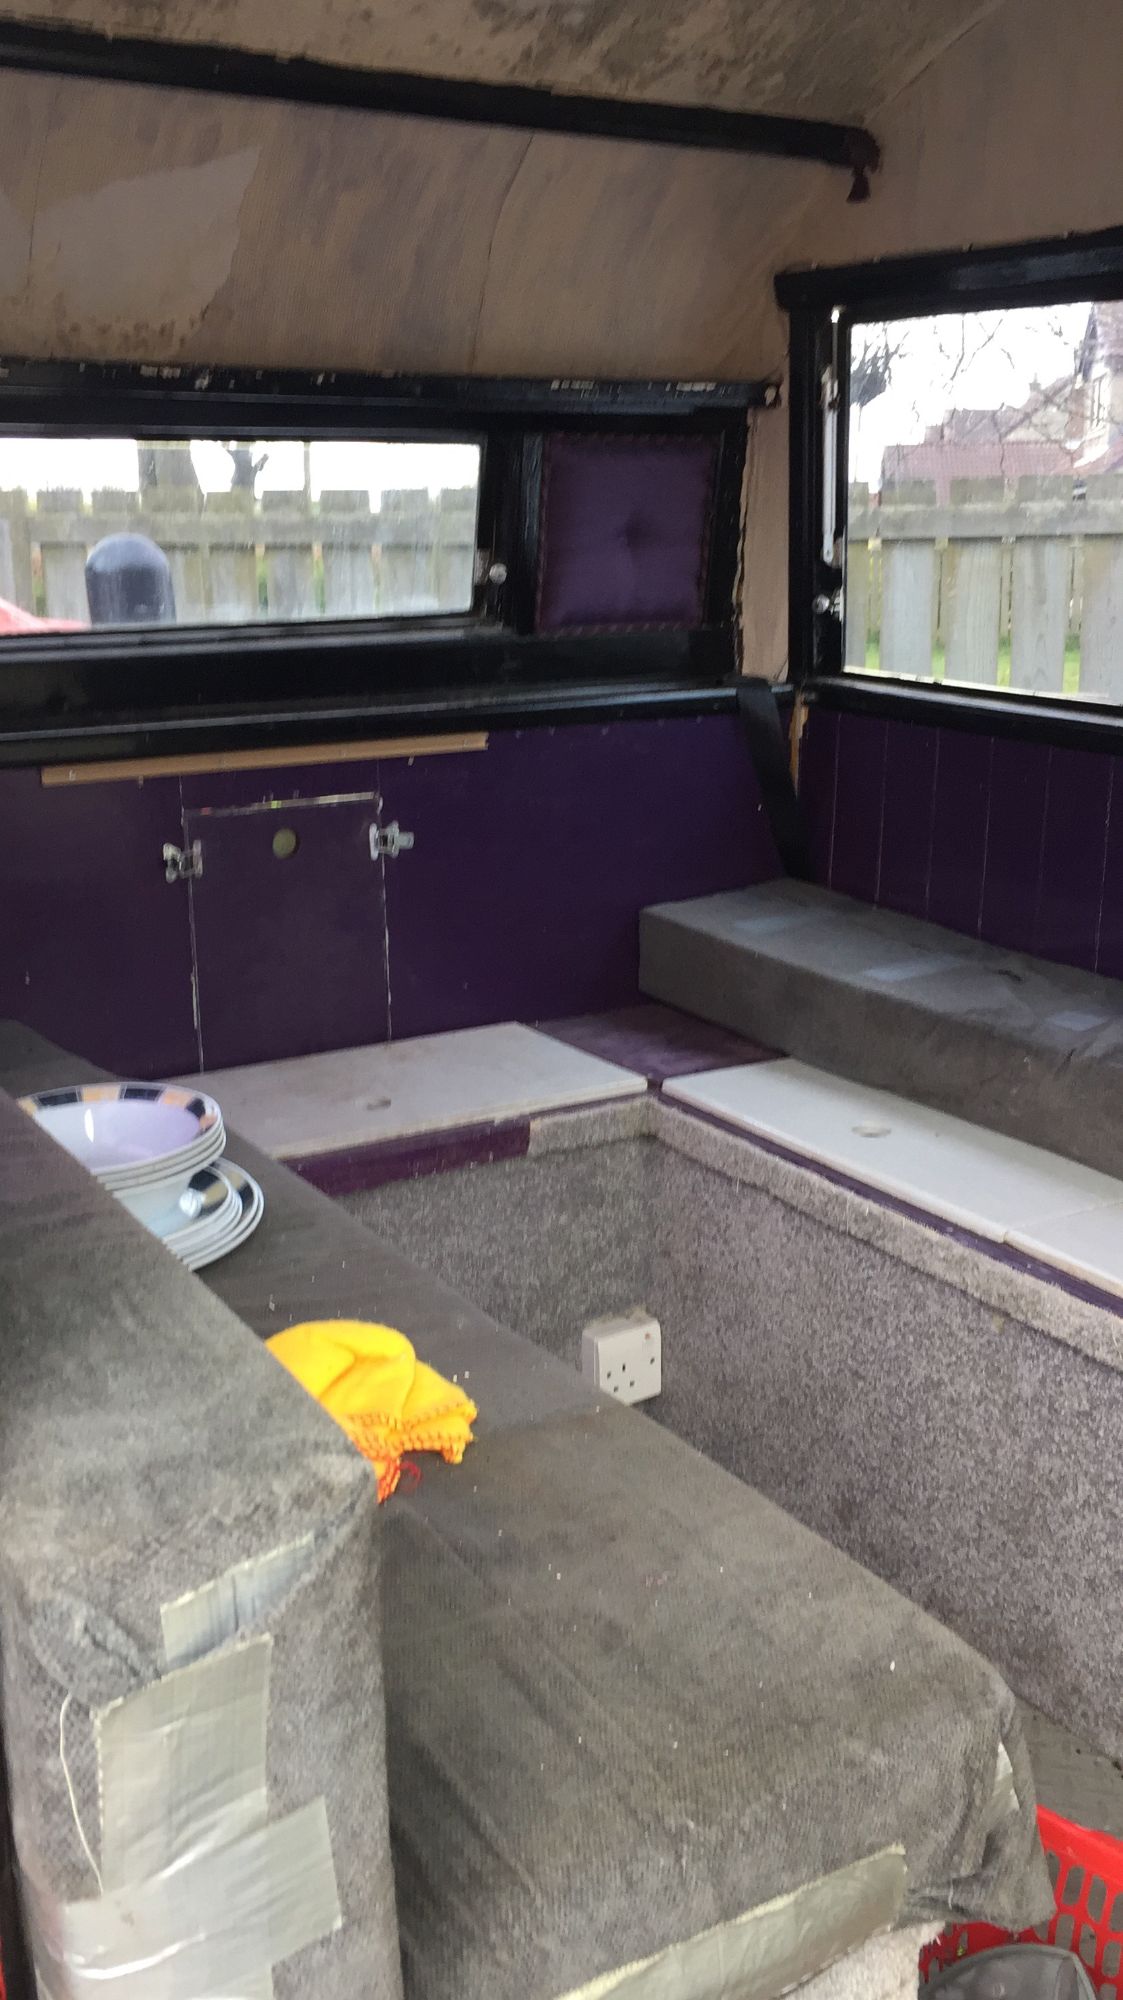
Billy's caravan was in almost complete disrepair, and didn't retain any of the original fixtures or design features. Almost sixty years of being re-designed and modified had definitely taken their toll.
I loved to think of all the owners over the years who had enjoyed Billy - making changes to his interior, adapting him and adding their own style. But this meant the reality was I had a lot of work to undo, to re-create him with a stunning new interior.
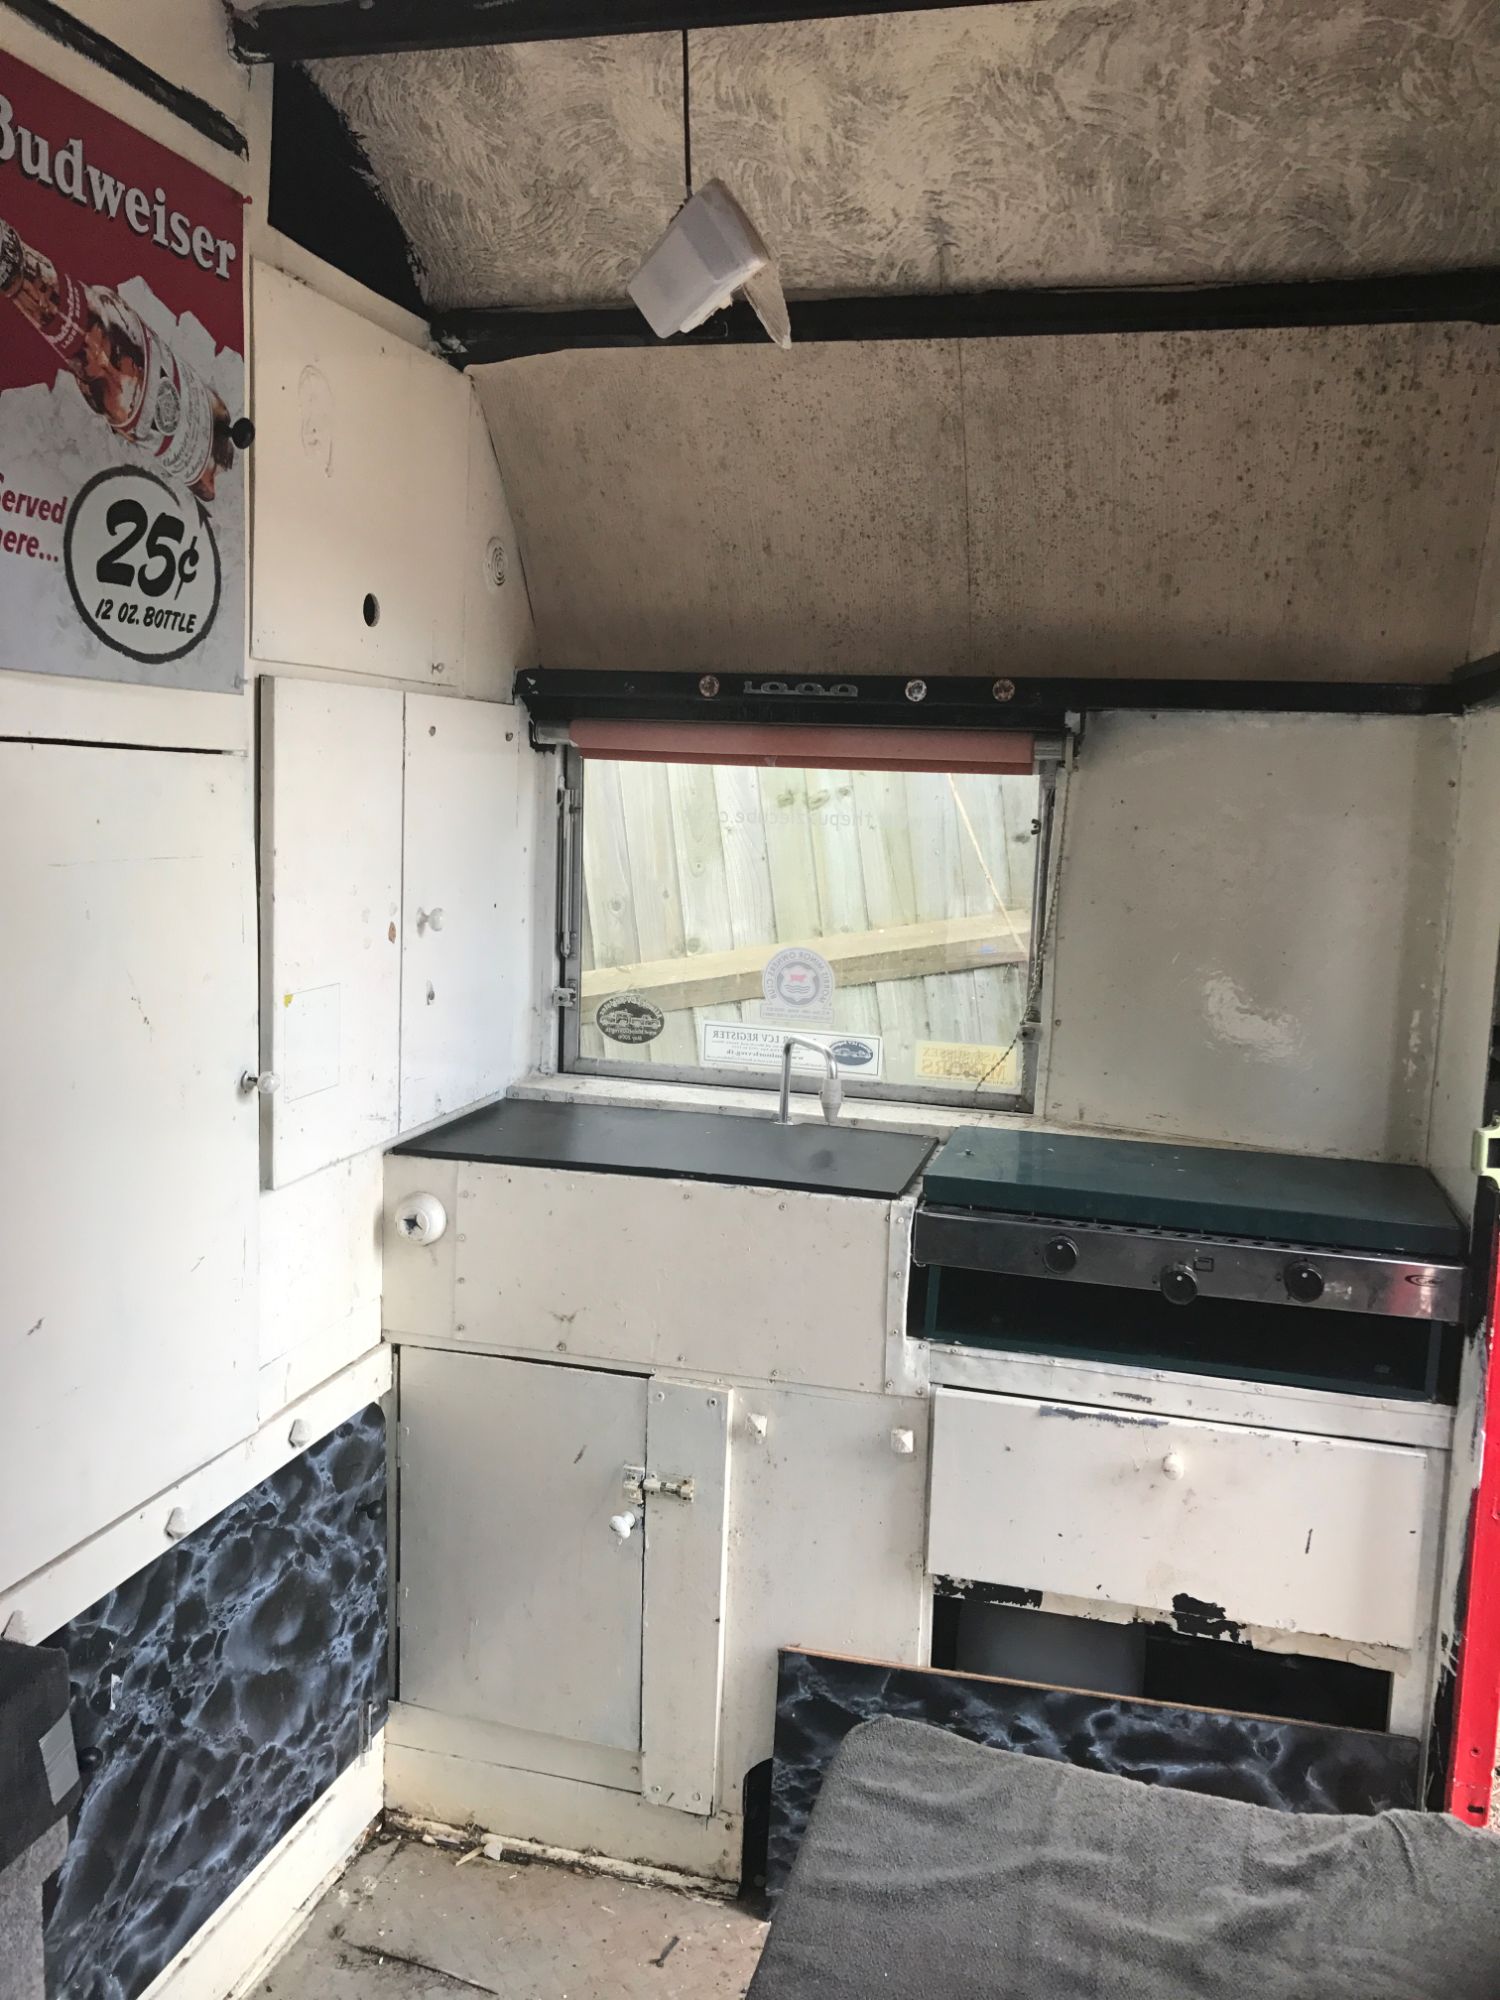
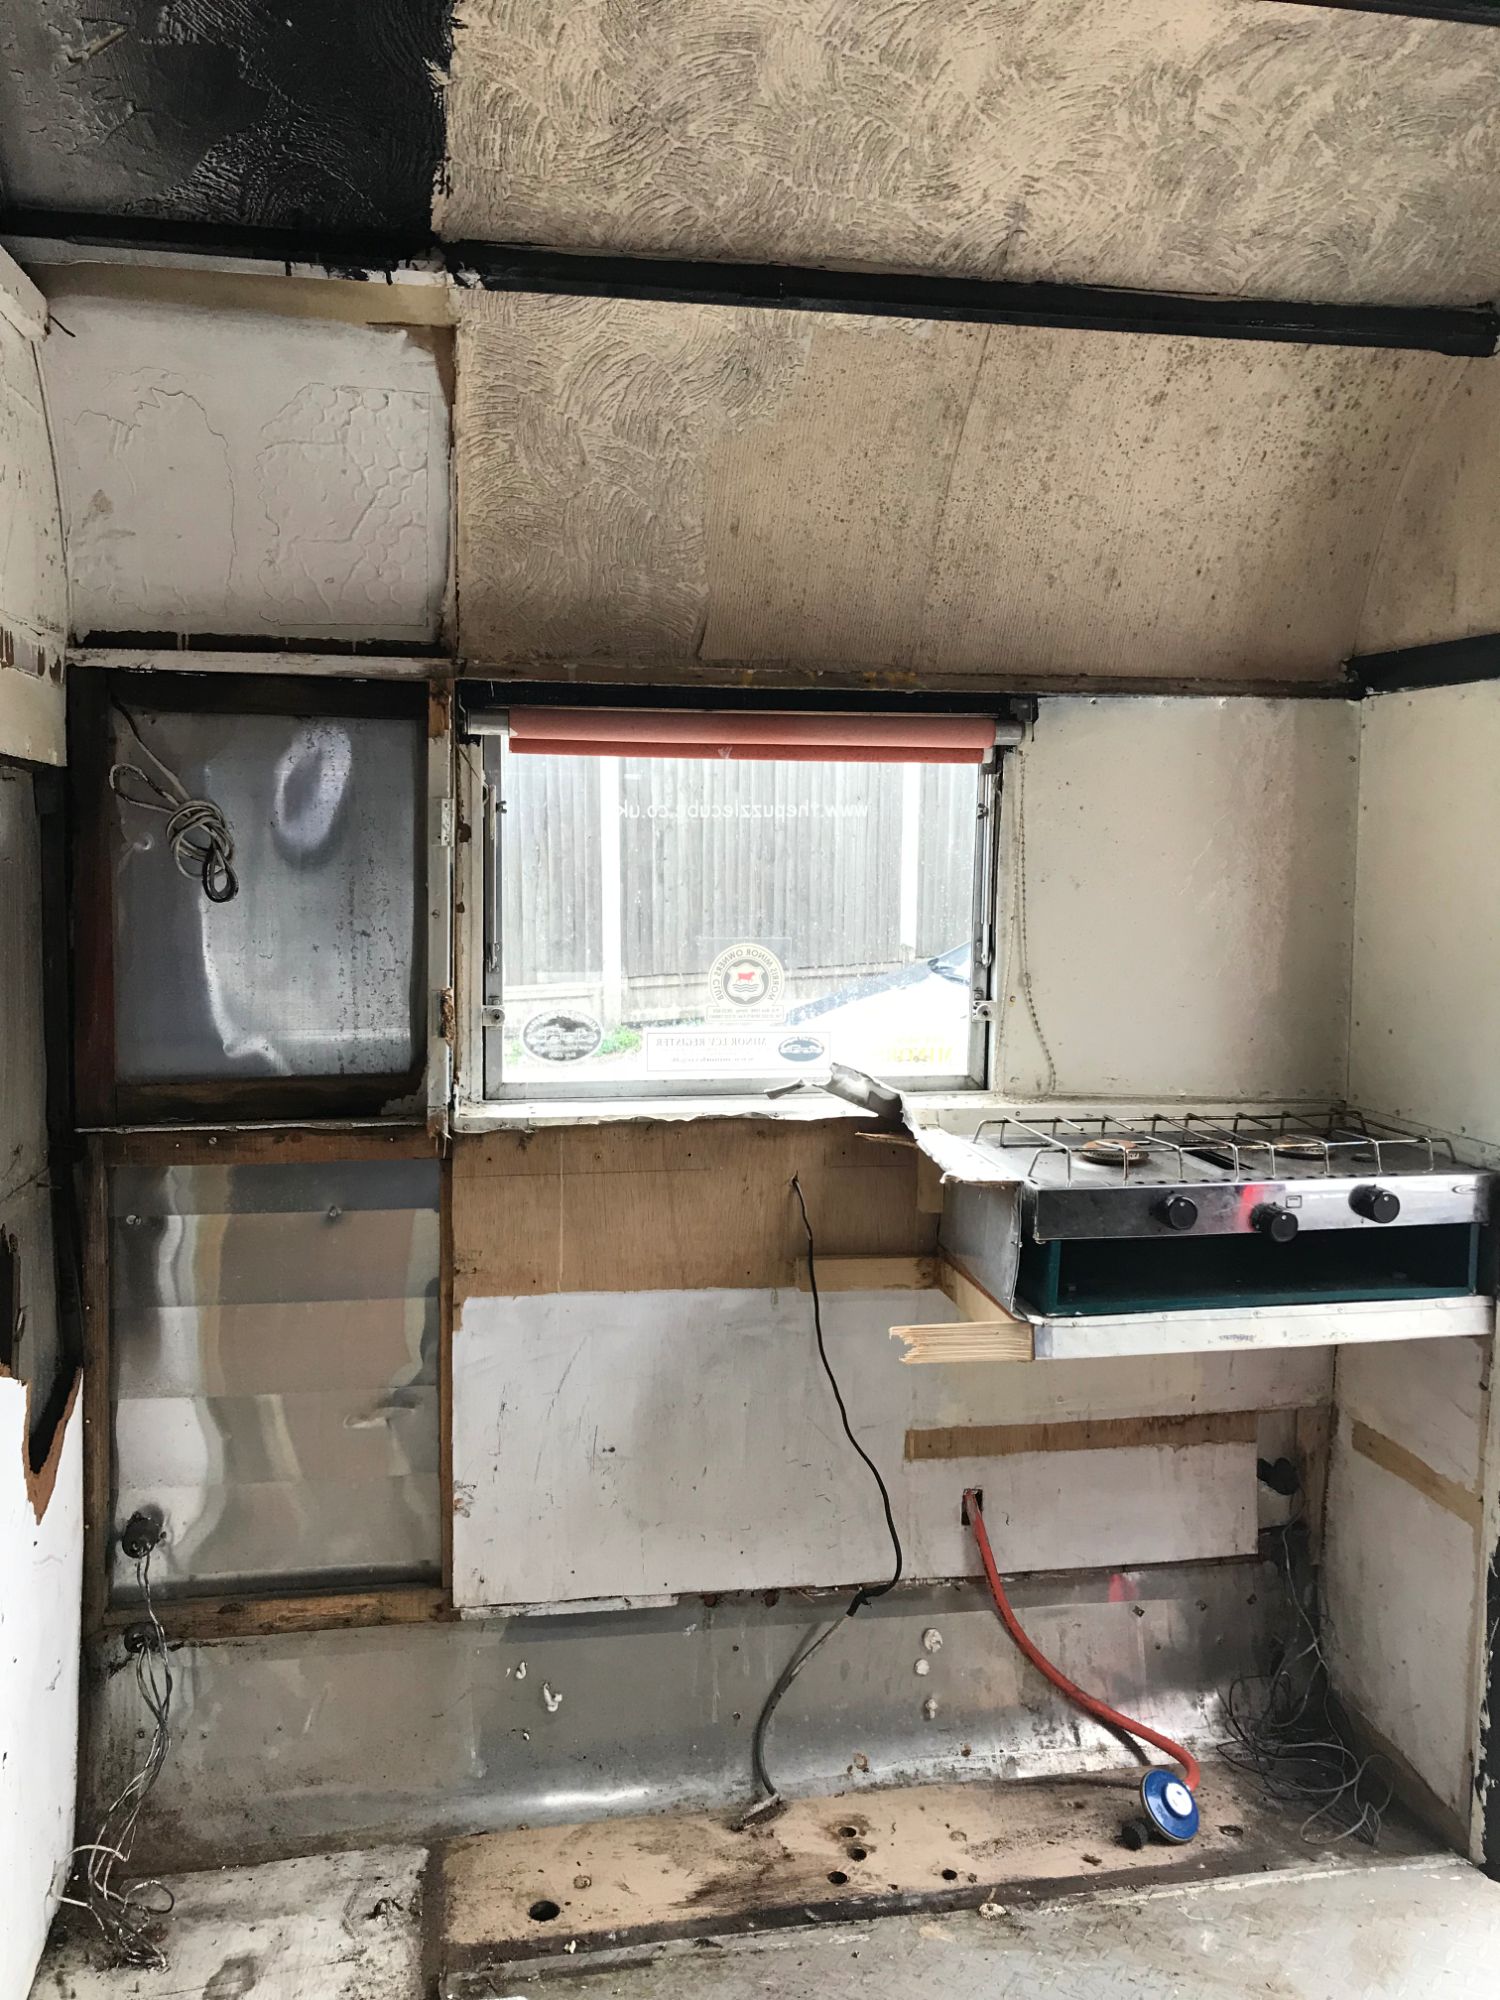
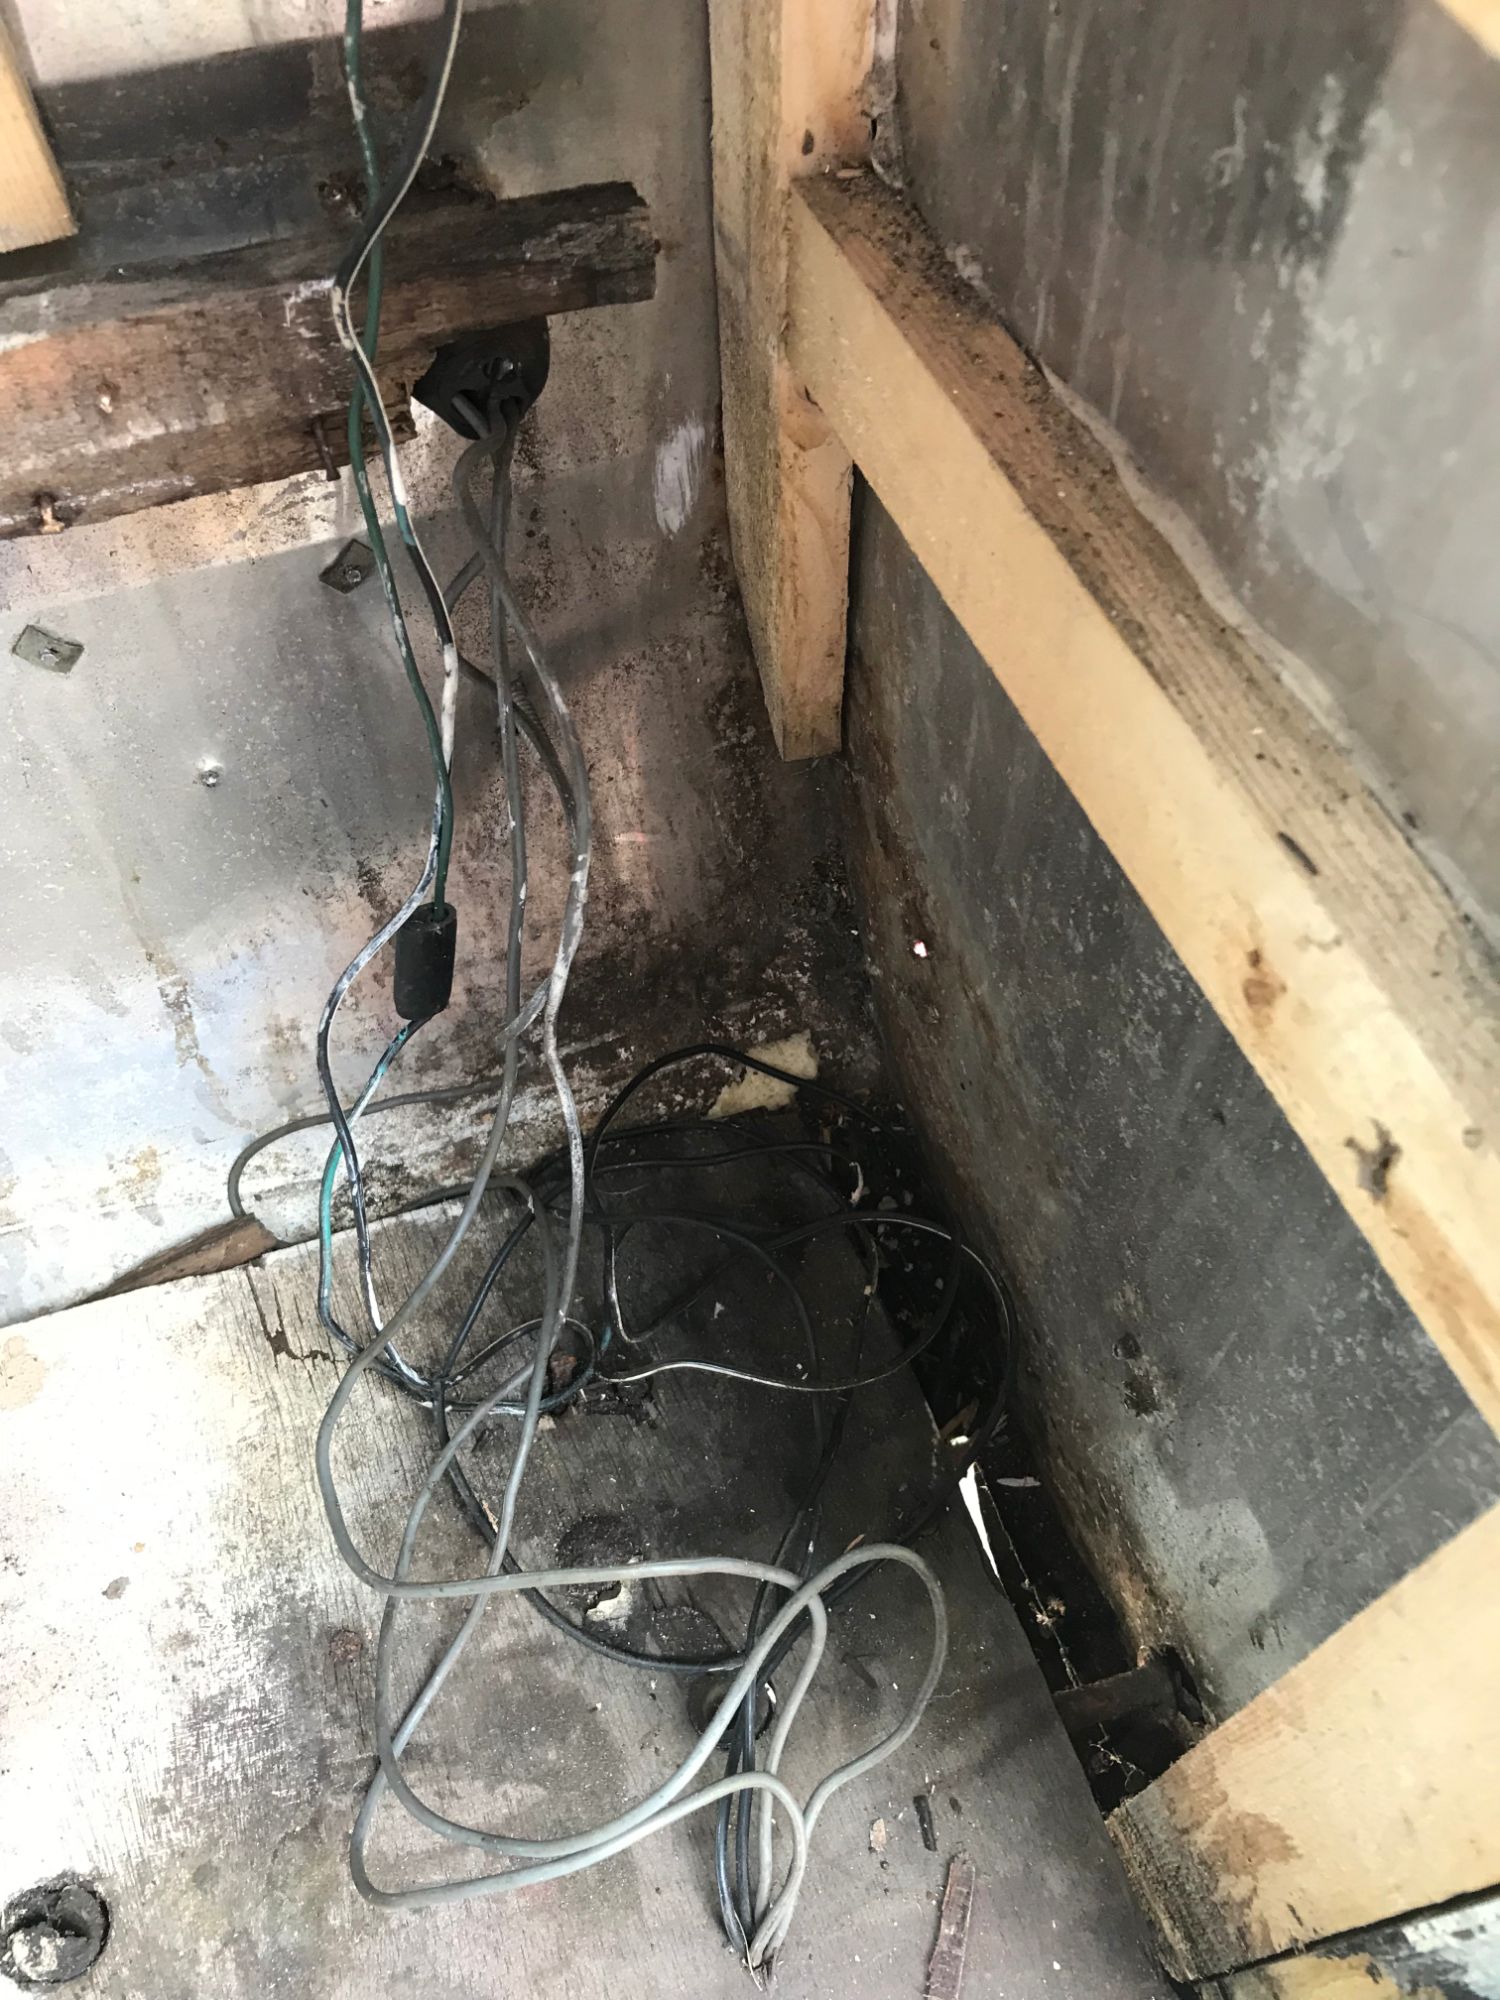
First I needed to strip out all of the old - the bench seating, cupboards, flooring, electrics... everything!
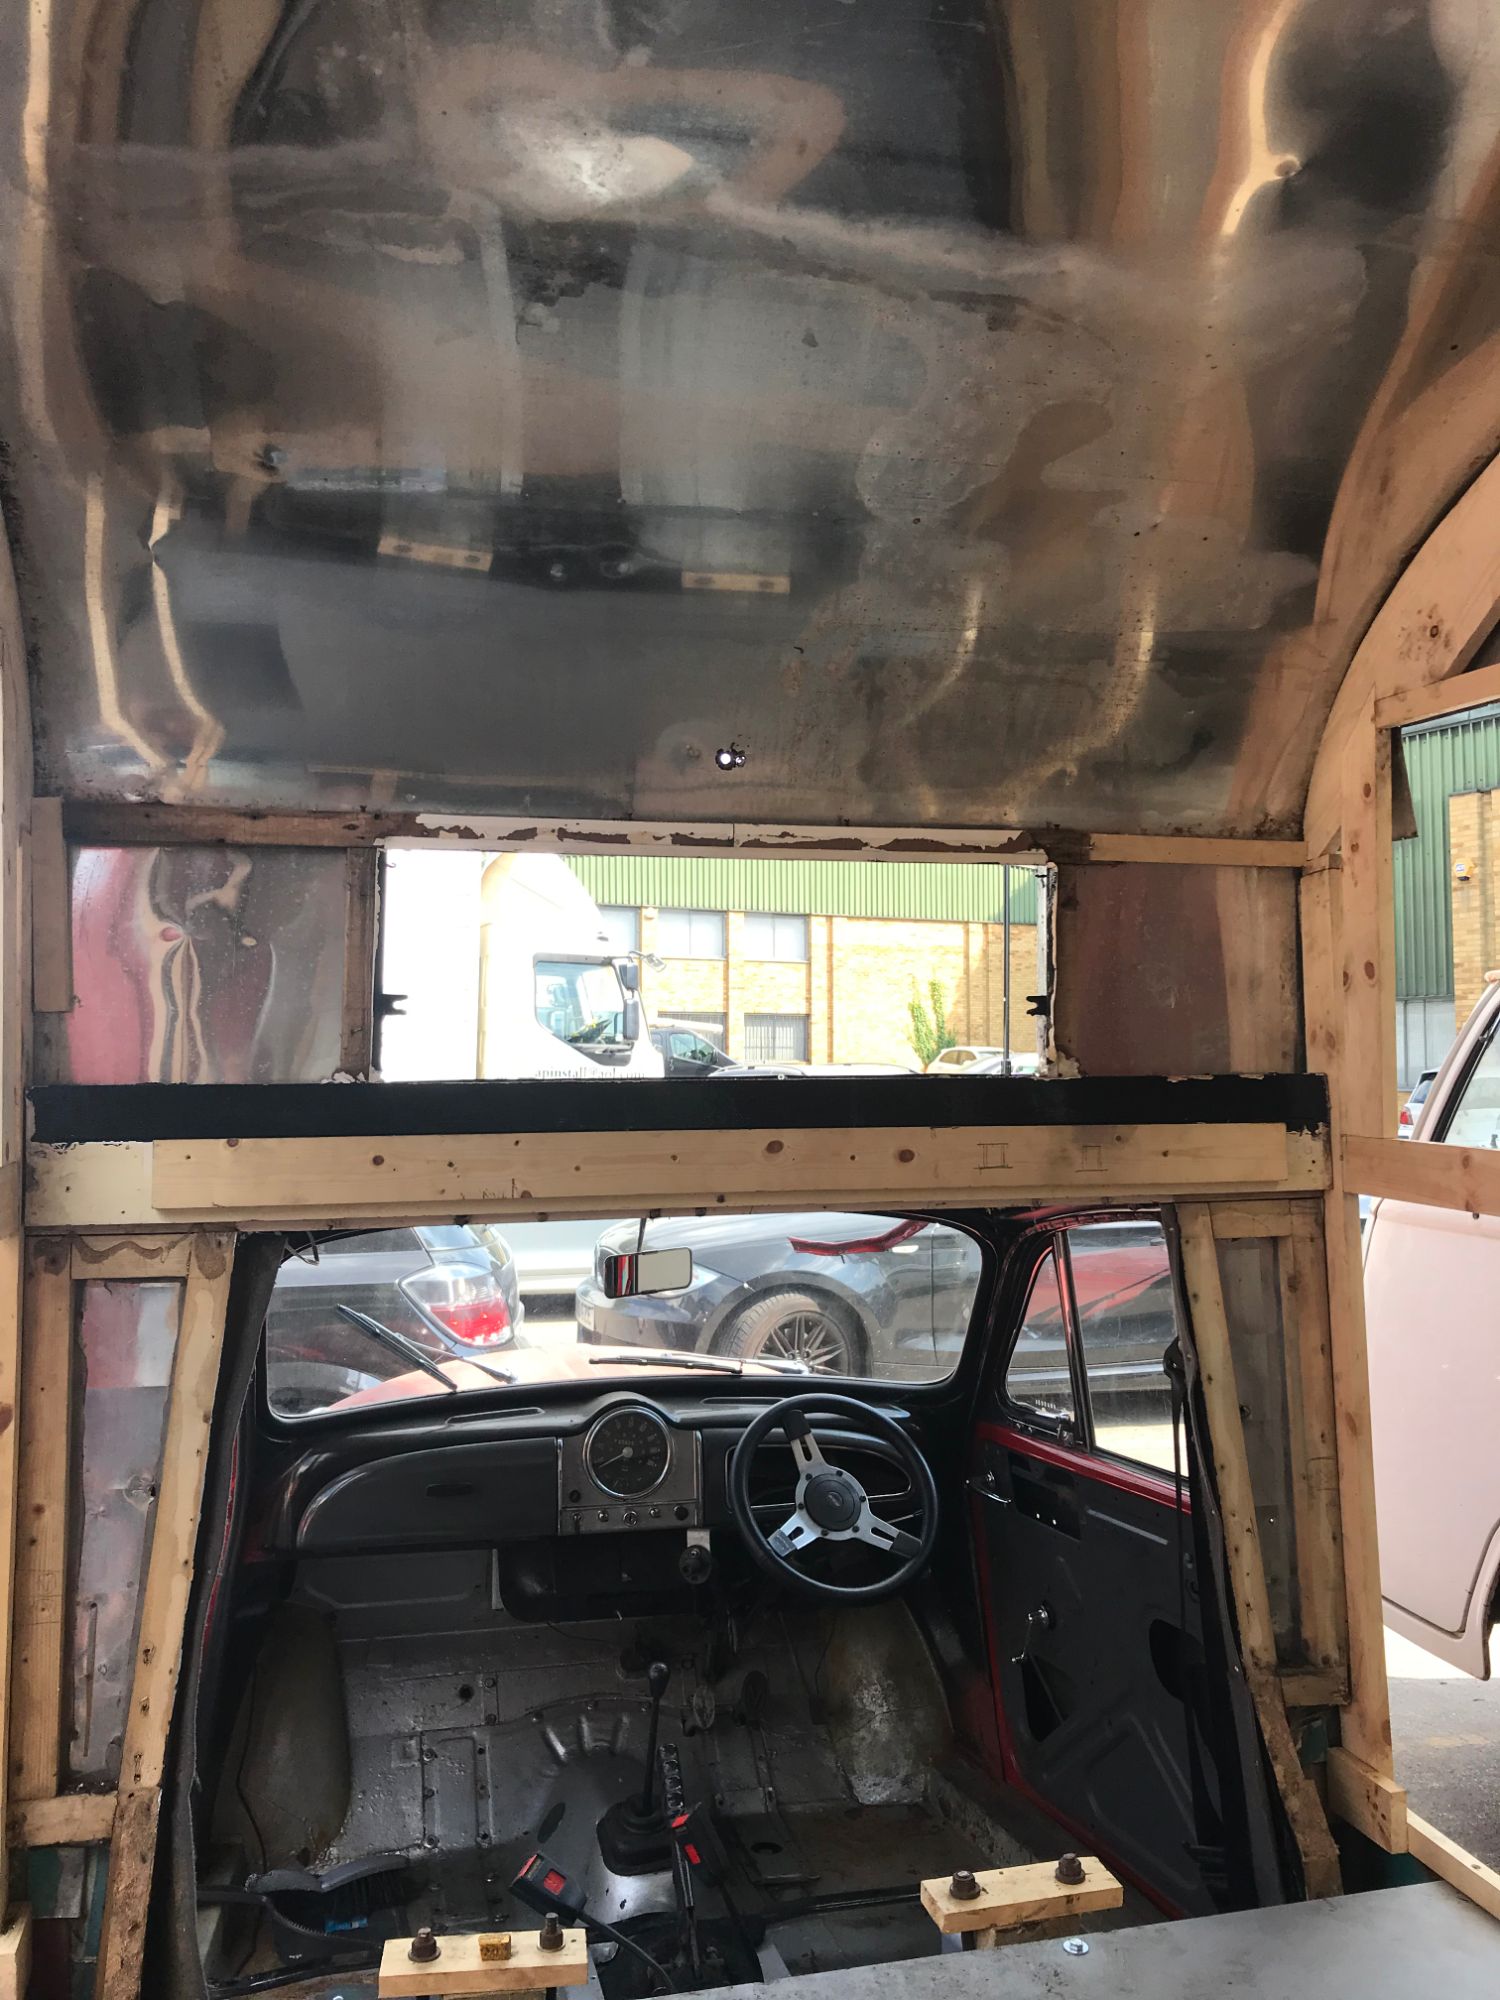
And I needed to get the ceiling and wall panels off to find out the condition of the caravan's wood framework.

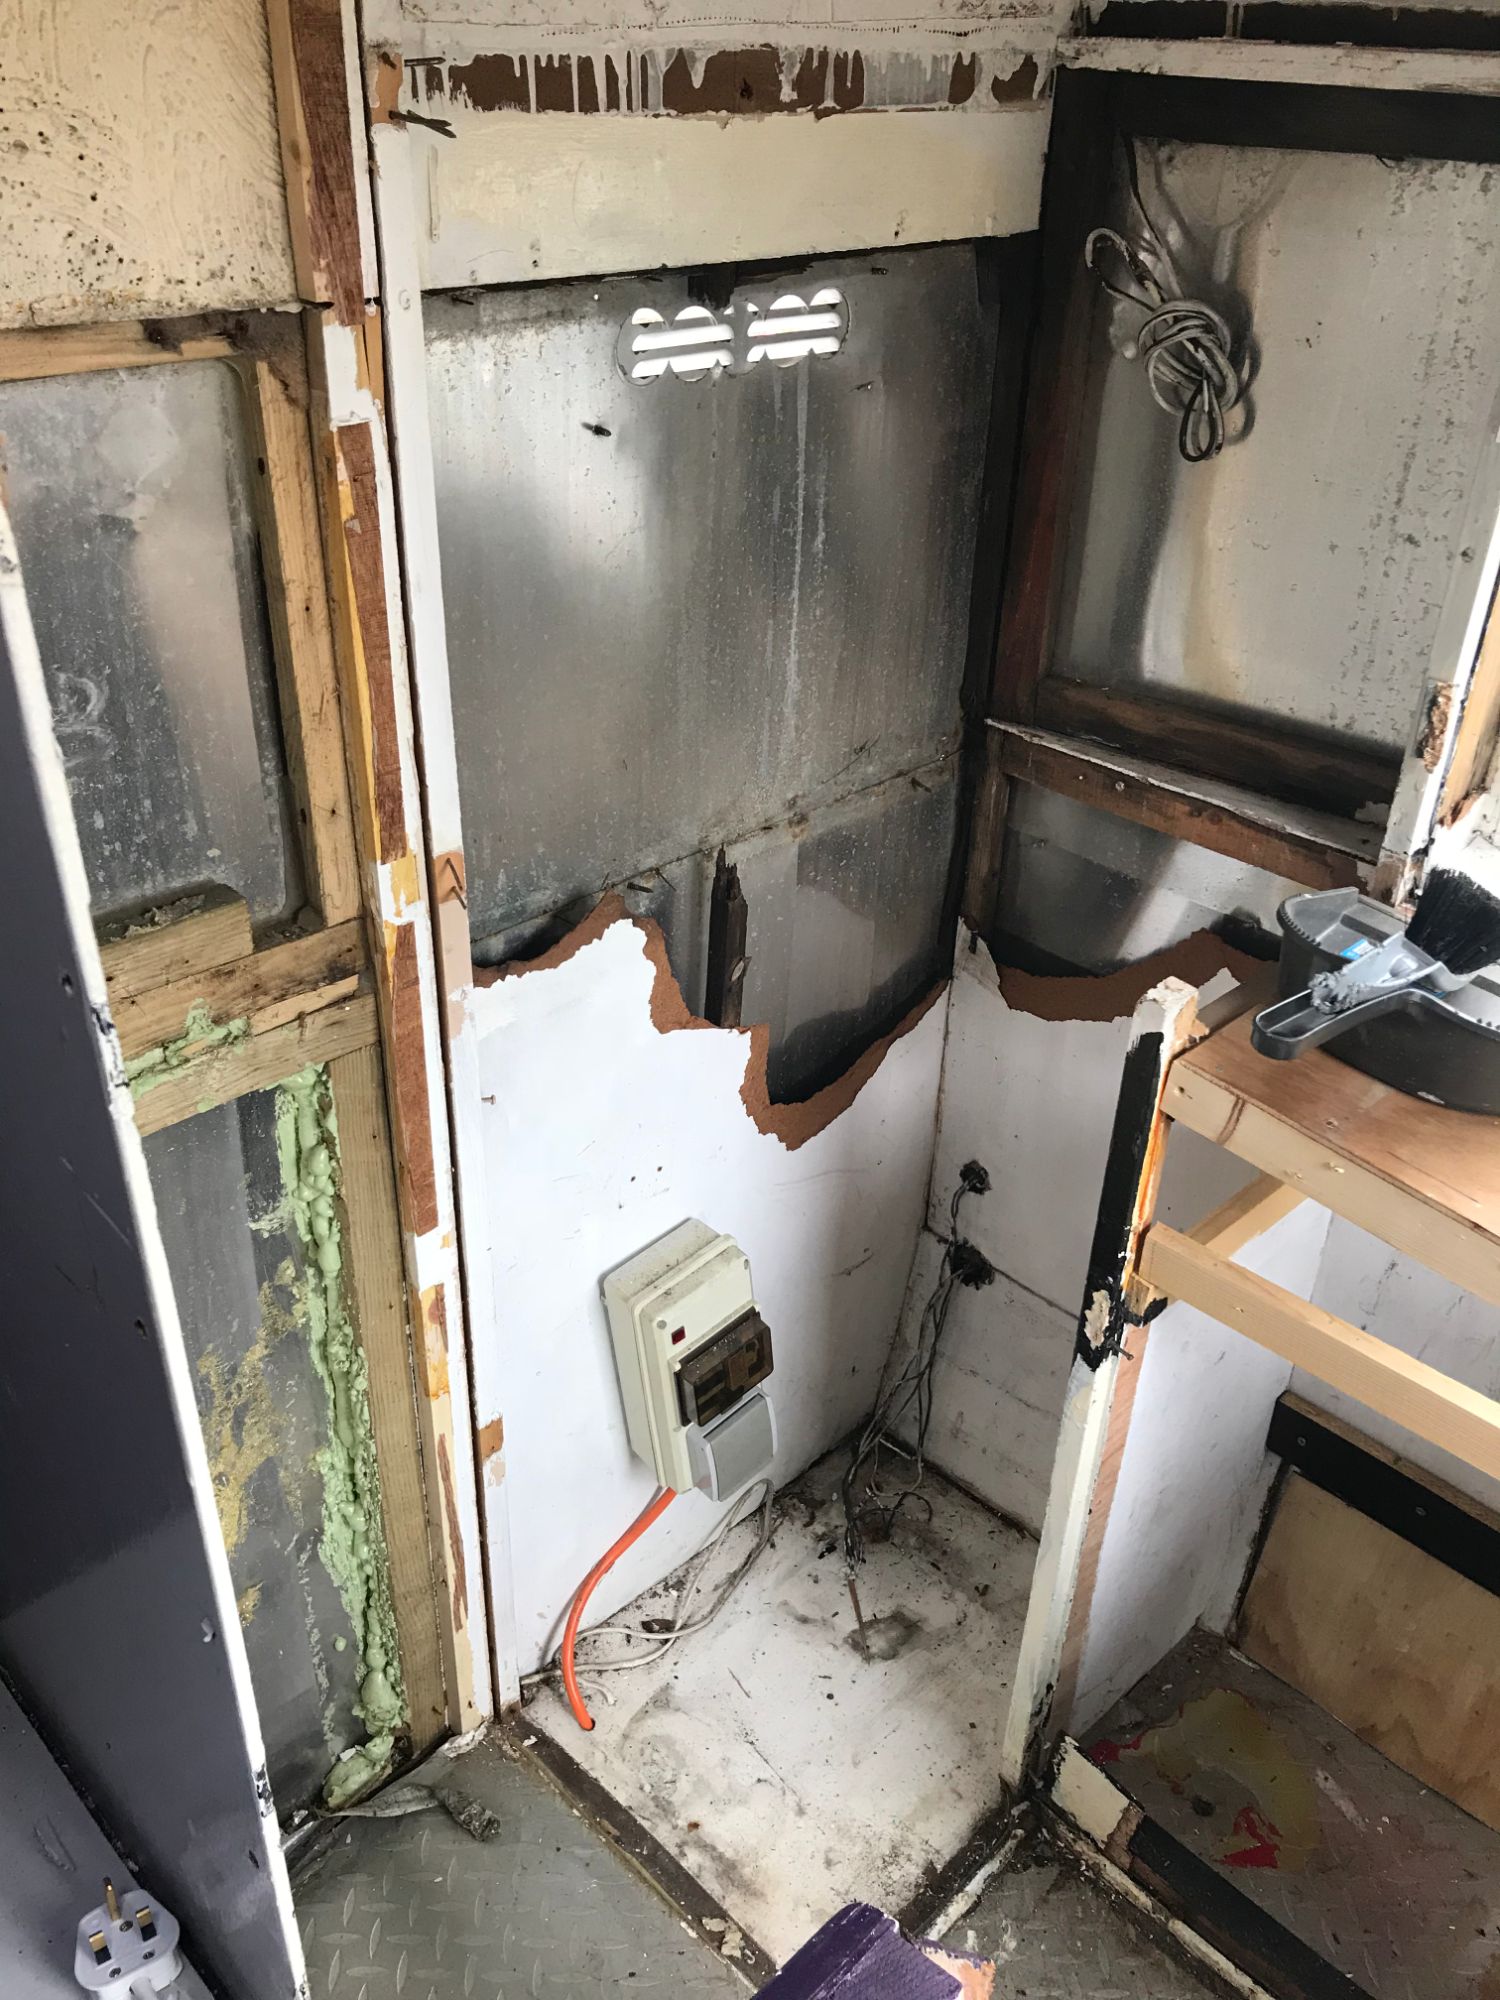
STRIPPING OUT
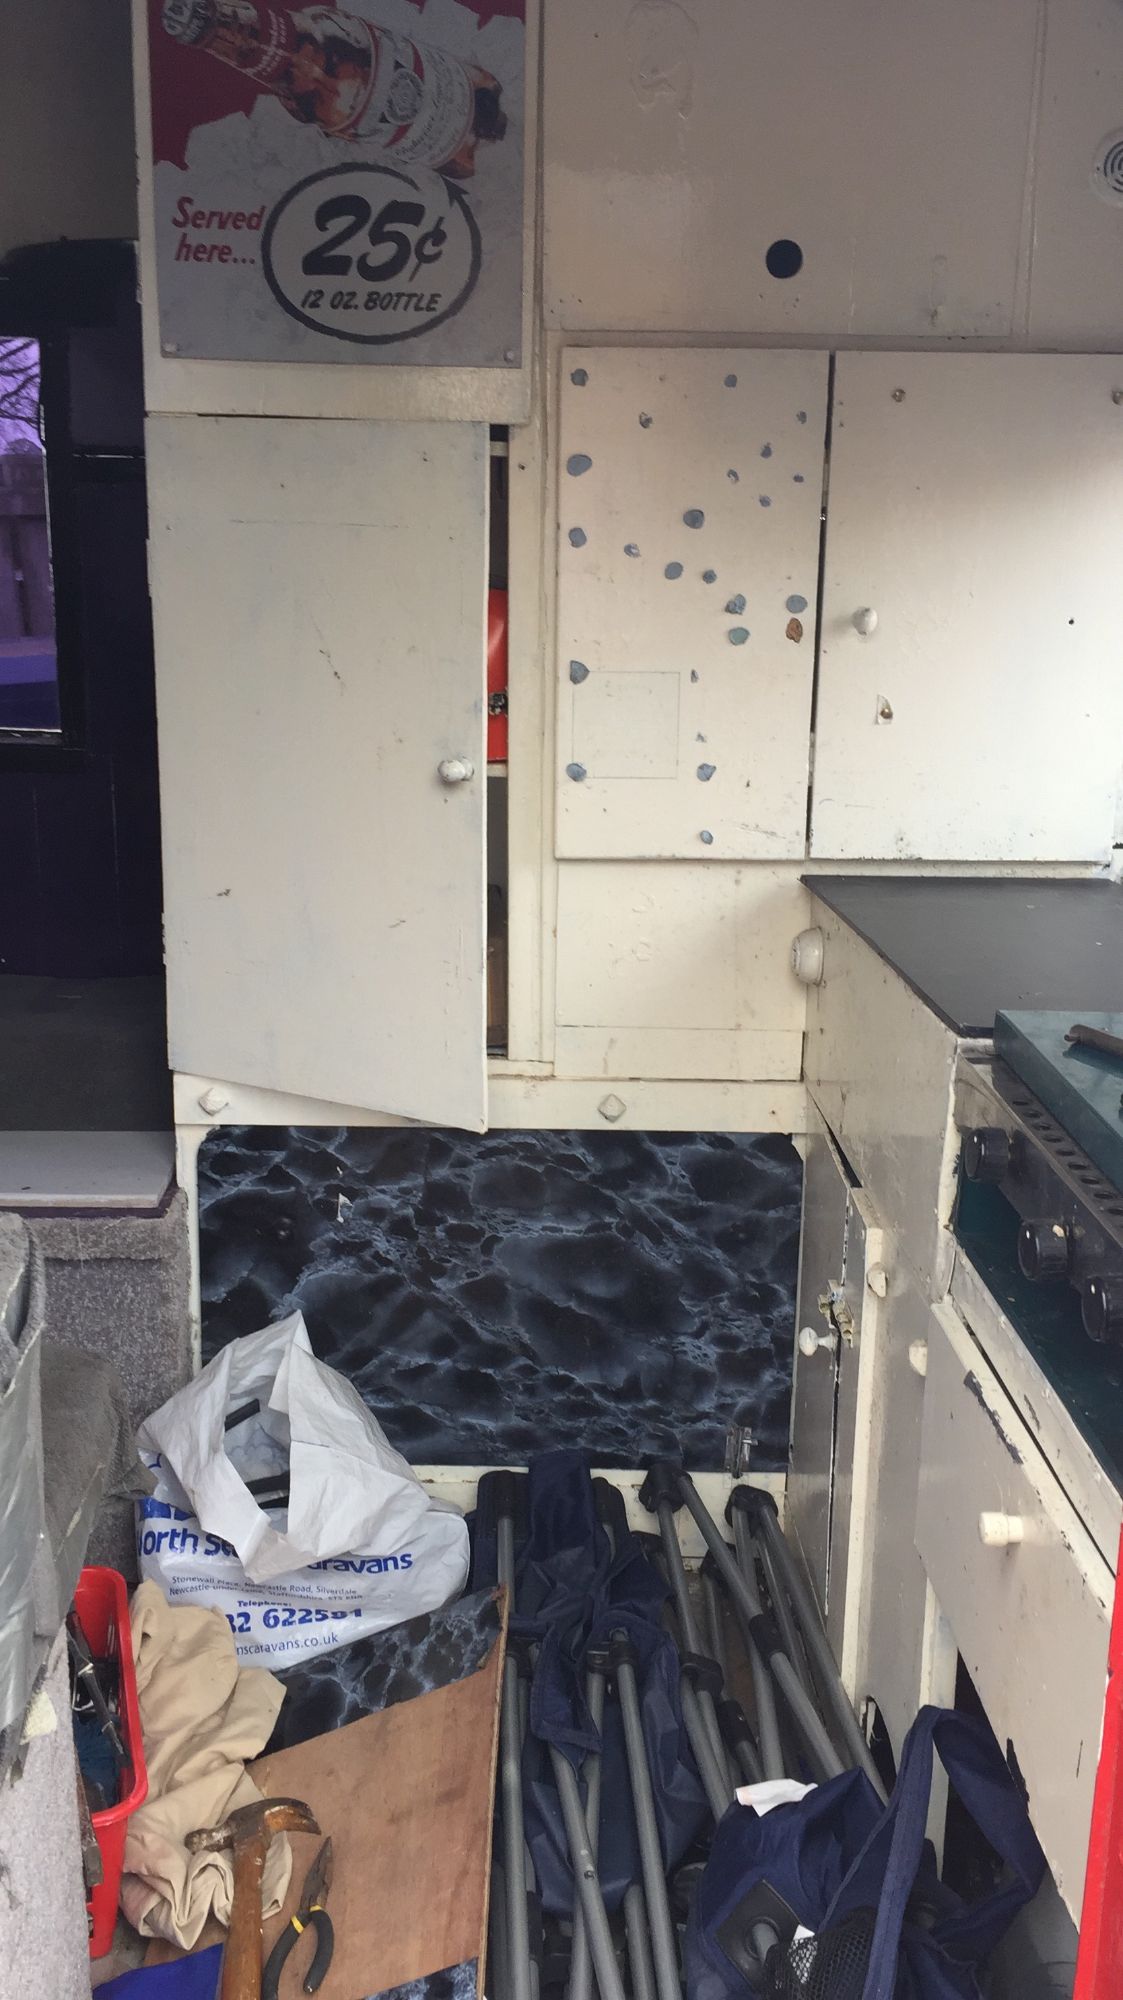
The only fixtures that came off easily were the cupboards doors. Everthing else was far more challenging!
Over the years the fittings had been built and secured in place with screws, nails or glue - sometimes all three together. And different types of hard and soft wood and composite had been used for frames and panelling, The caravan had never been fully insulated, and there were just a few areas where filling foam had been injected behind wall panels, which was now as hard as concrete and fixed like superglue!
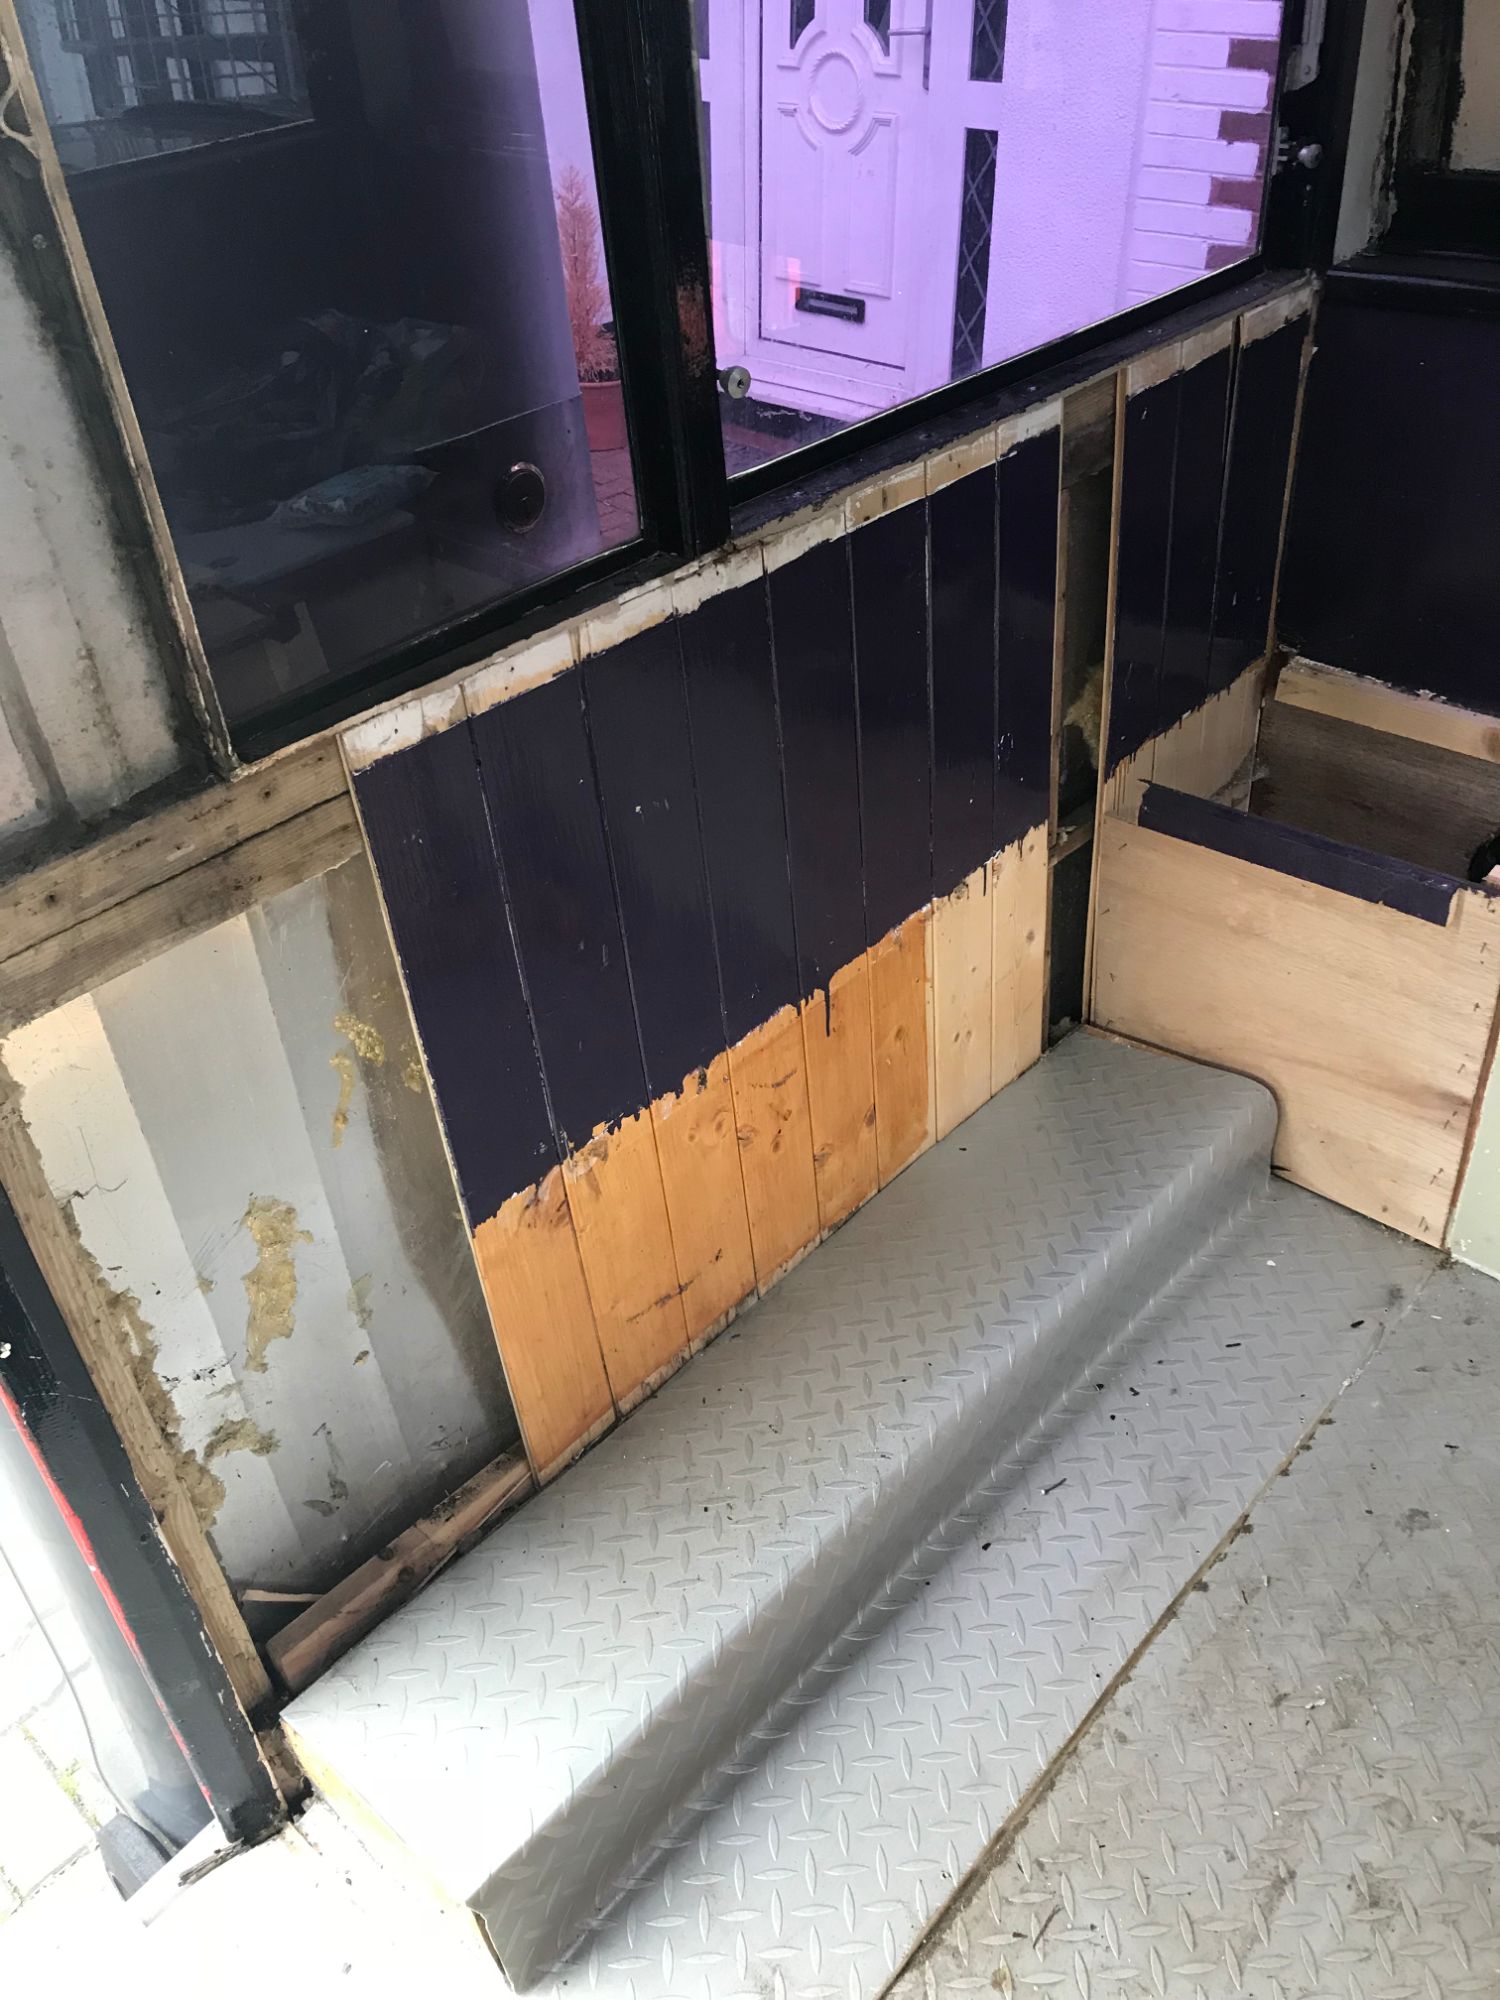
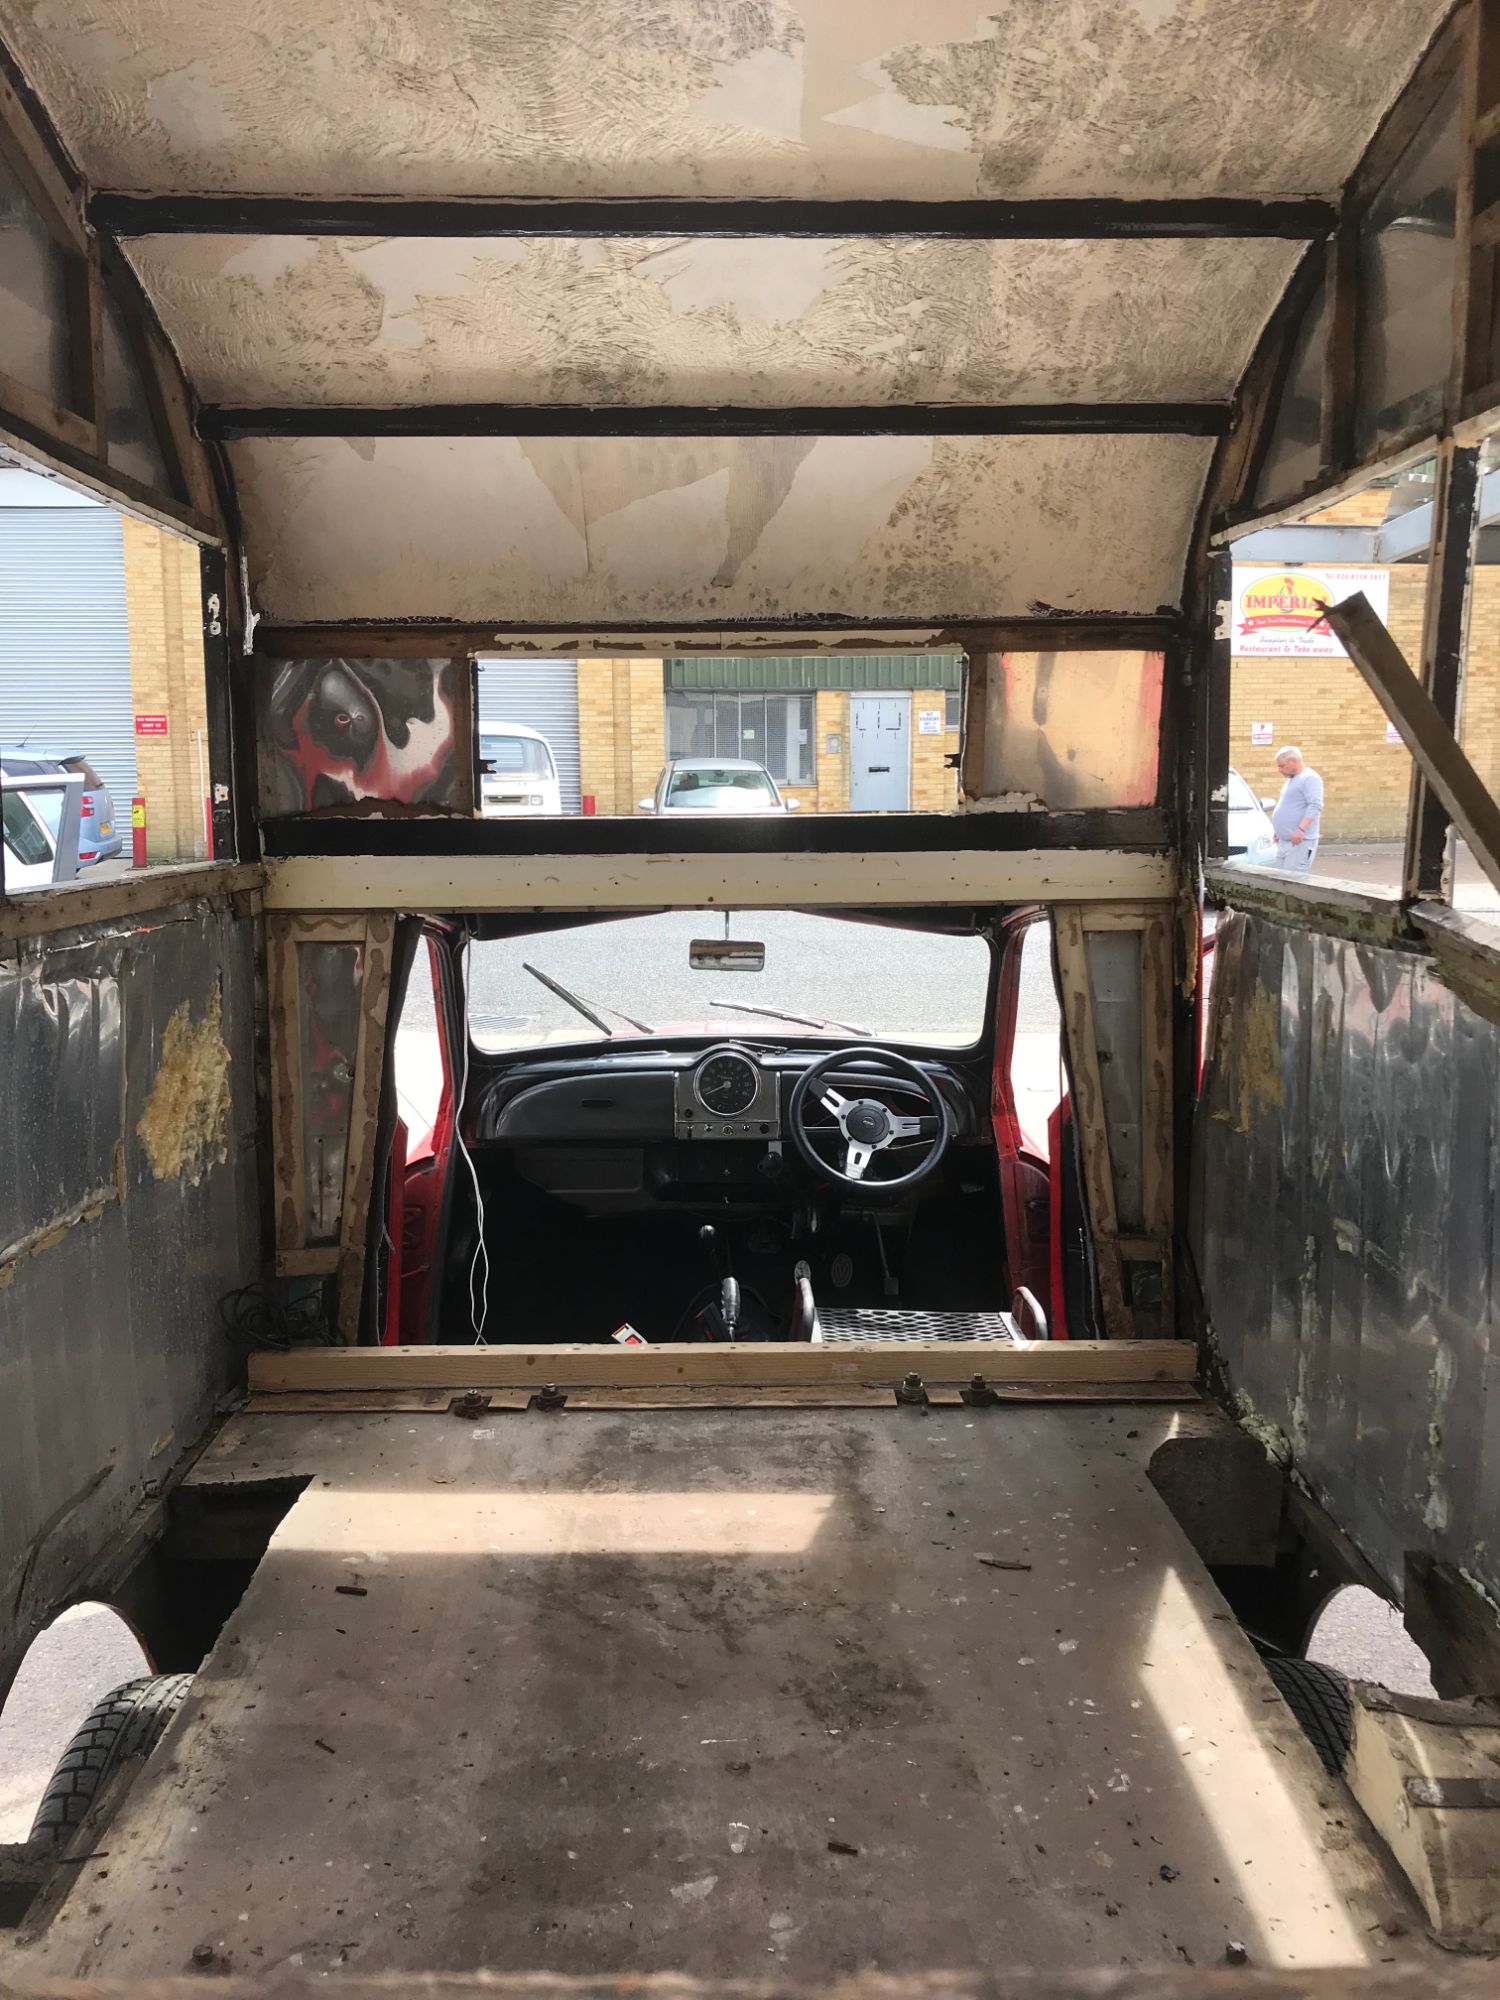
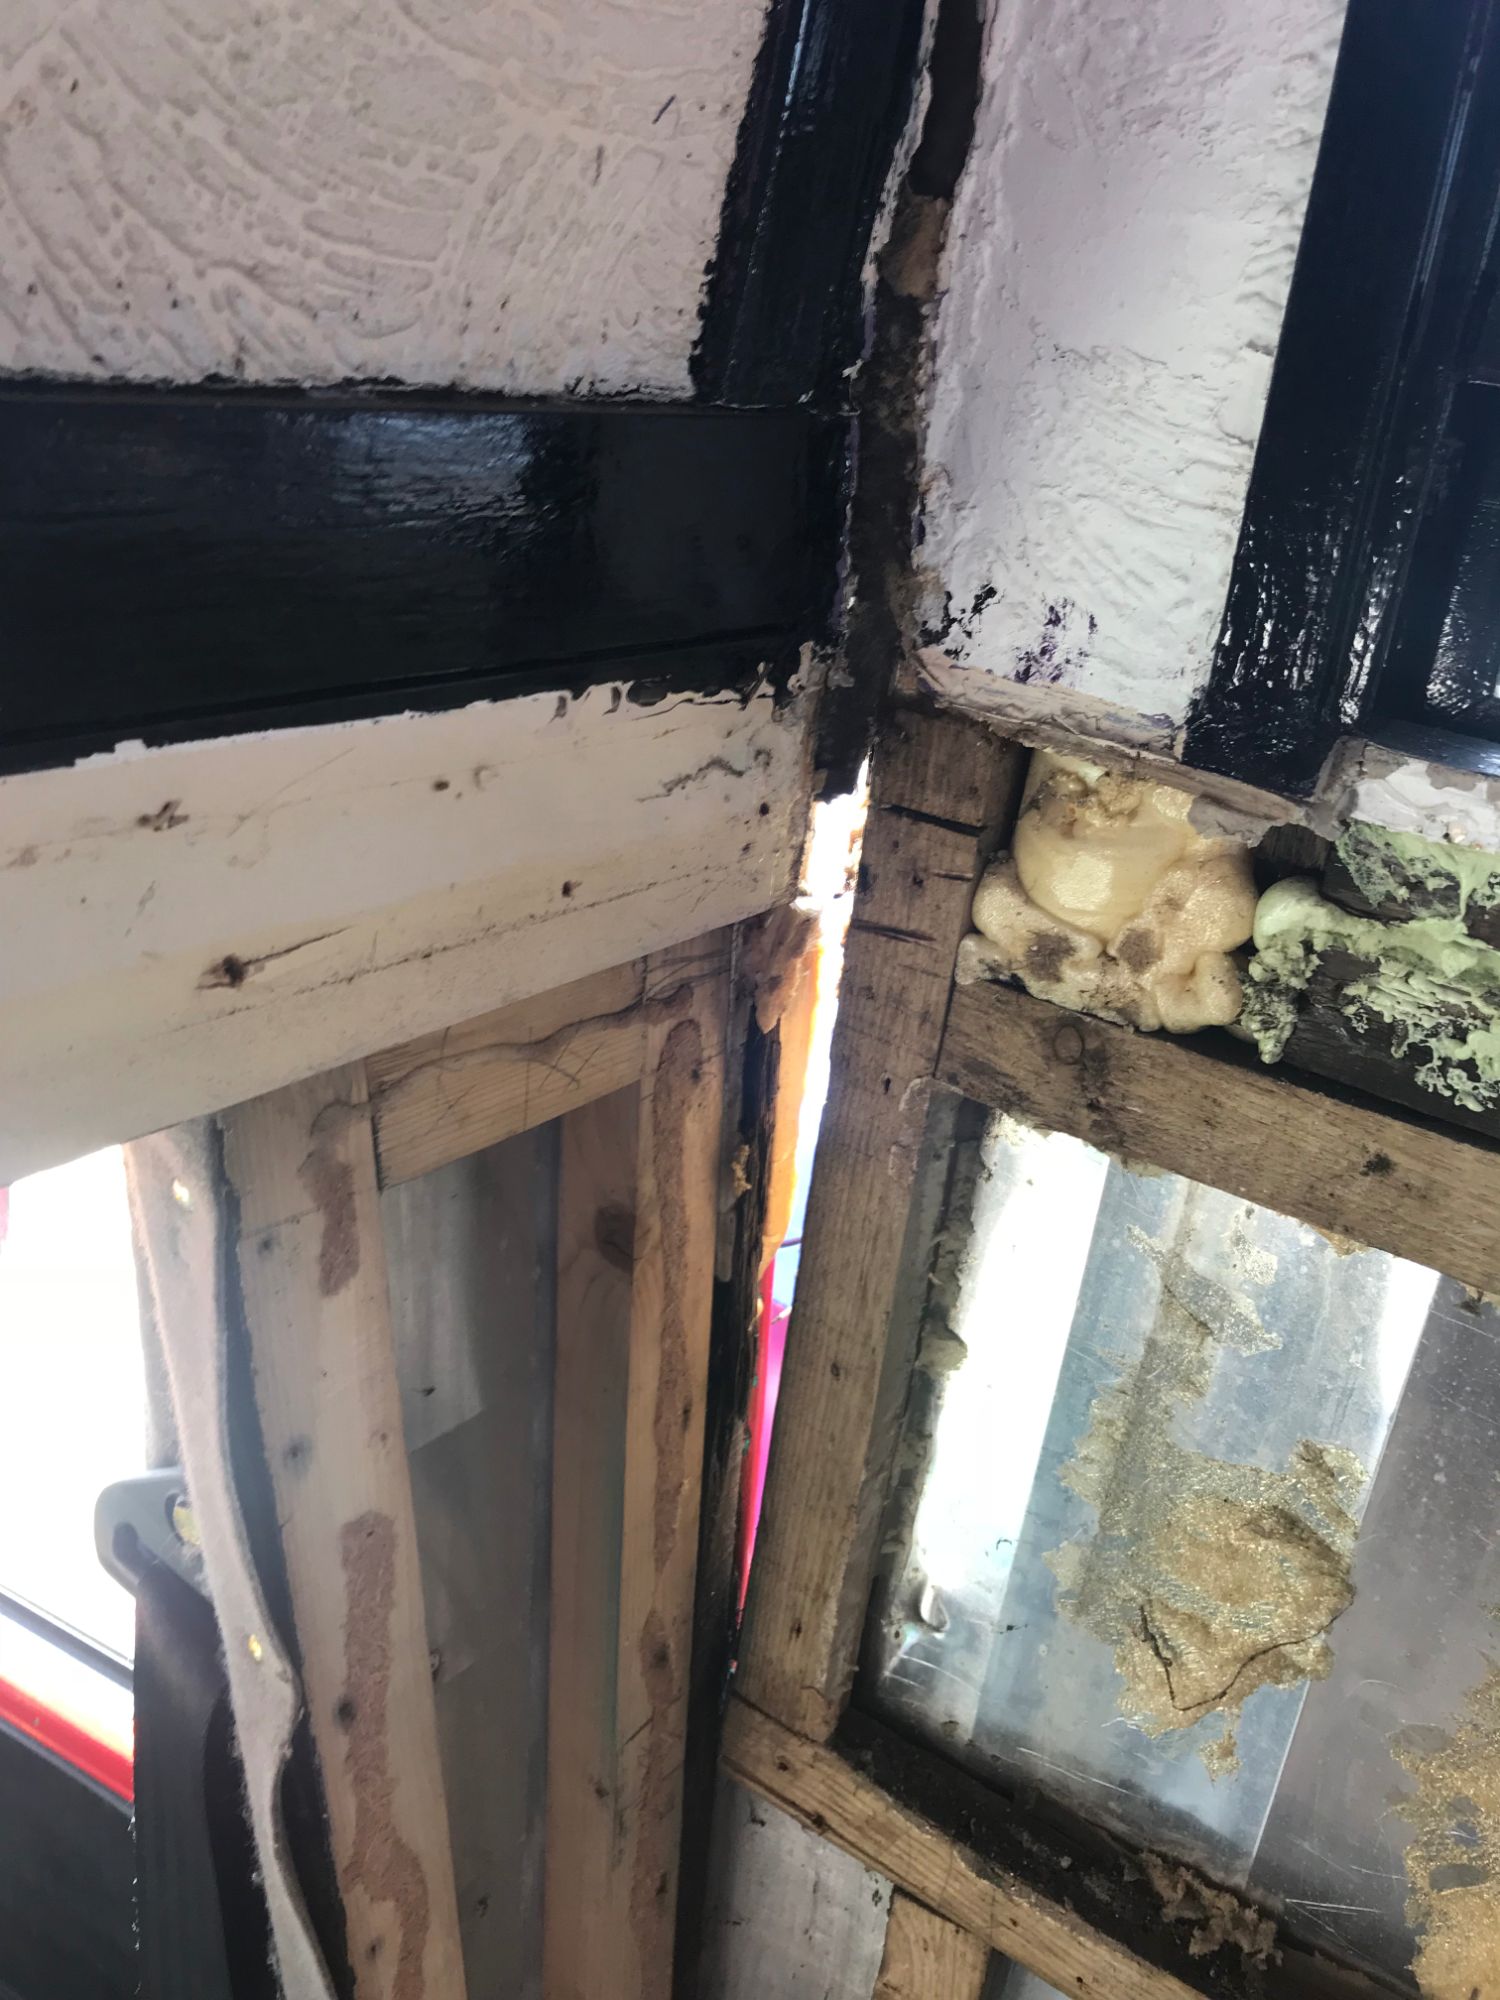
WHAT LIES BENEATH
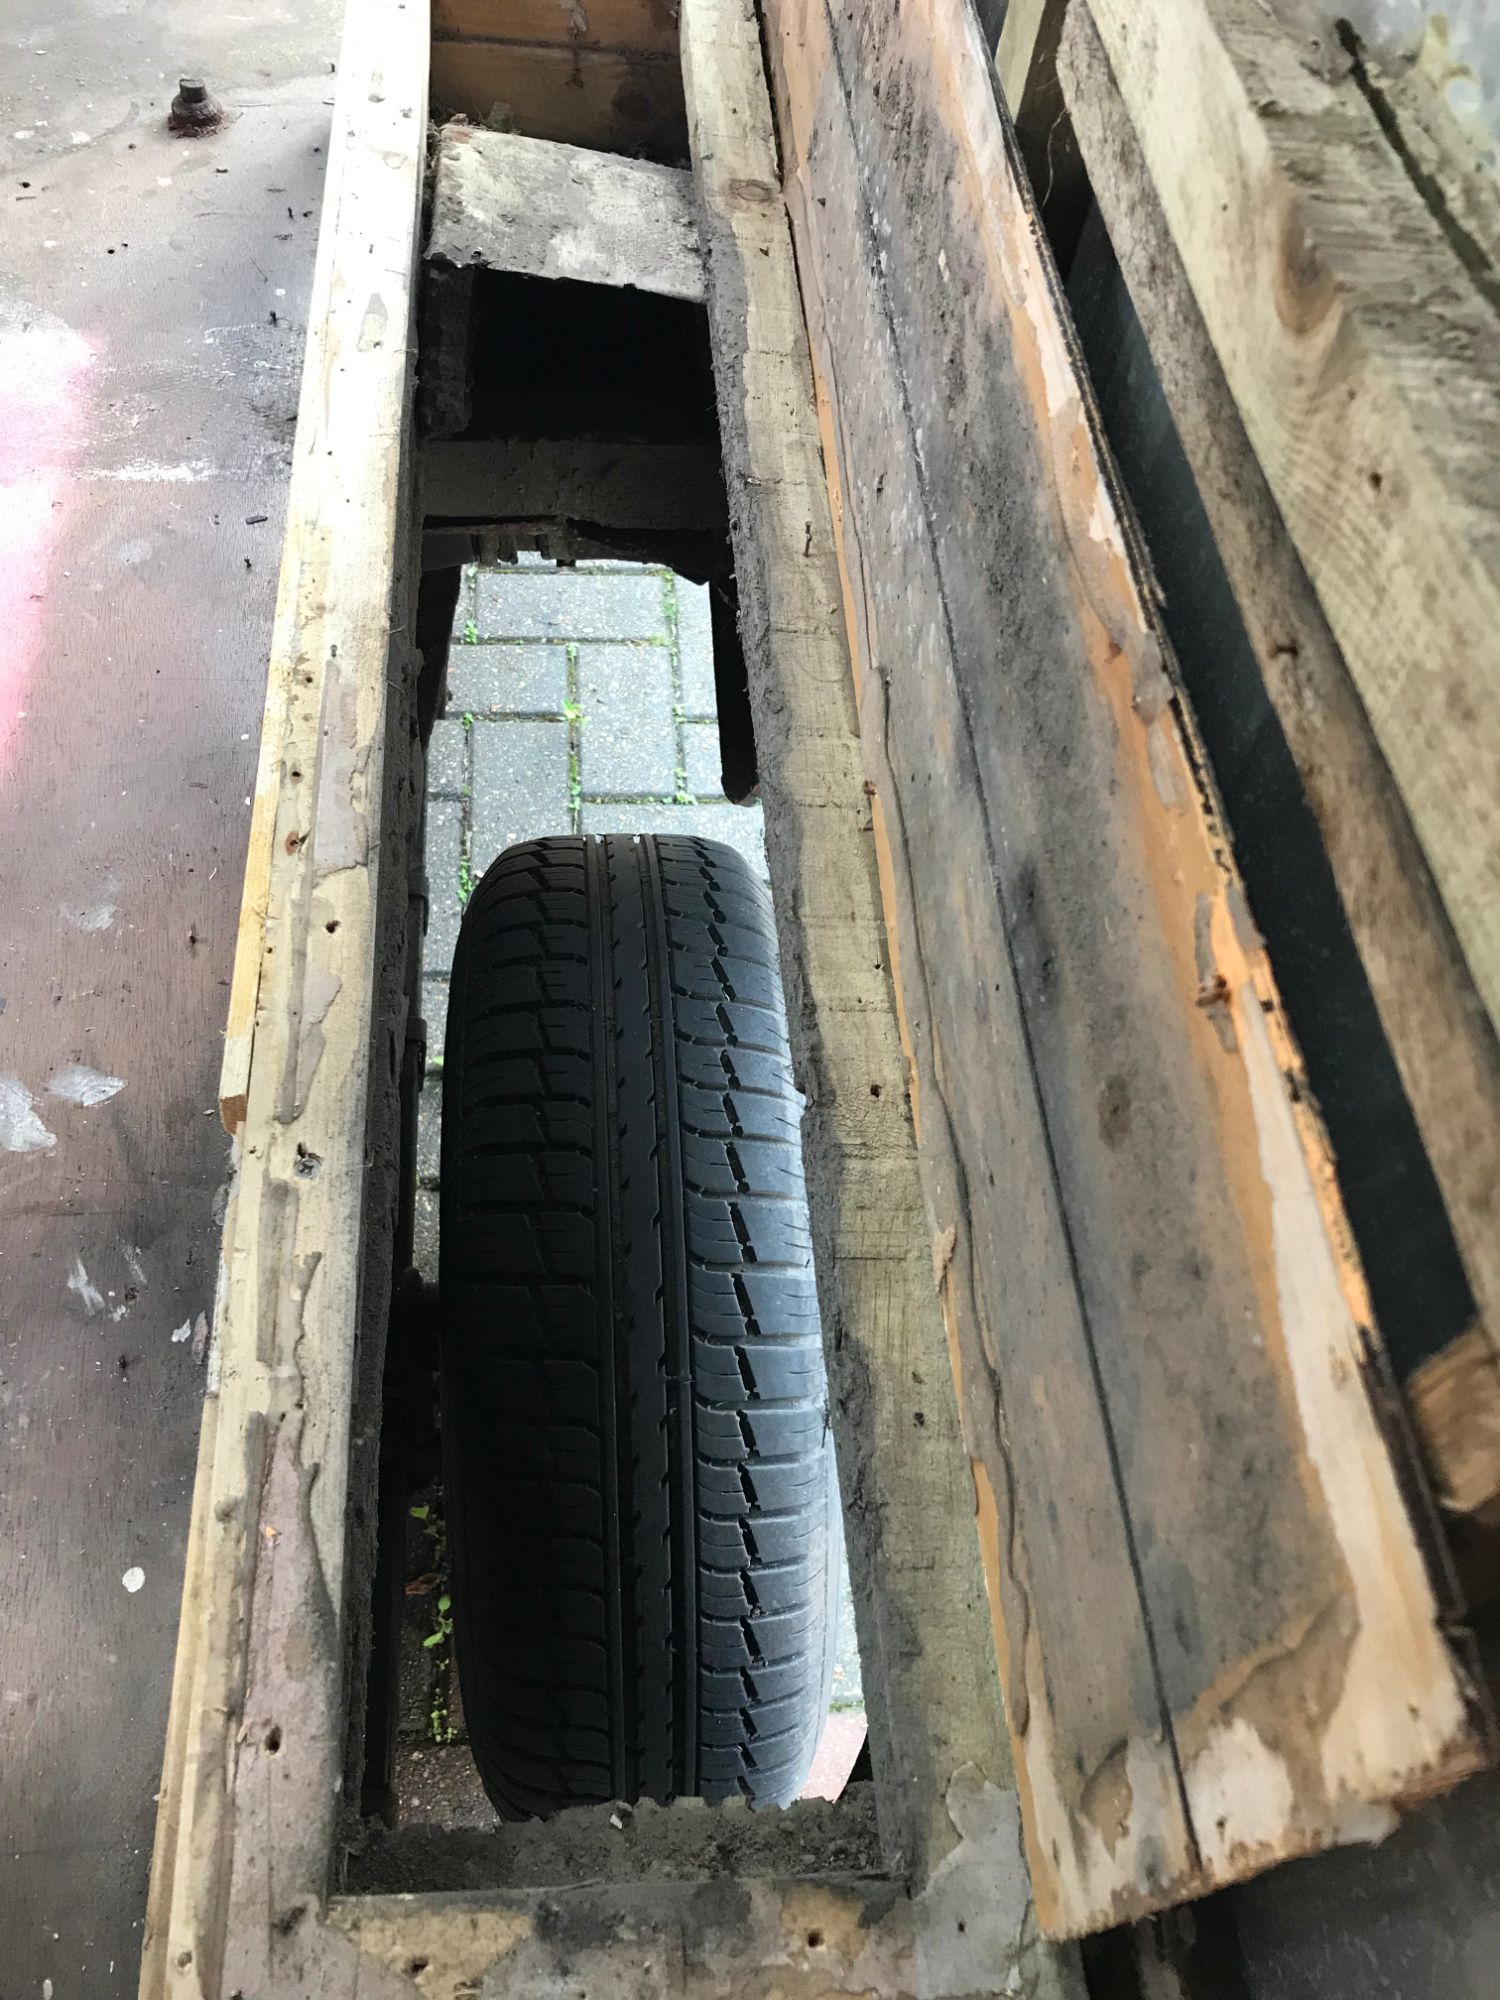
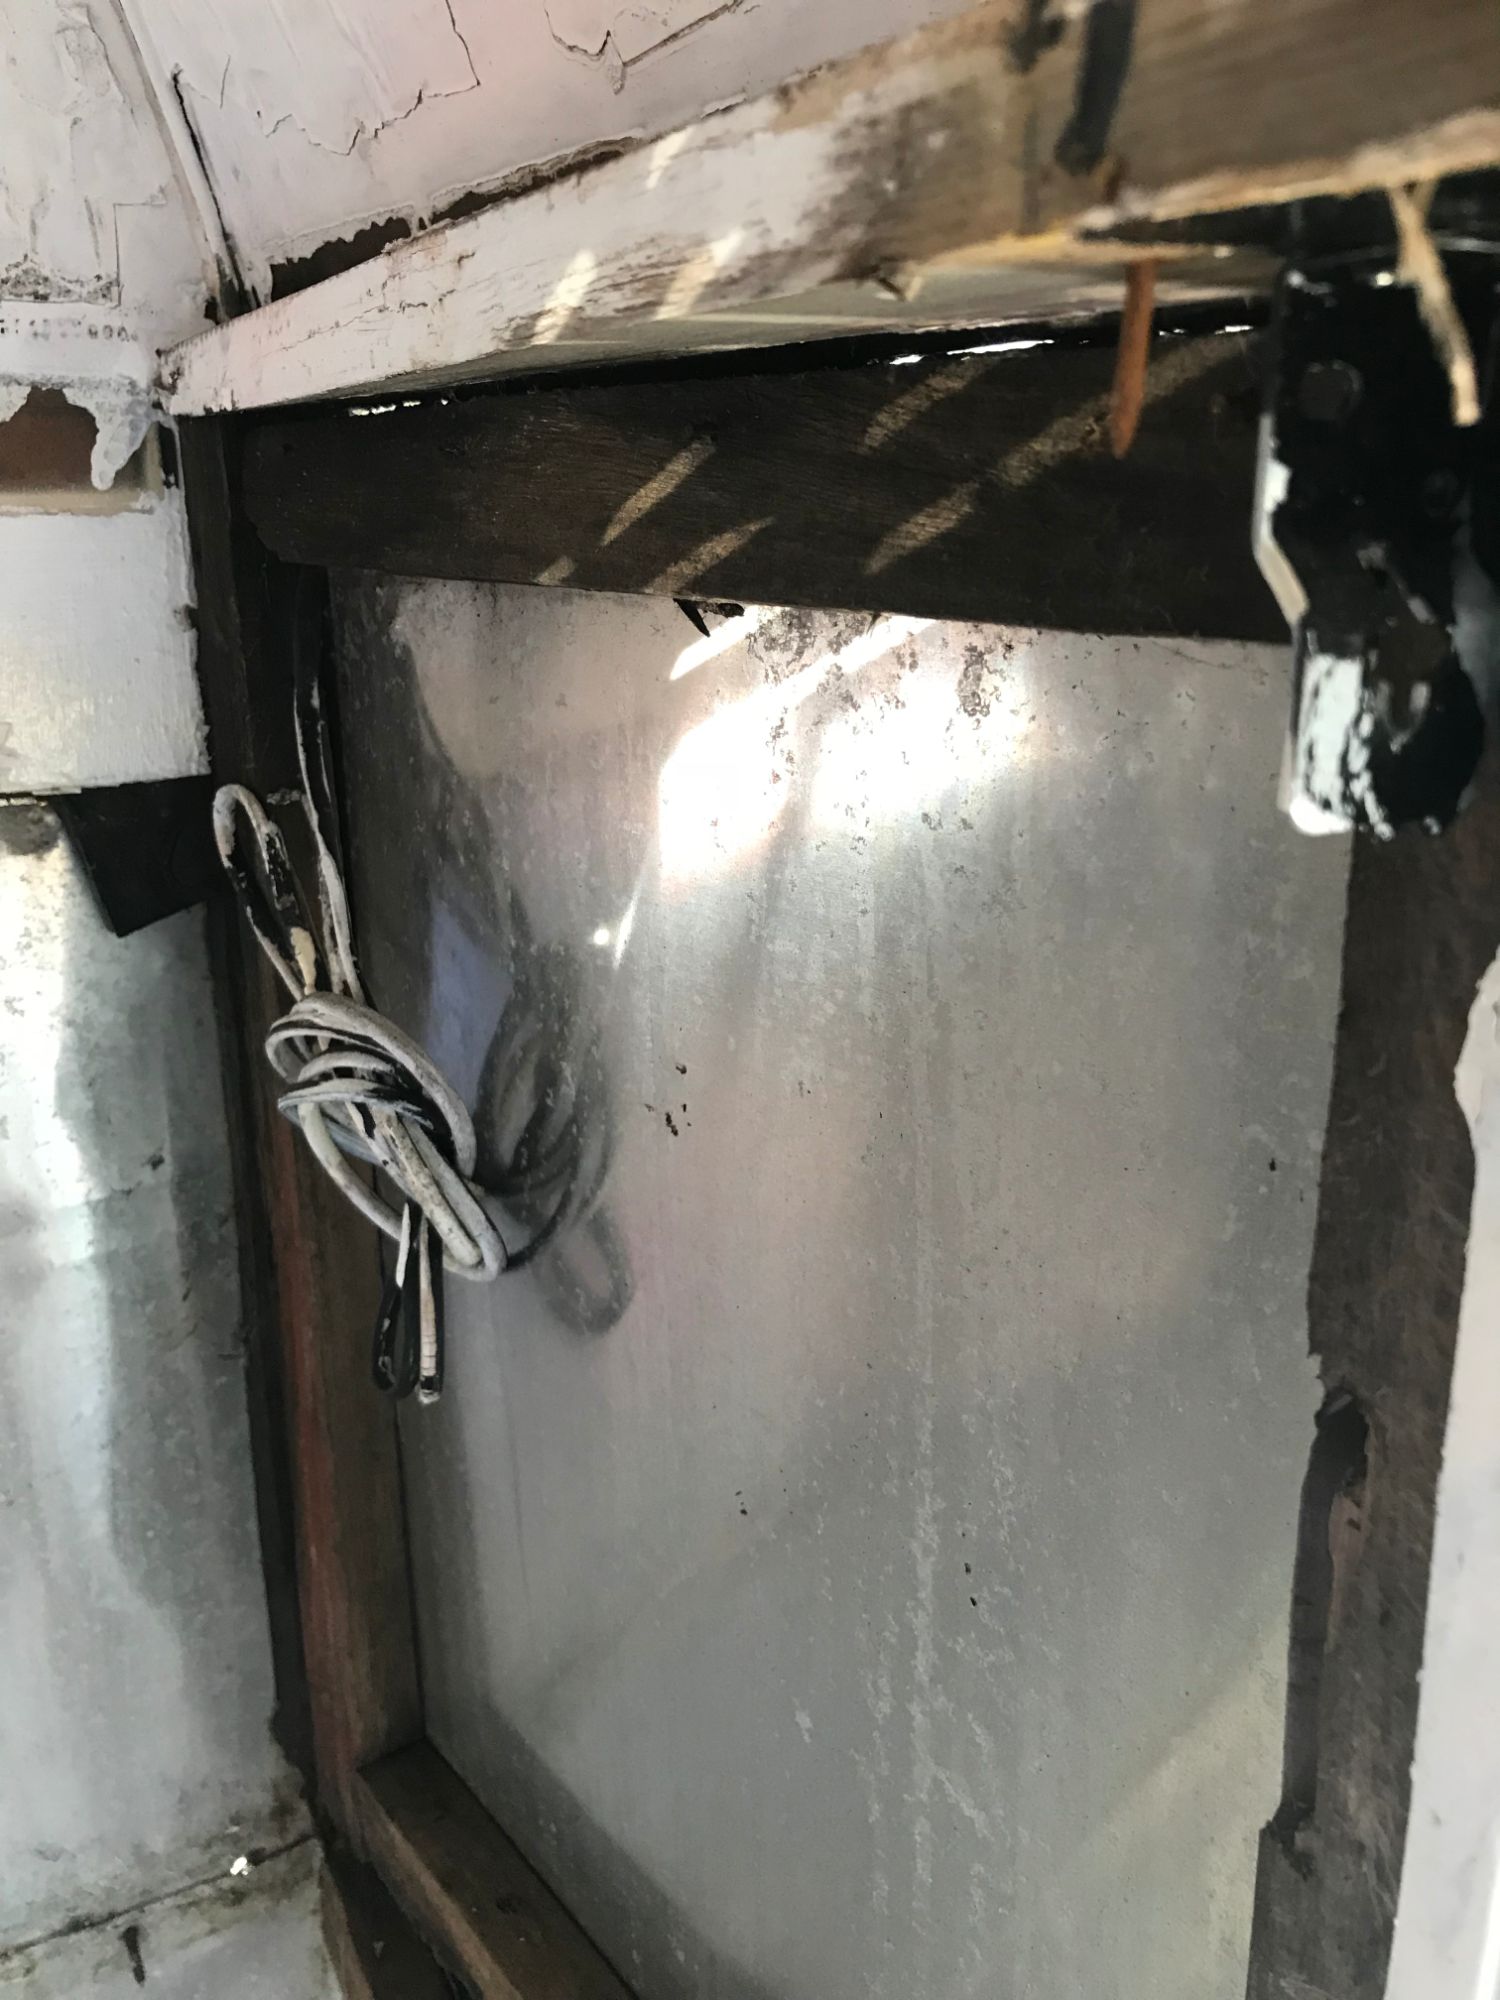
The old wooden framework was completely rotten - in many places just crumbling to dust. The difficulty in removing the lower wood frame unavoidably damaged the aluminium panels at floor level. And the final reality - or surprises, were revealed, including wheel arch covers of thin plywood!
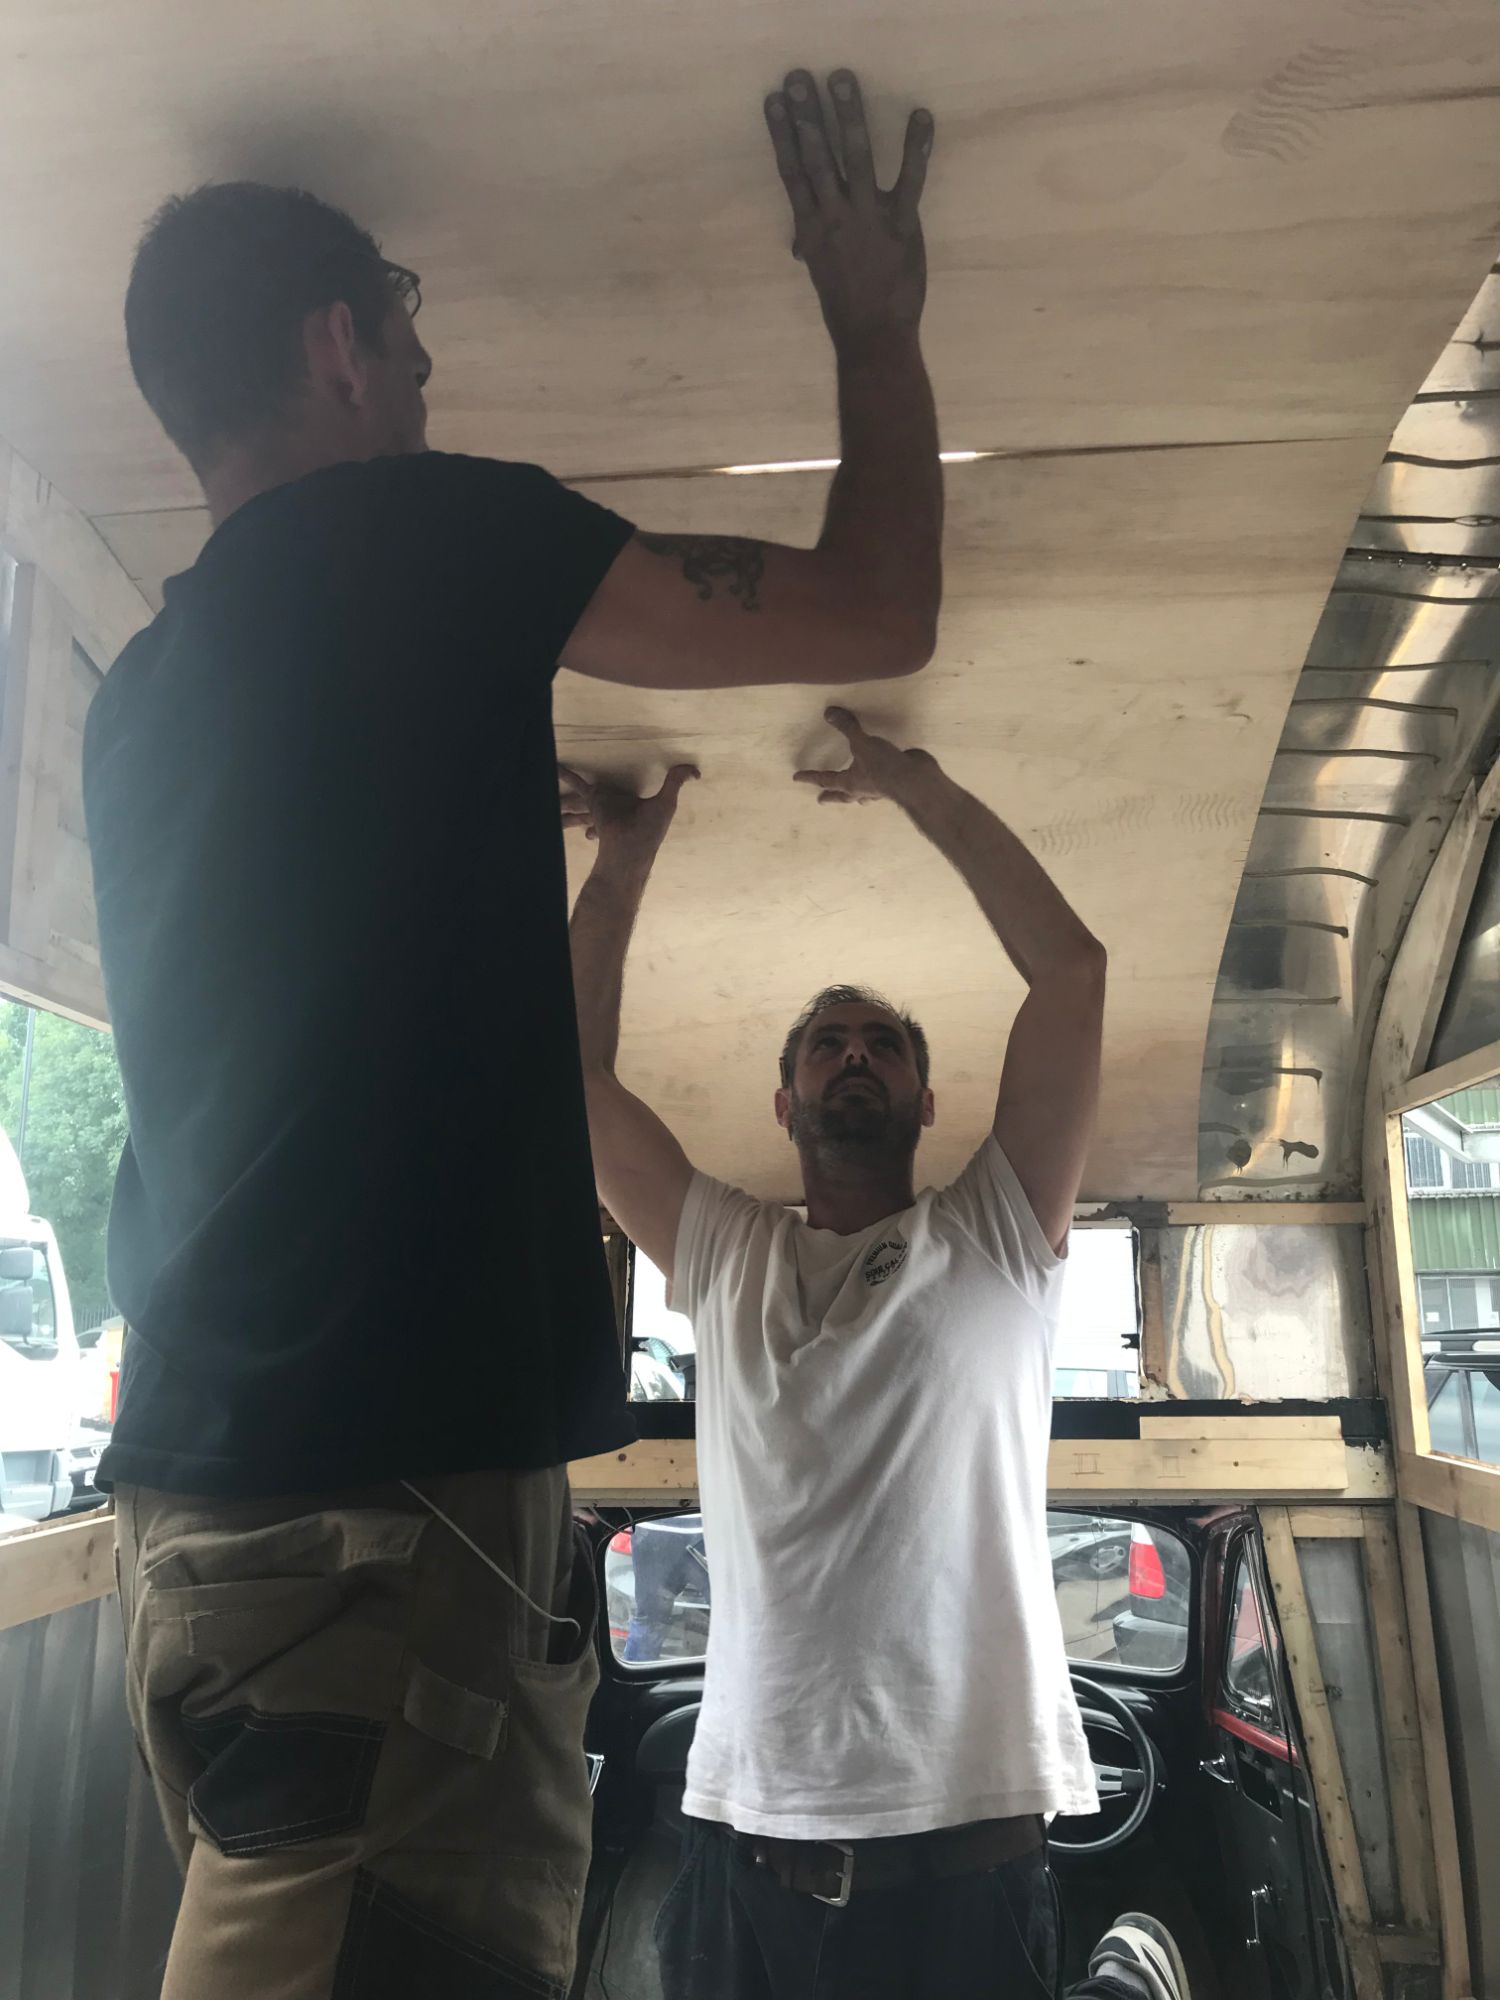
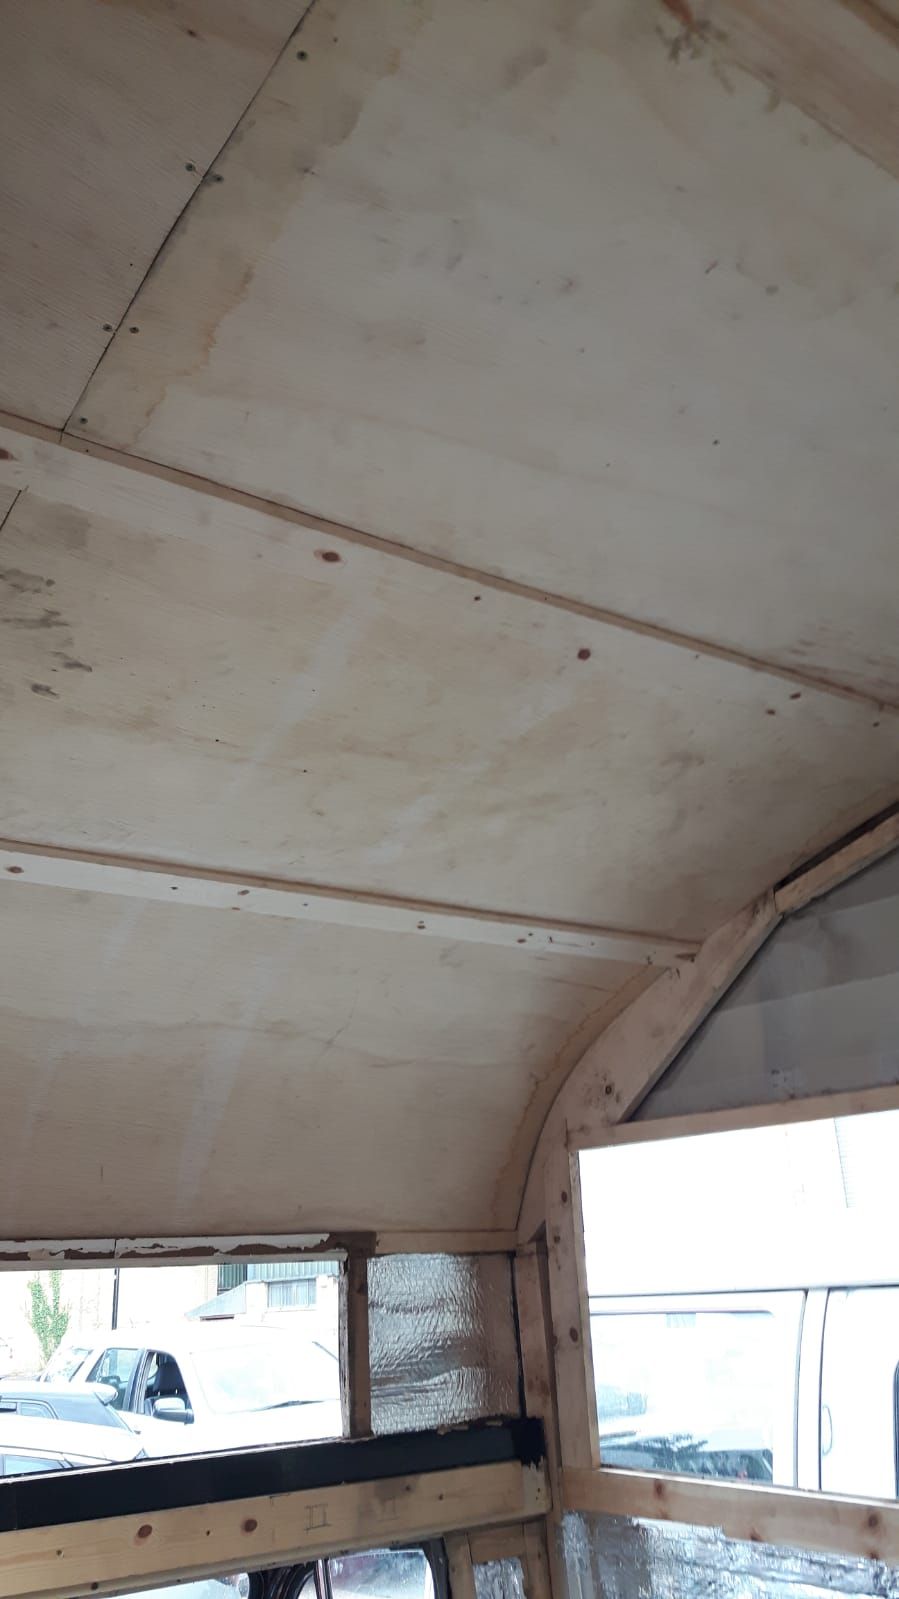
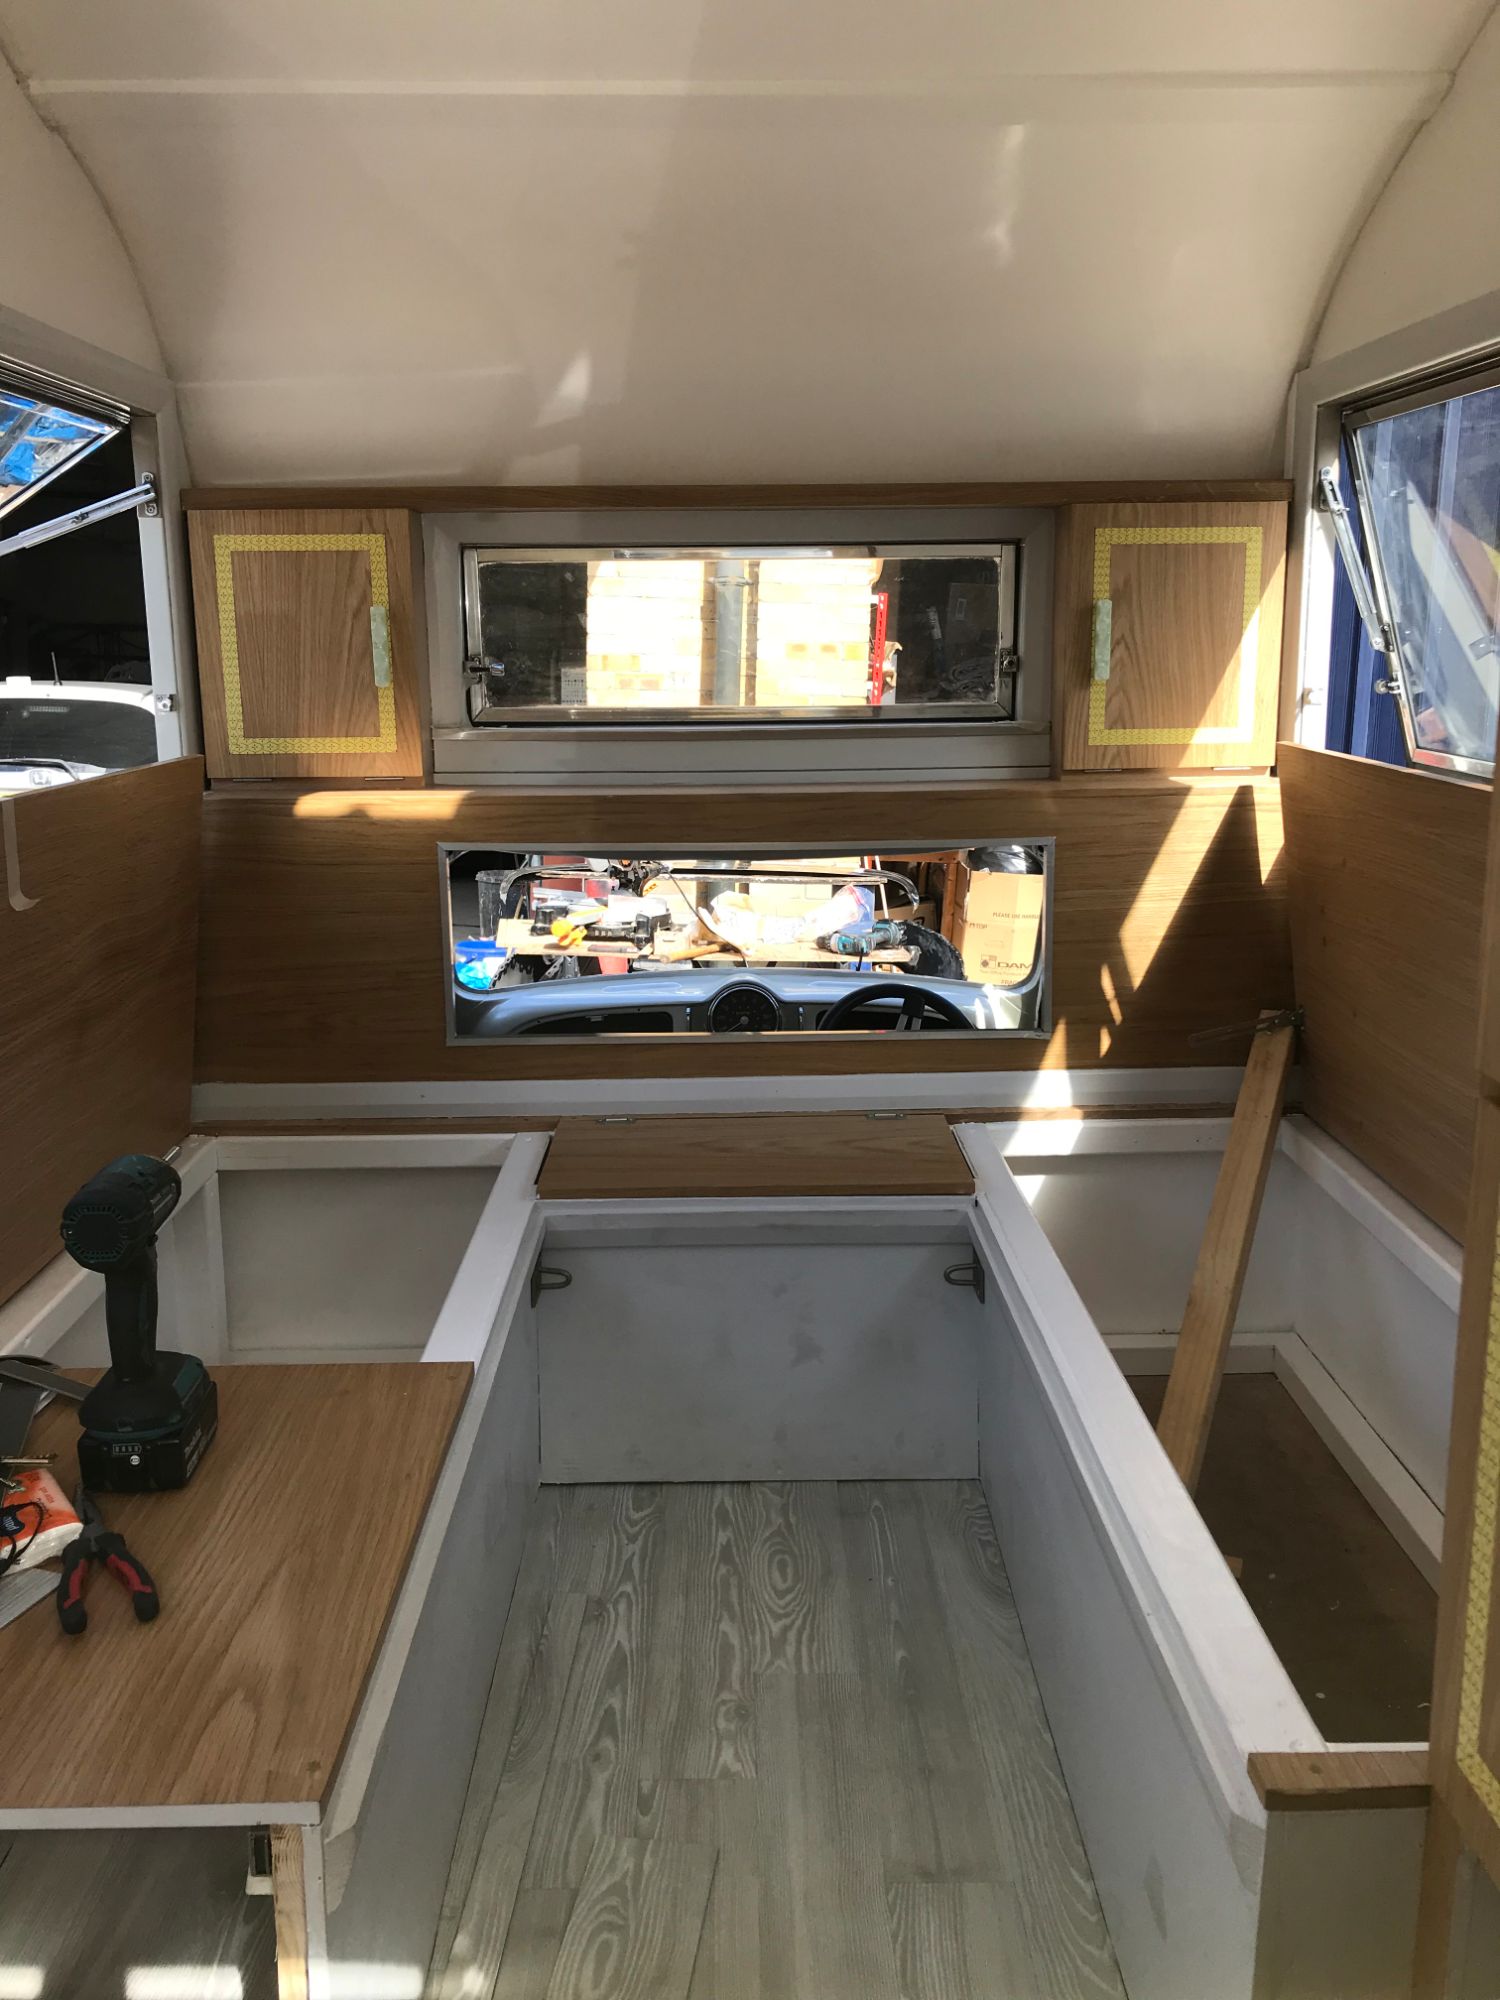
A BEAUTIFUL NEW CEILING
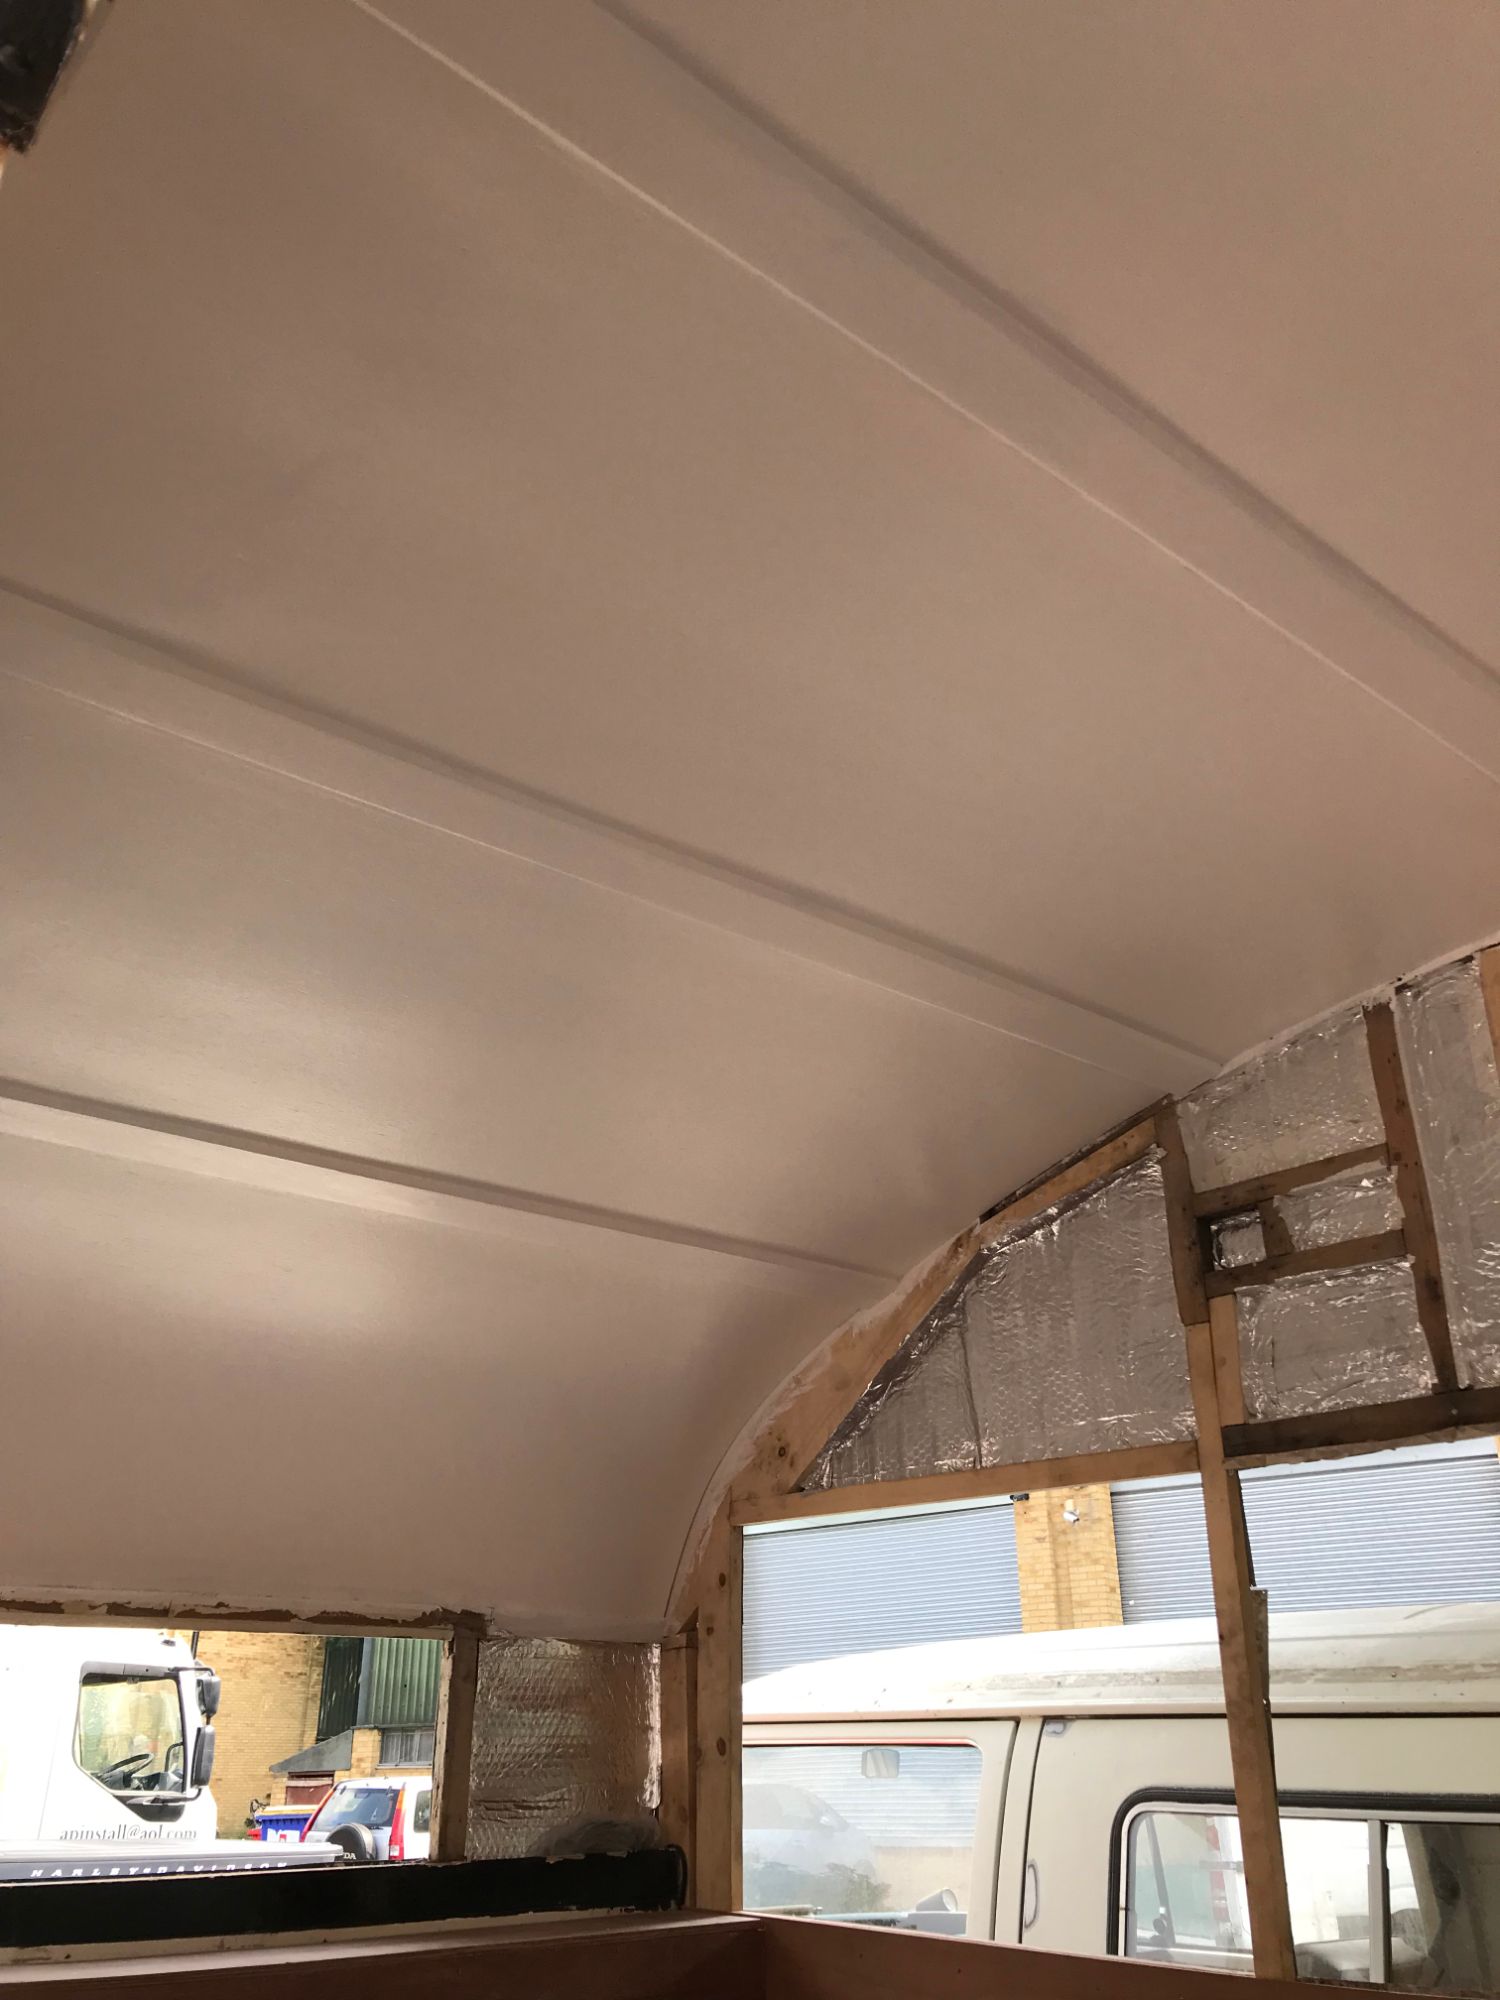
The old ceiling had to be removed, along with the beams - two of which I found were structural supports. The new ceiling was built by curving three layers of huge sheets of short-grain flexible ply, along with chamfered, replacement timber beams. The day I painted the new ceiling was one of the best of the project - Billy was starting to take shape!


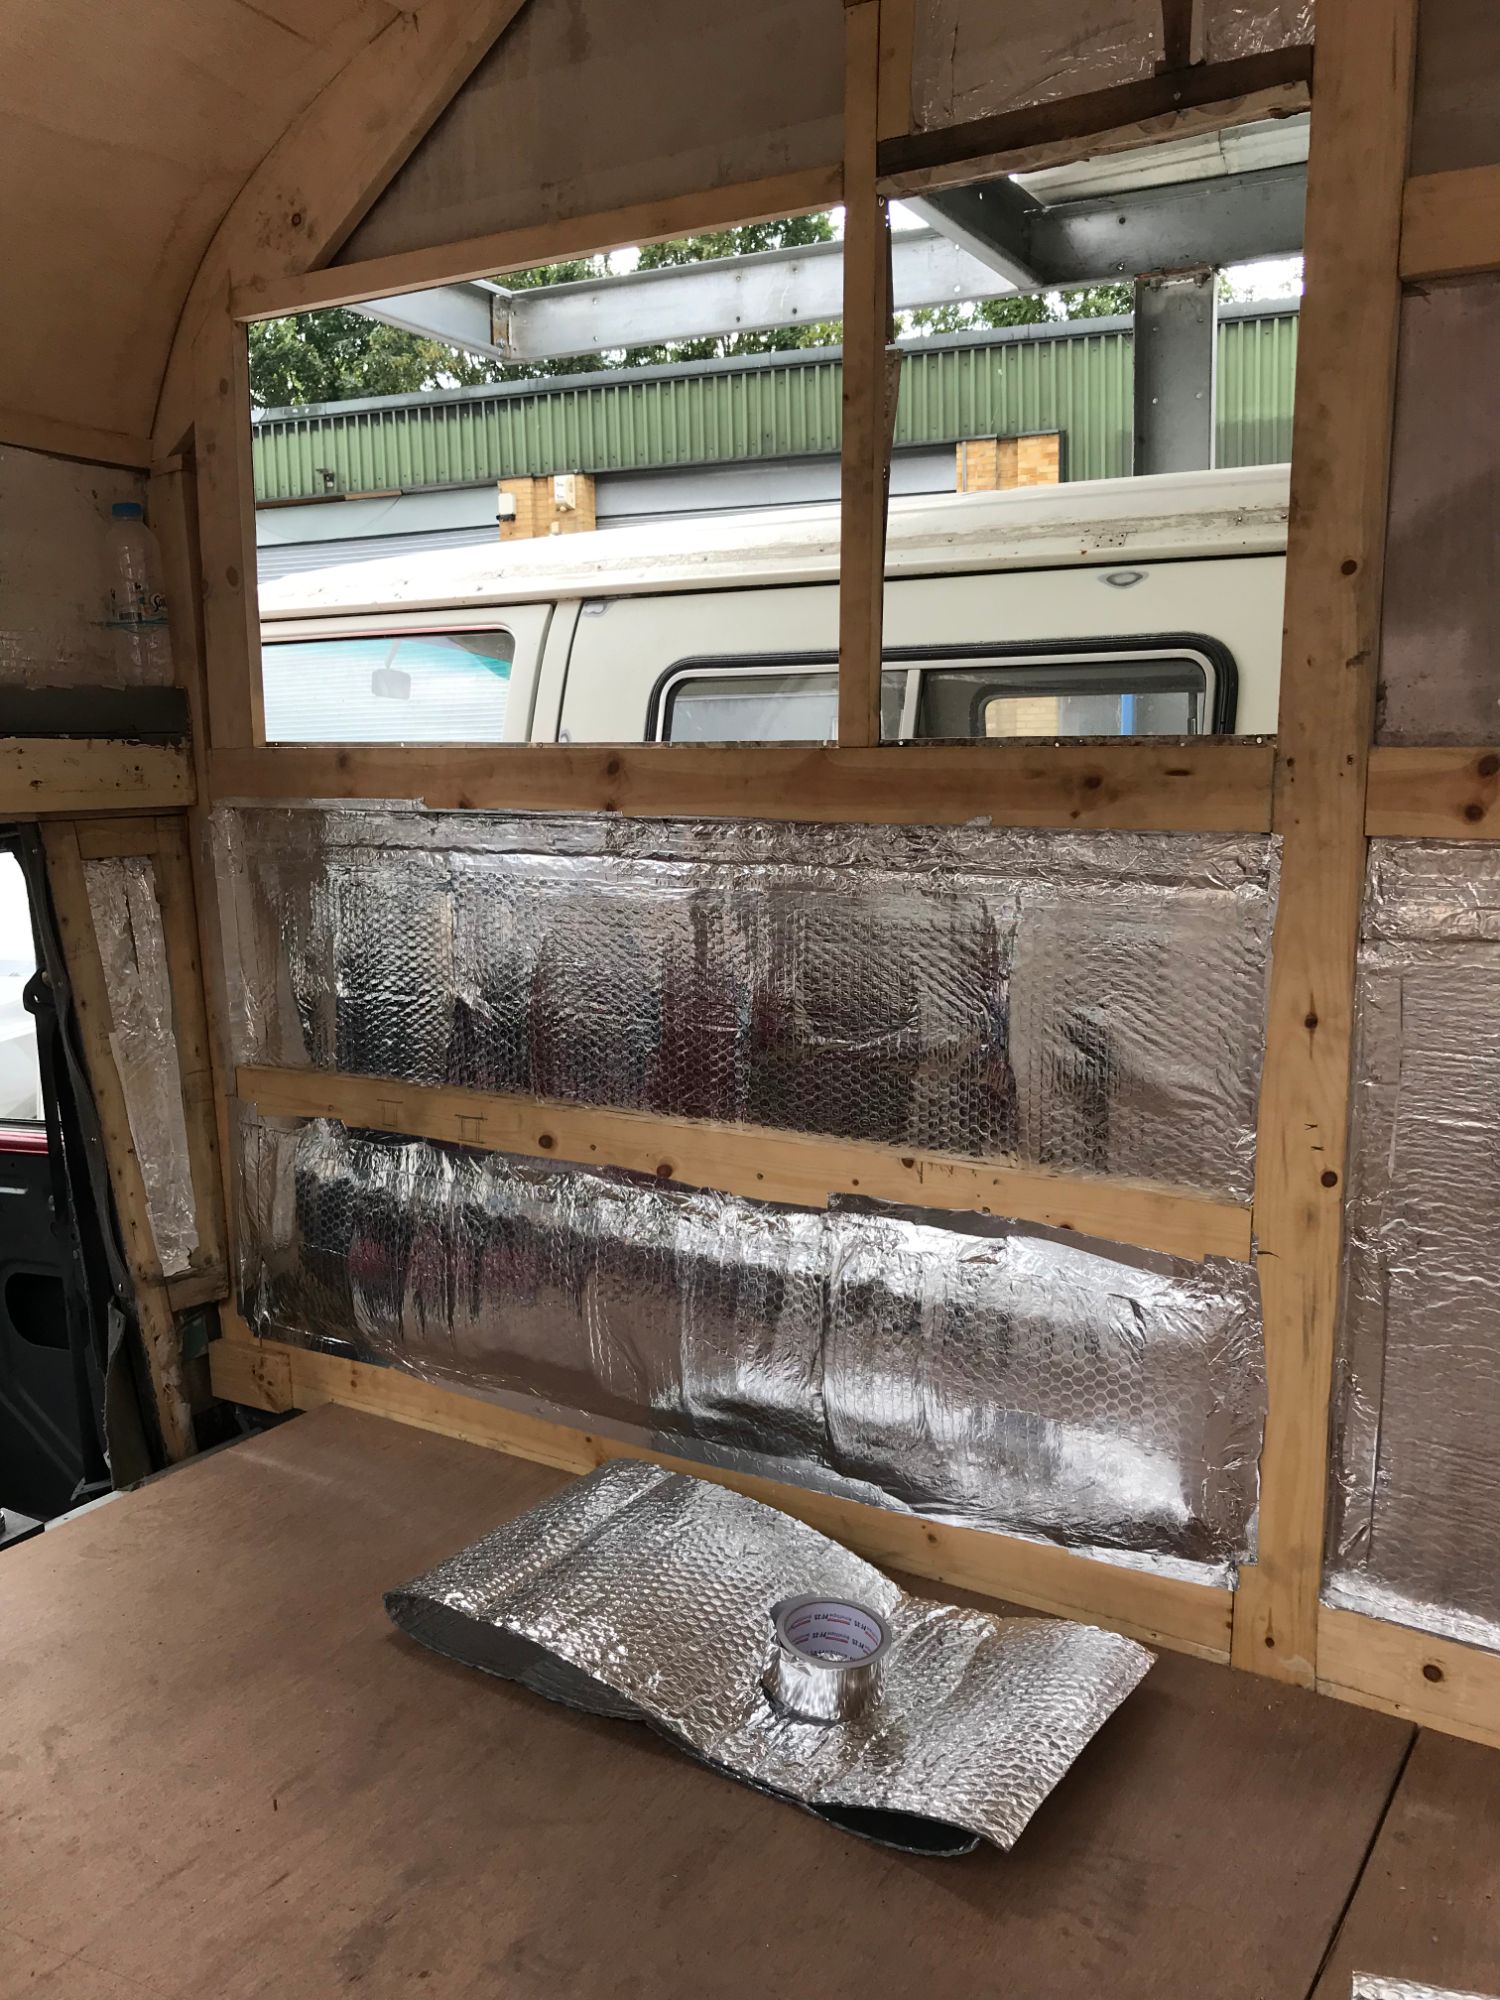
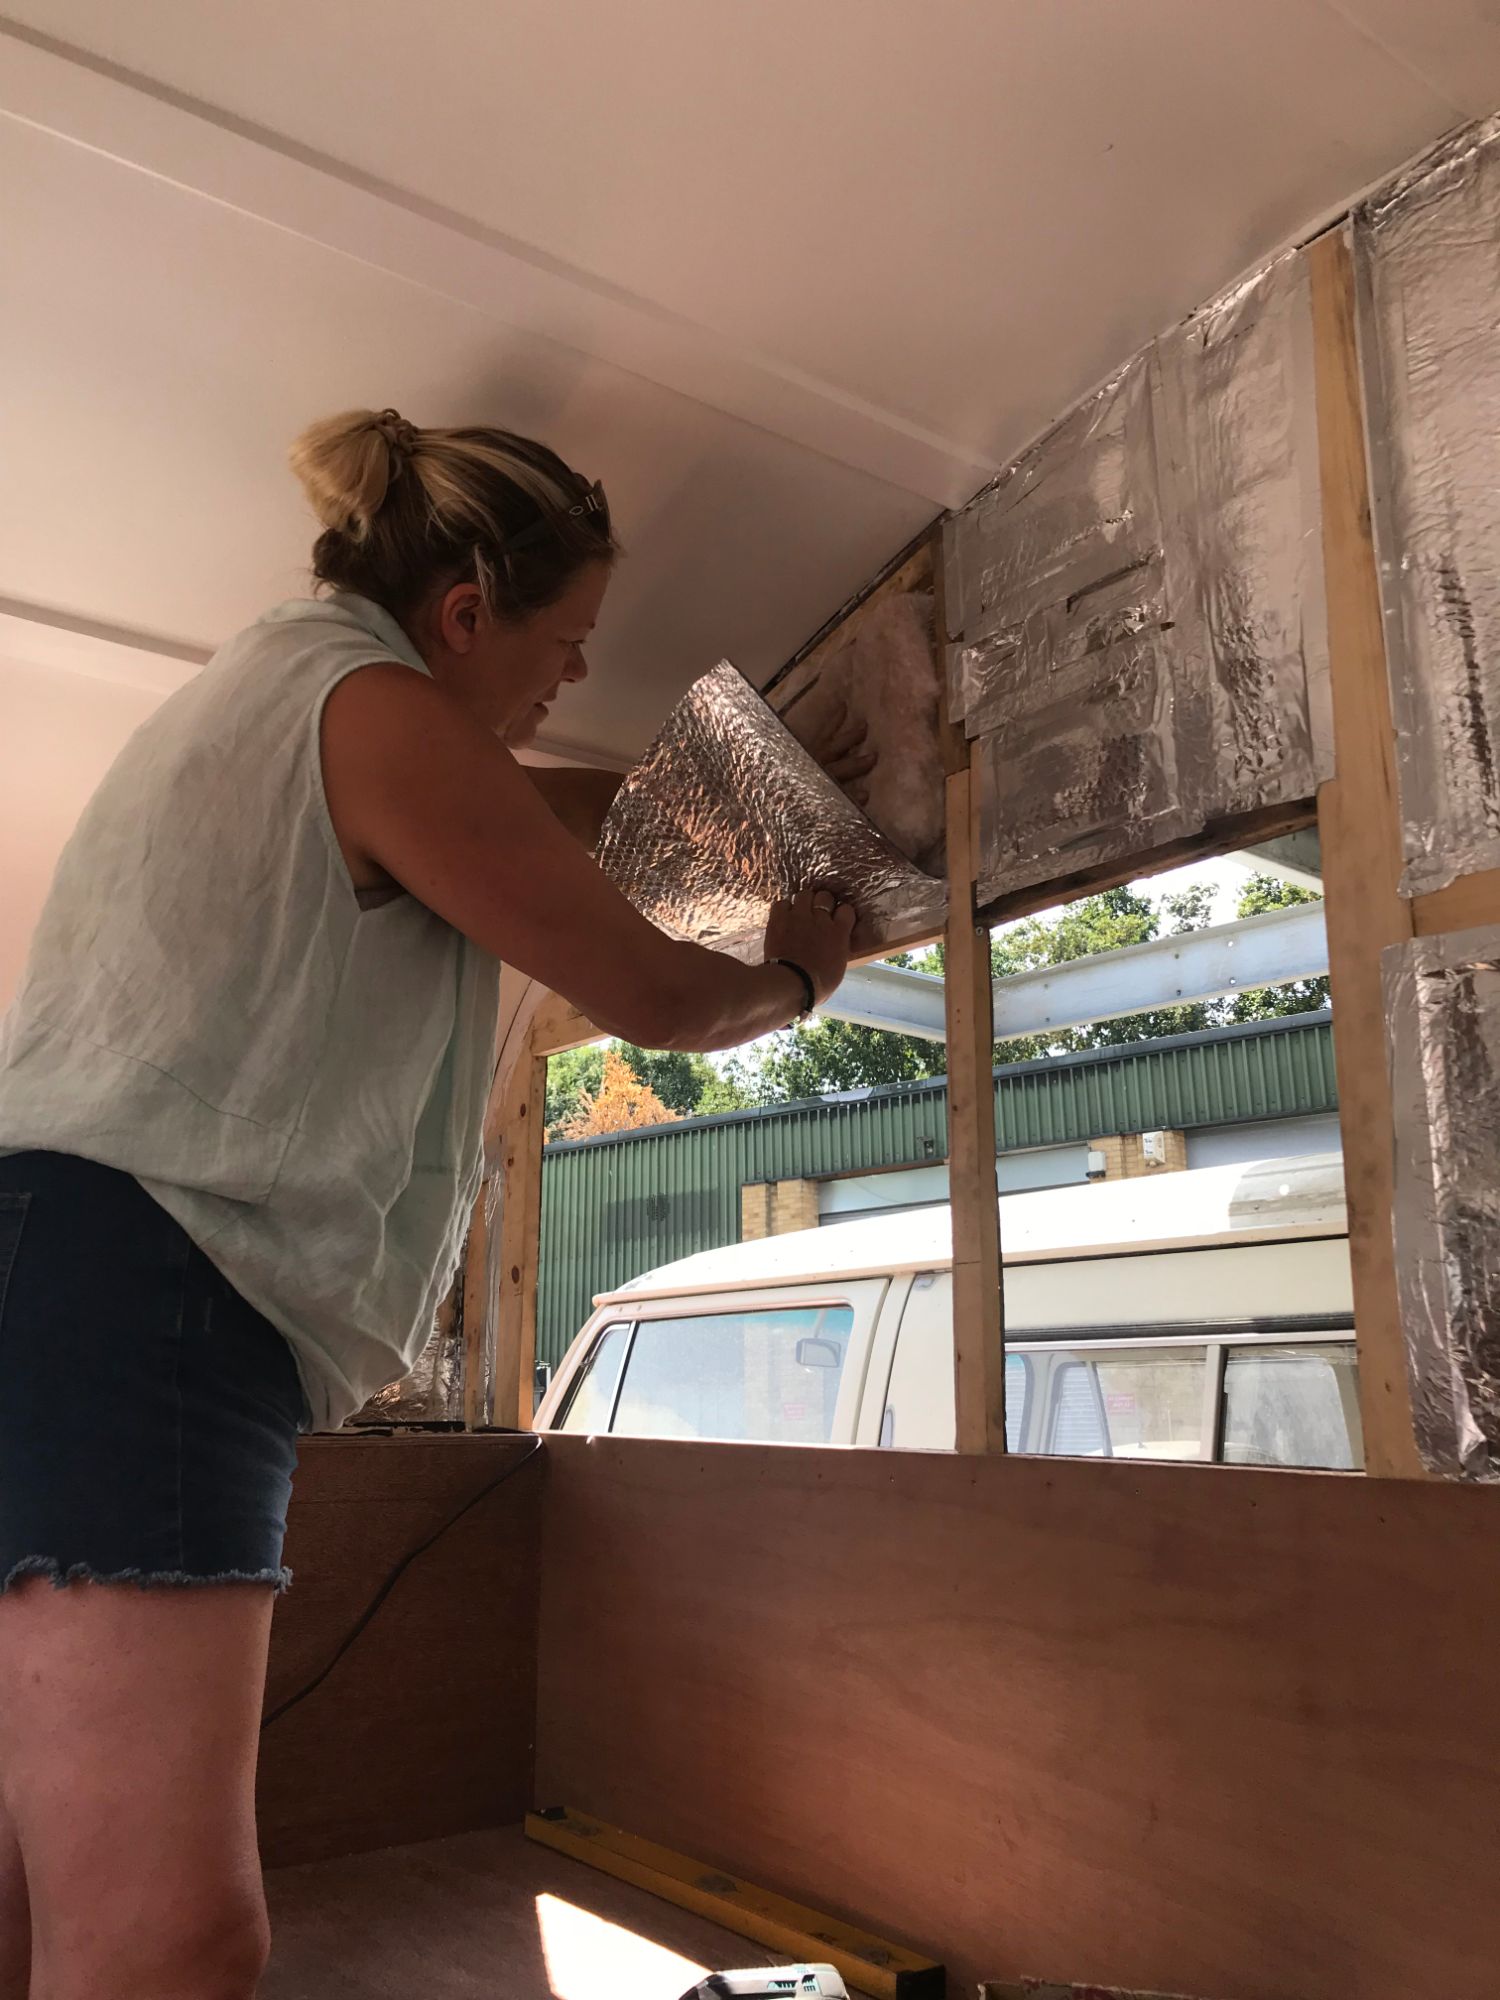
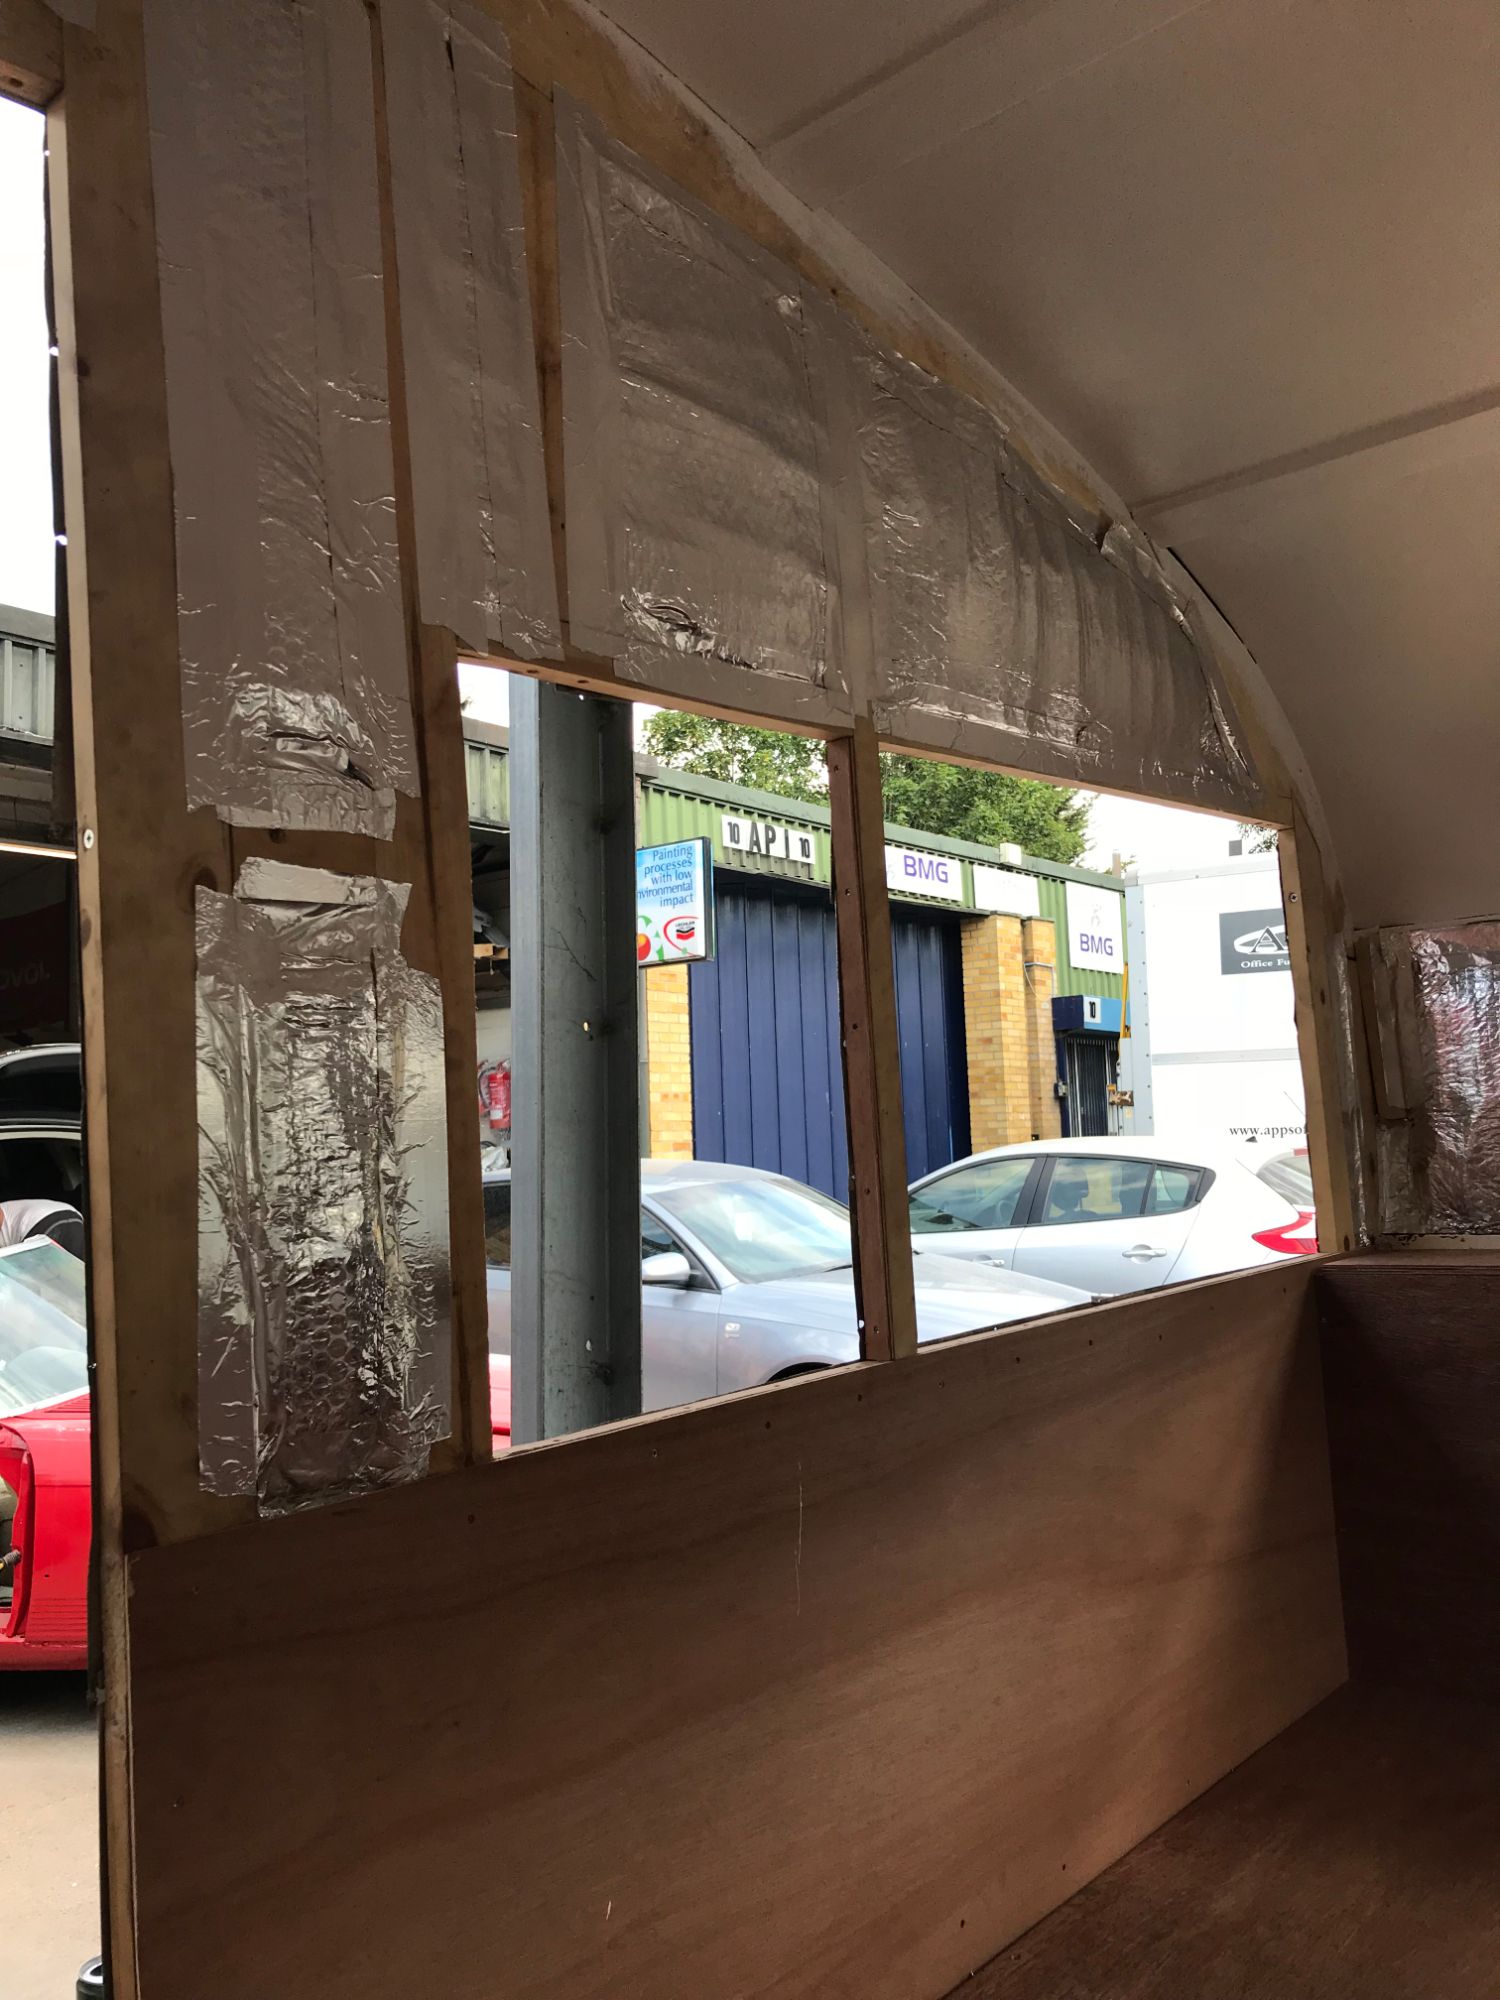
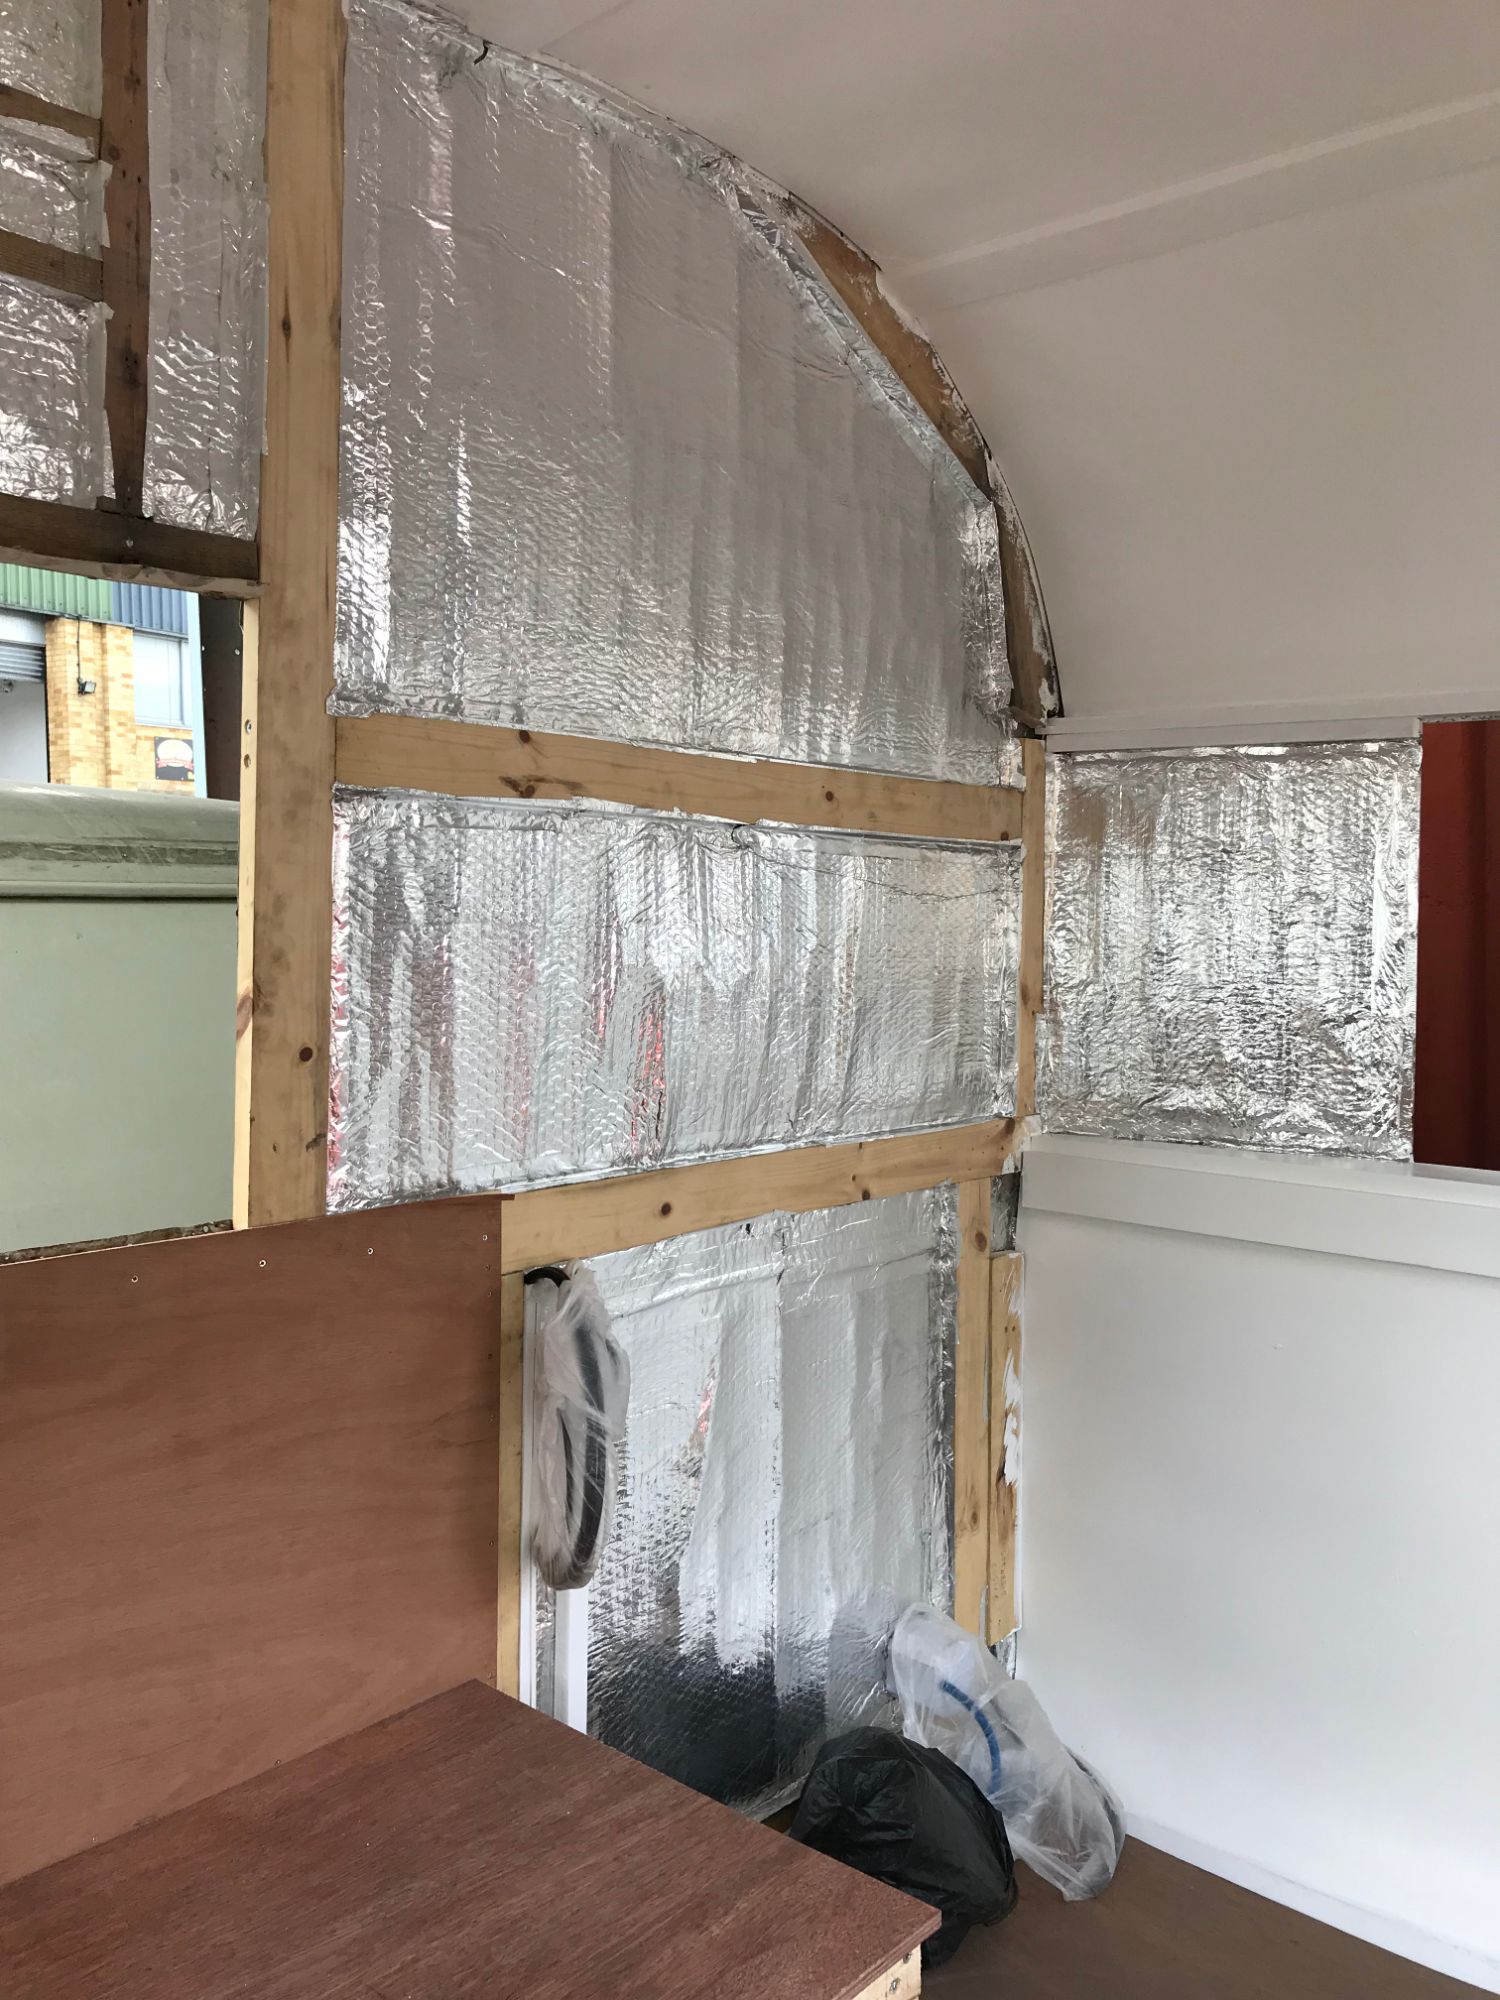
INSULATION
In our scorching Summer of 2018, on a day when it was over 30 degrees, it was time to get the insulation completed. I fixed recycled plastic fibre insulation between two layers of double-sided refelctive foil, all secured with aluminium foil tape - insulating every inch of the caravan.
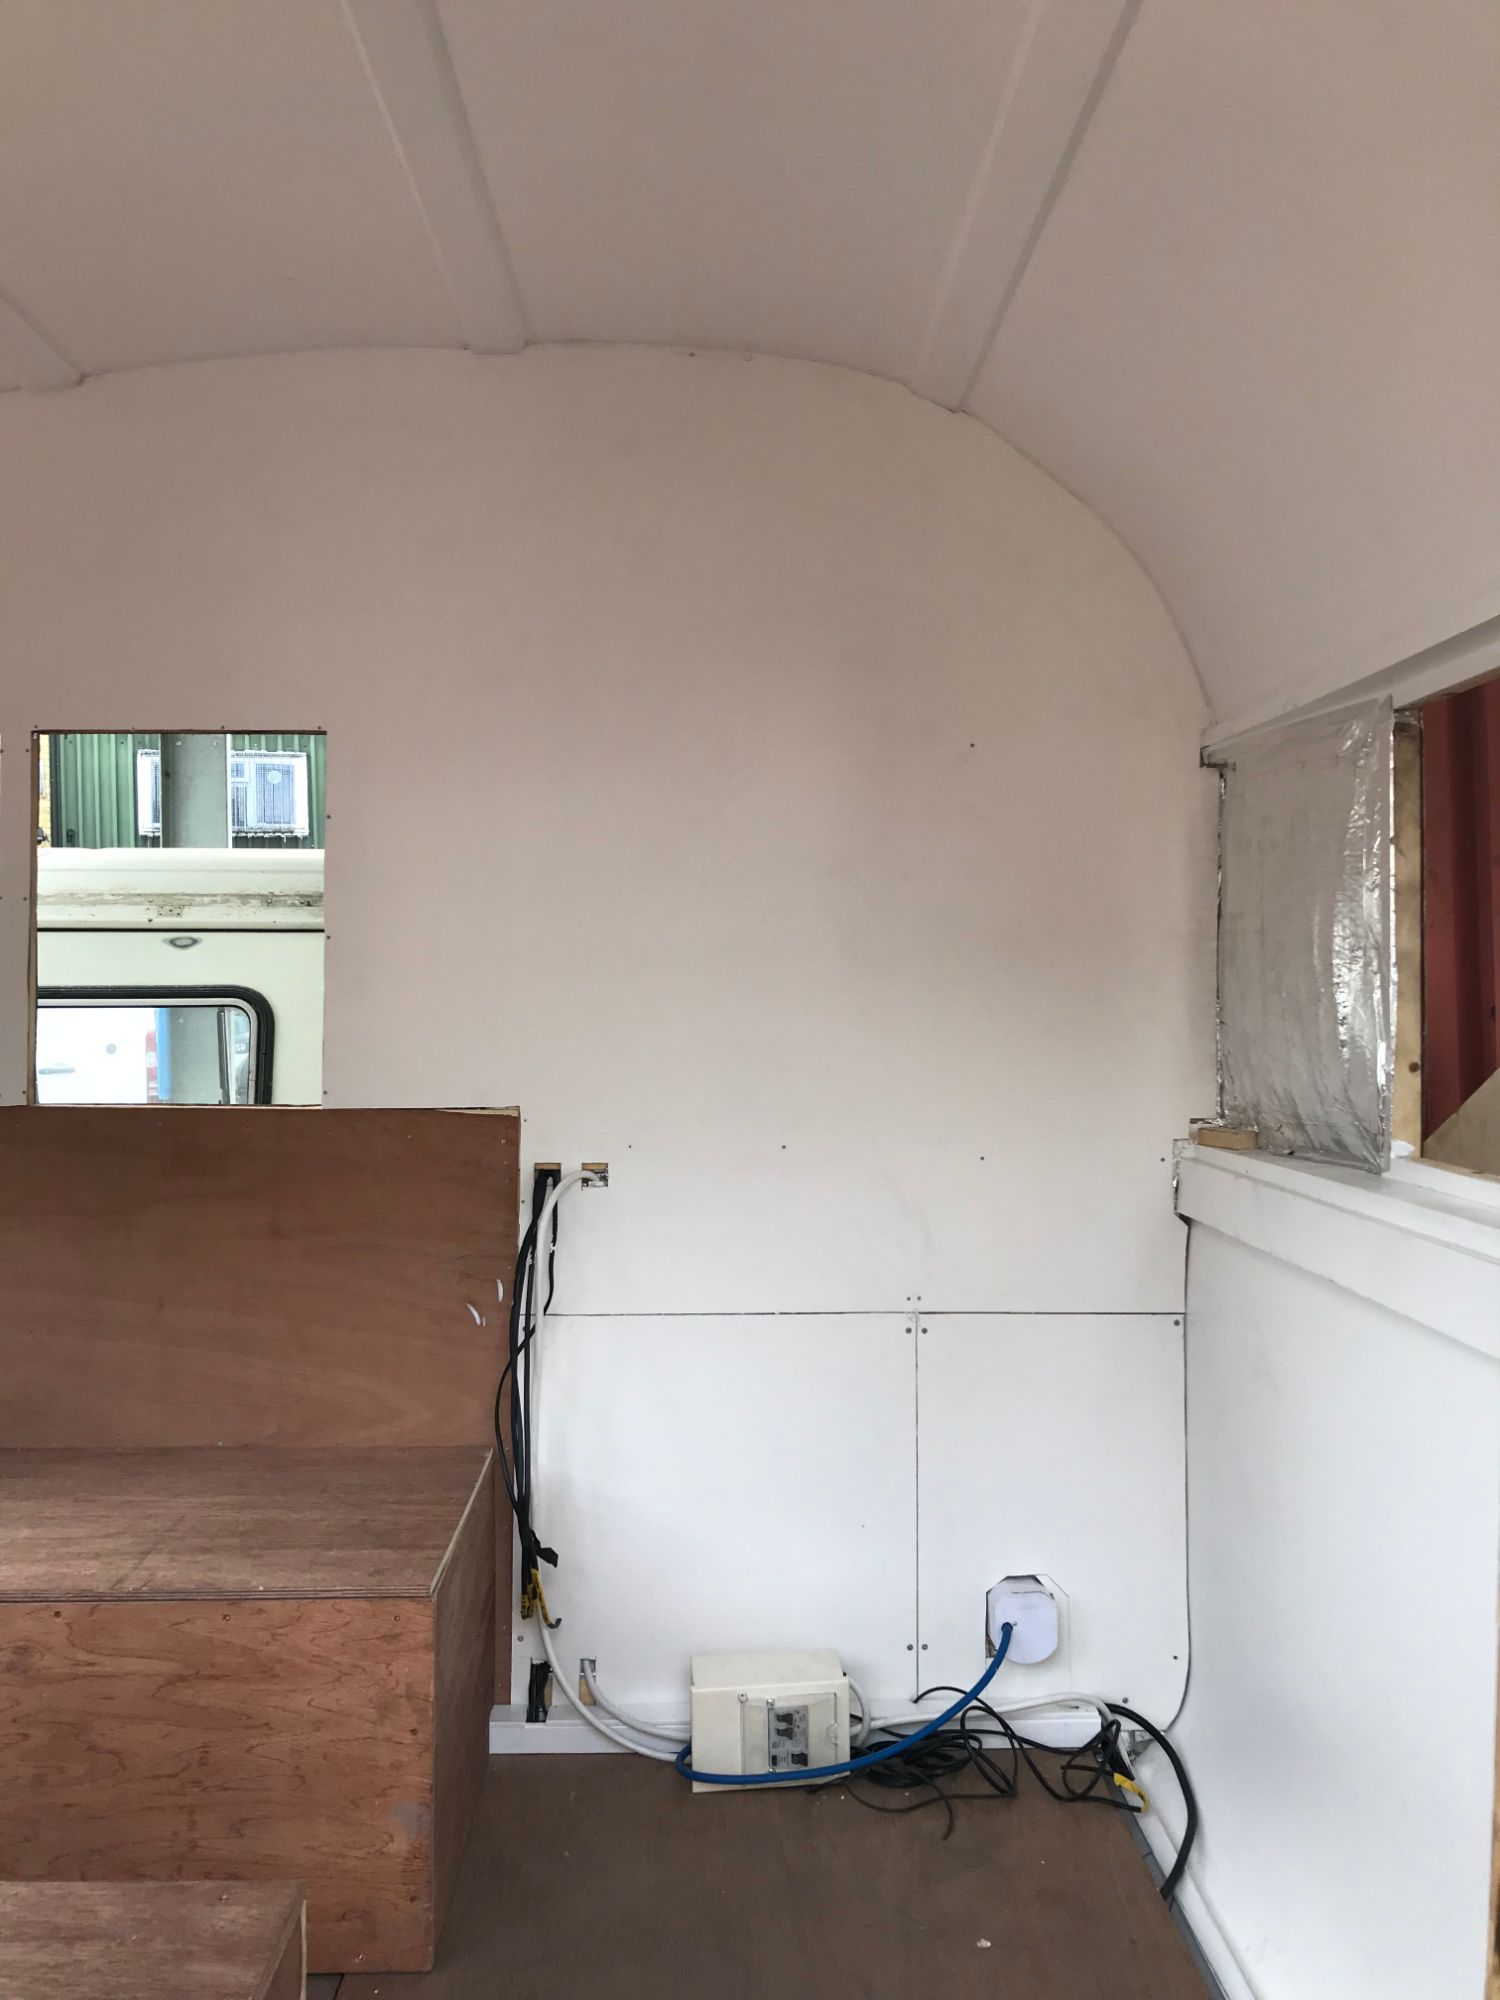
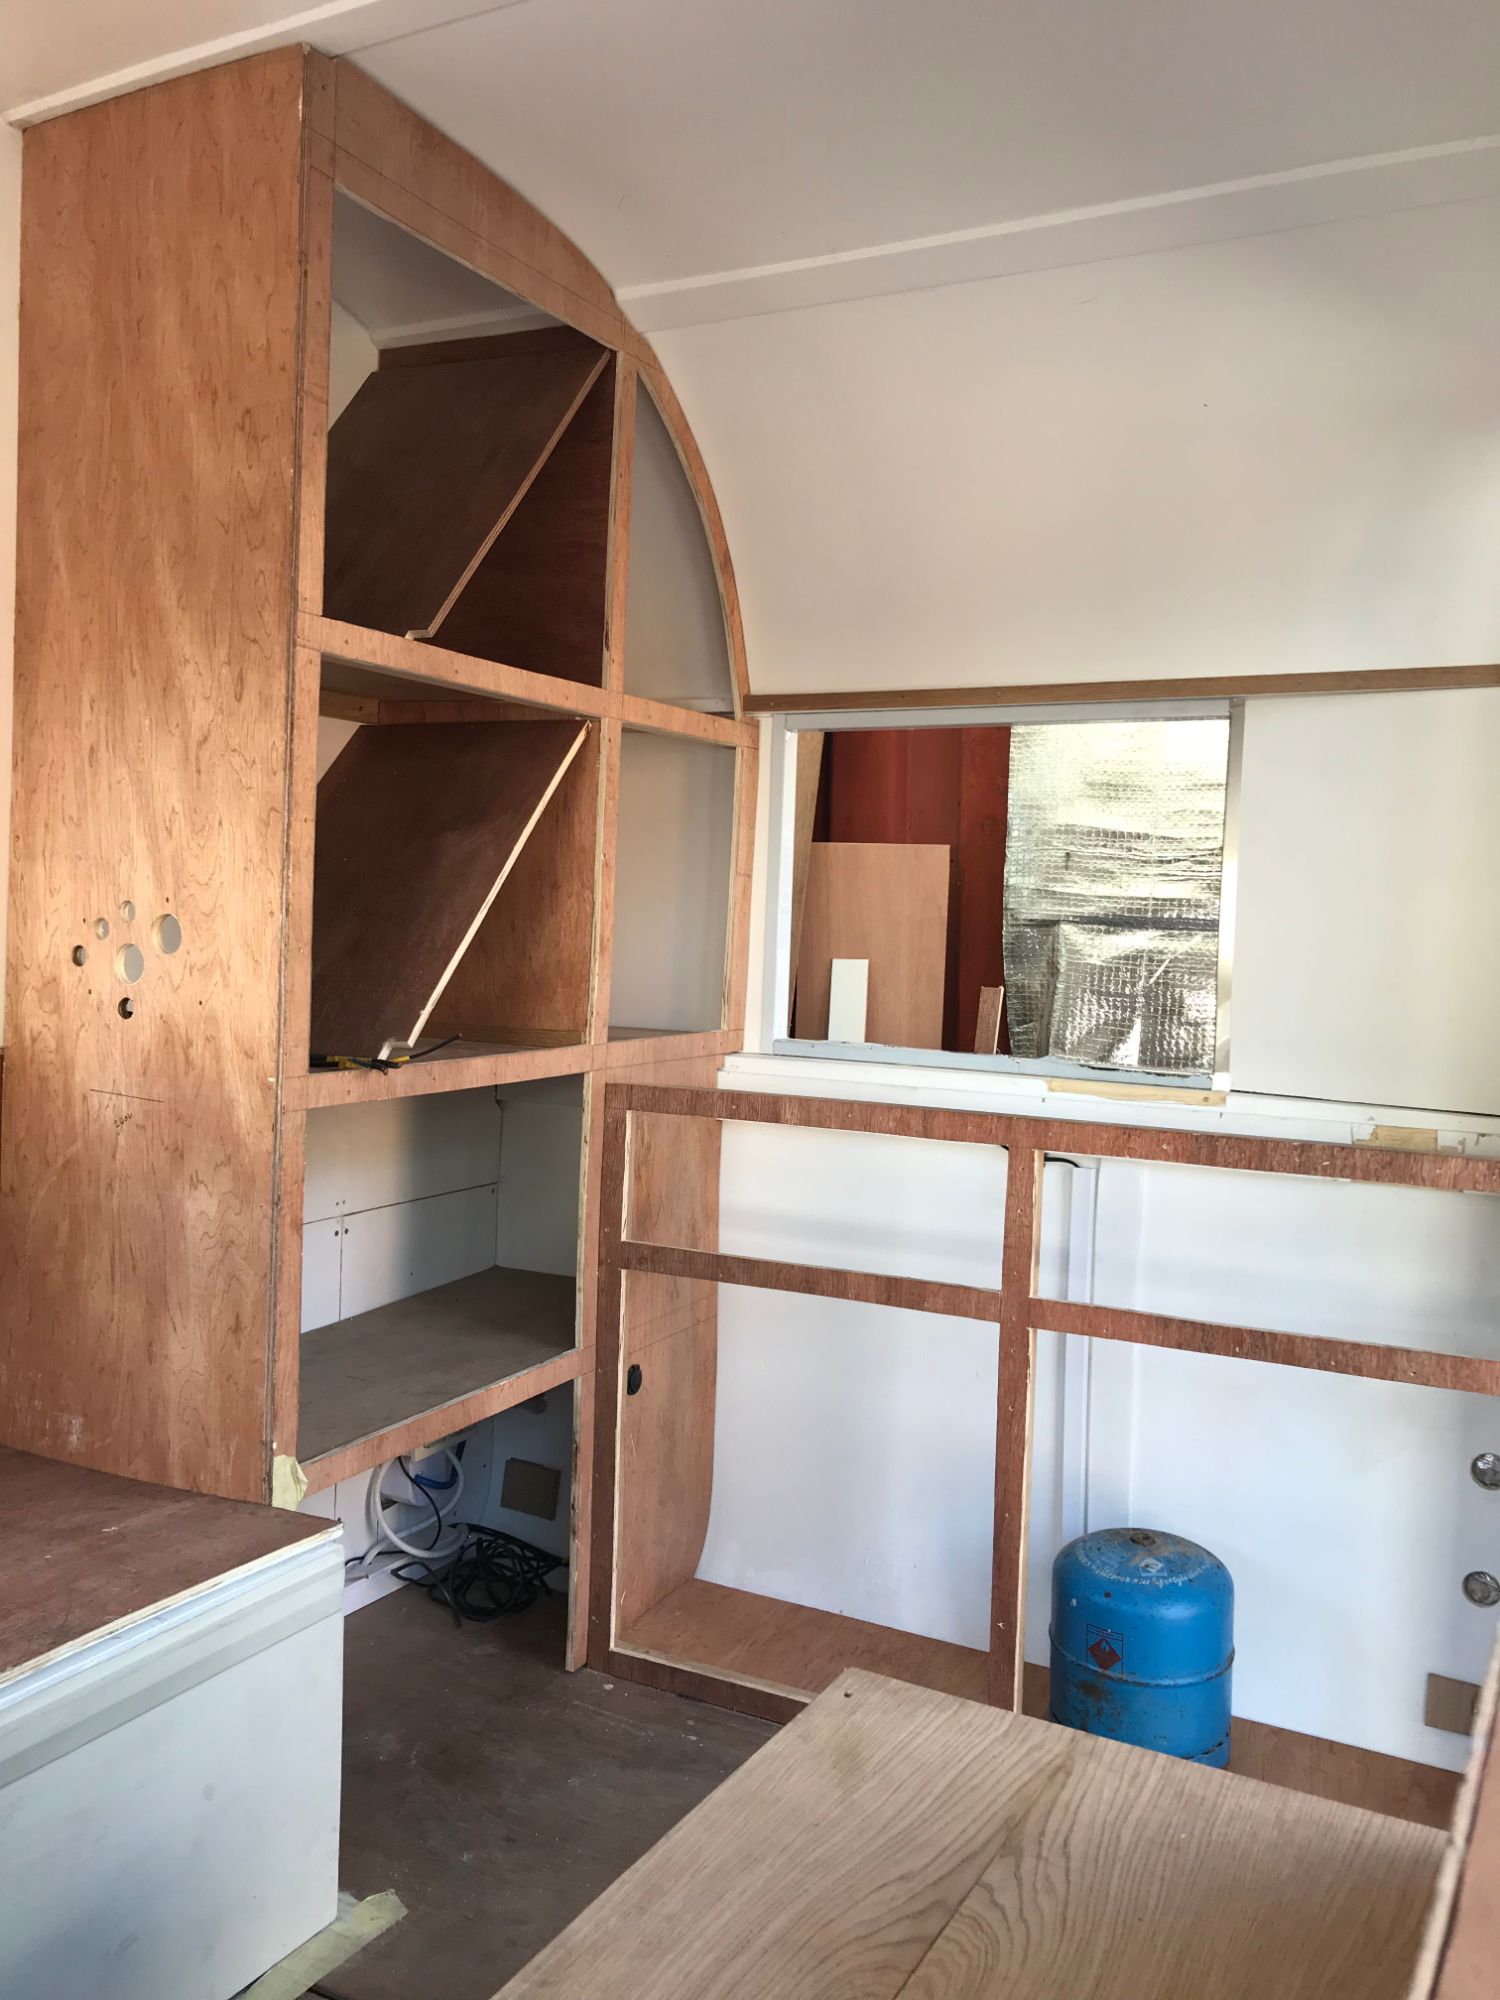
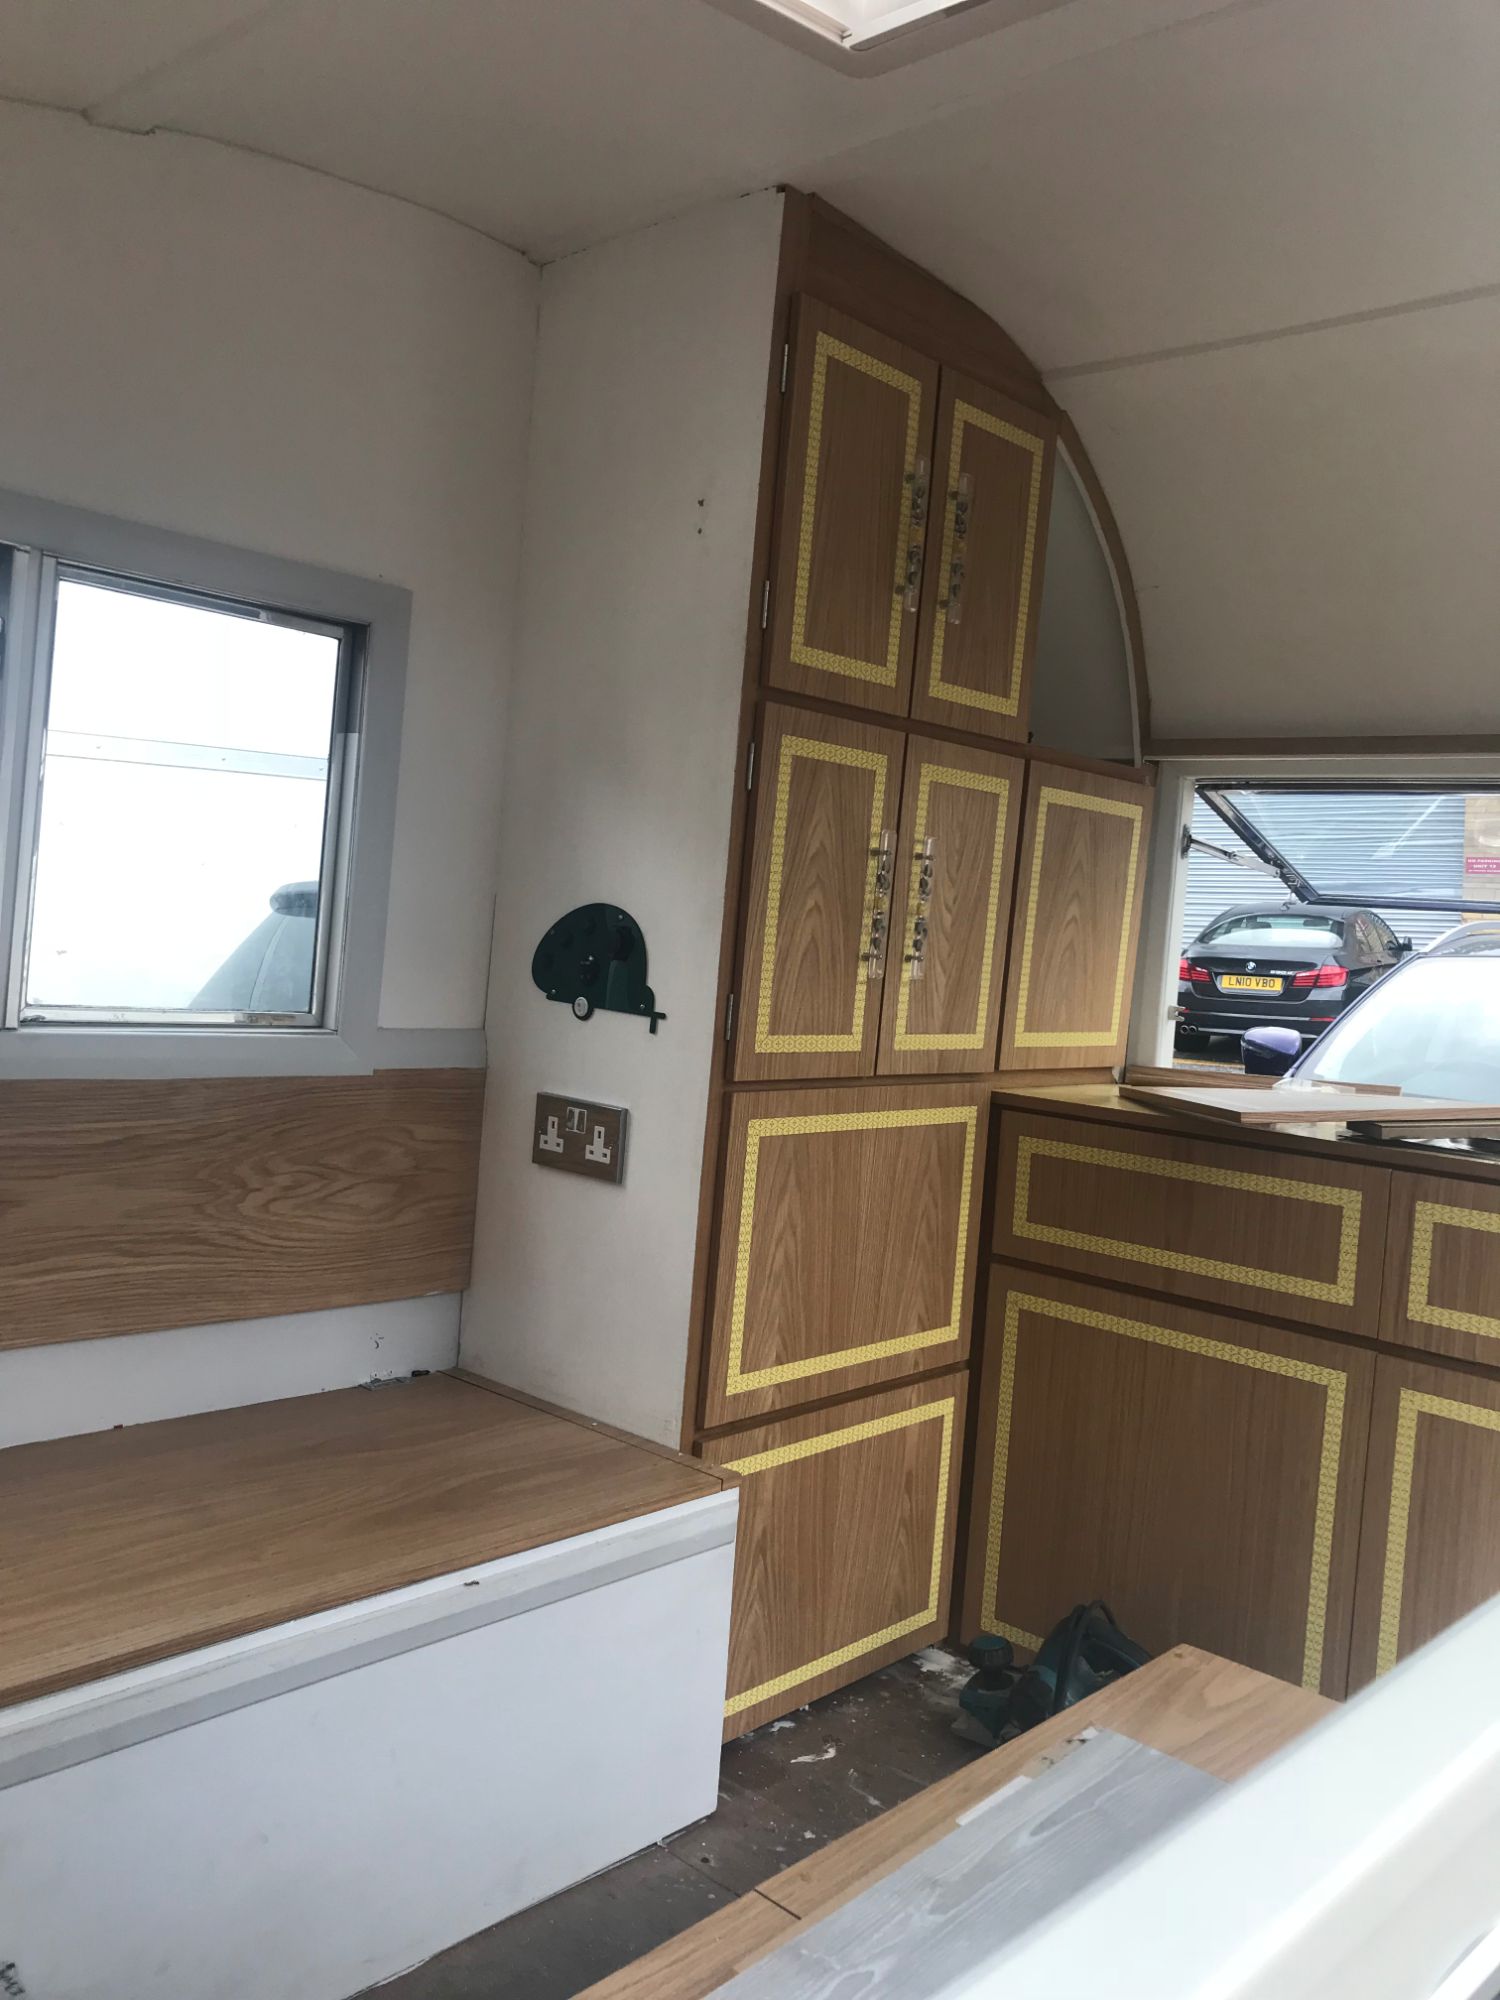
THE NEW INTERIOR TAKES SHAPE
Lightweight wood was used for panelling and structural timbers, and the panels finished with Oak veneer. The door fronts were made out of solid light Oak.
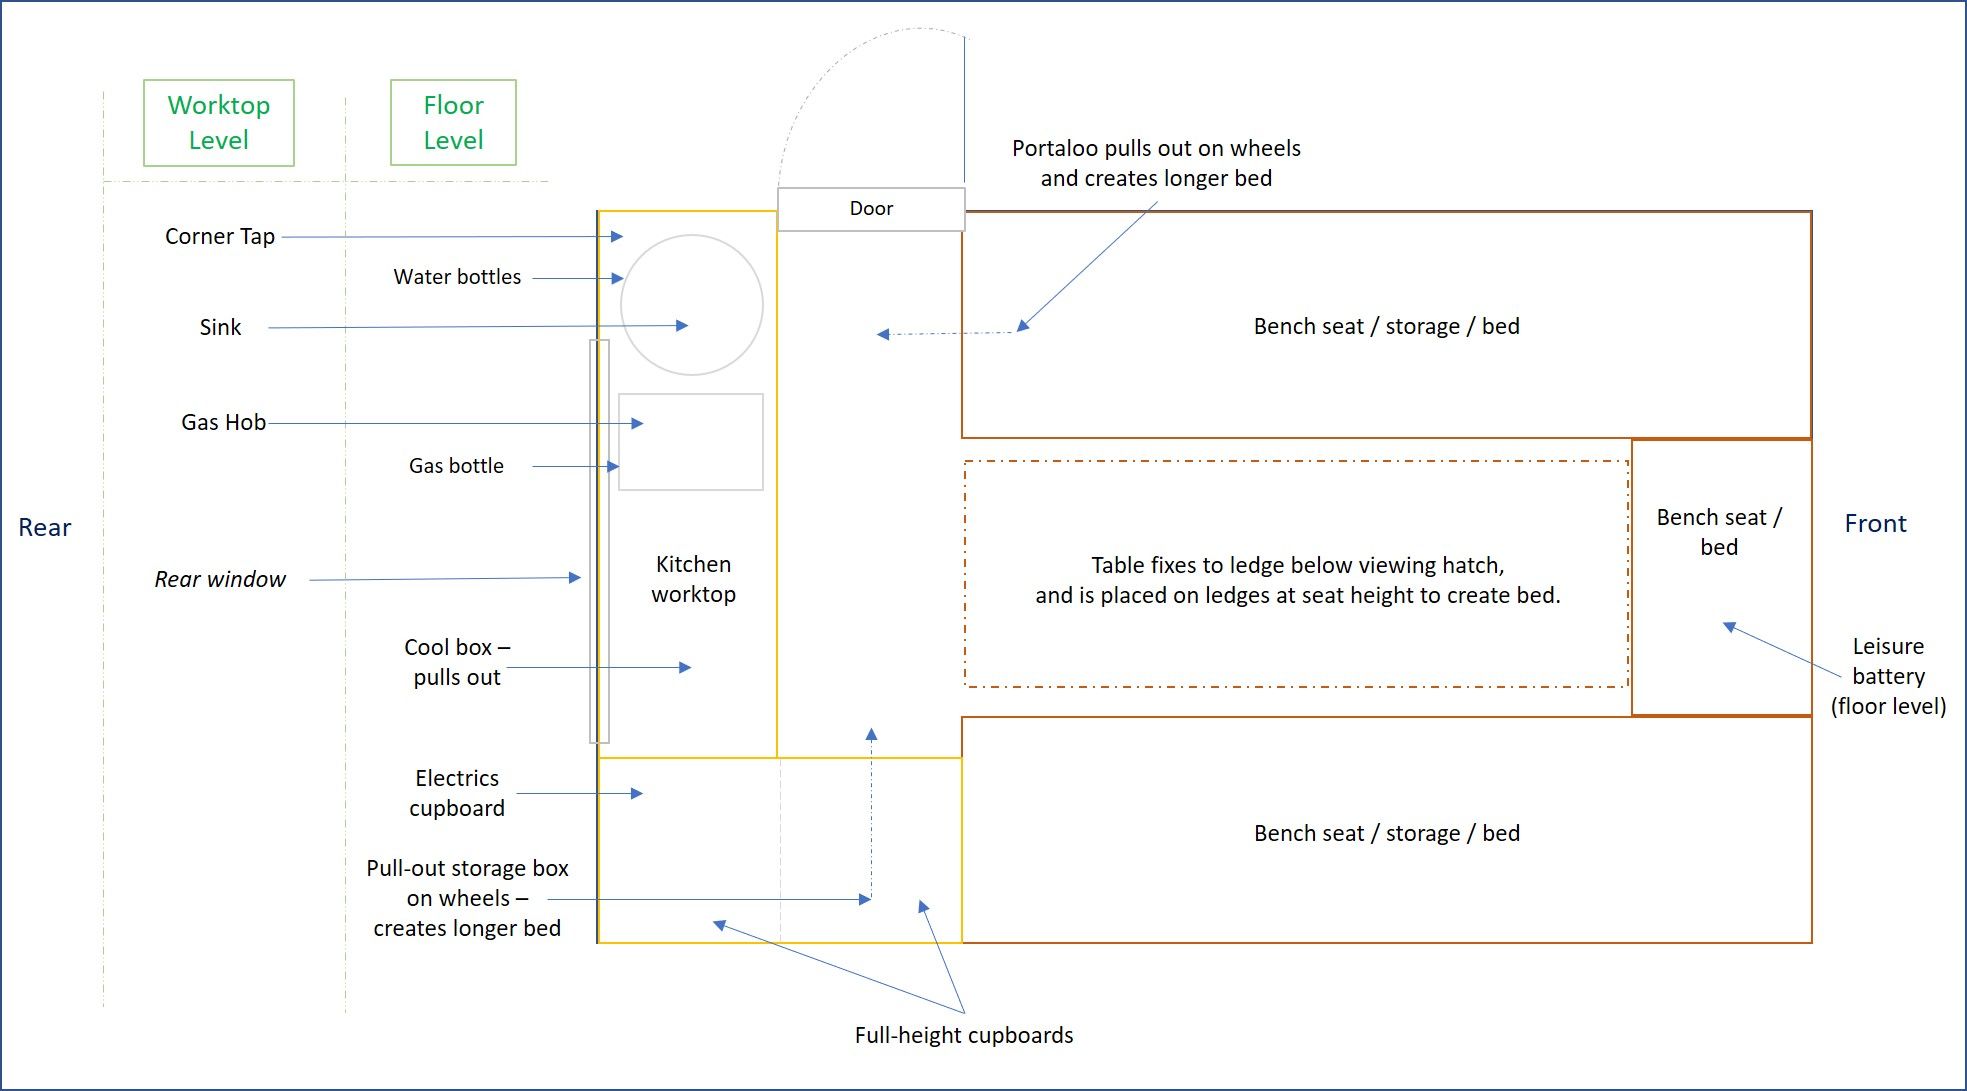
The complete floor plan layout is at the bottom of the page.

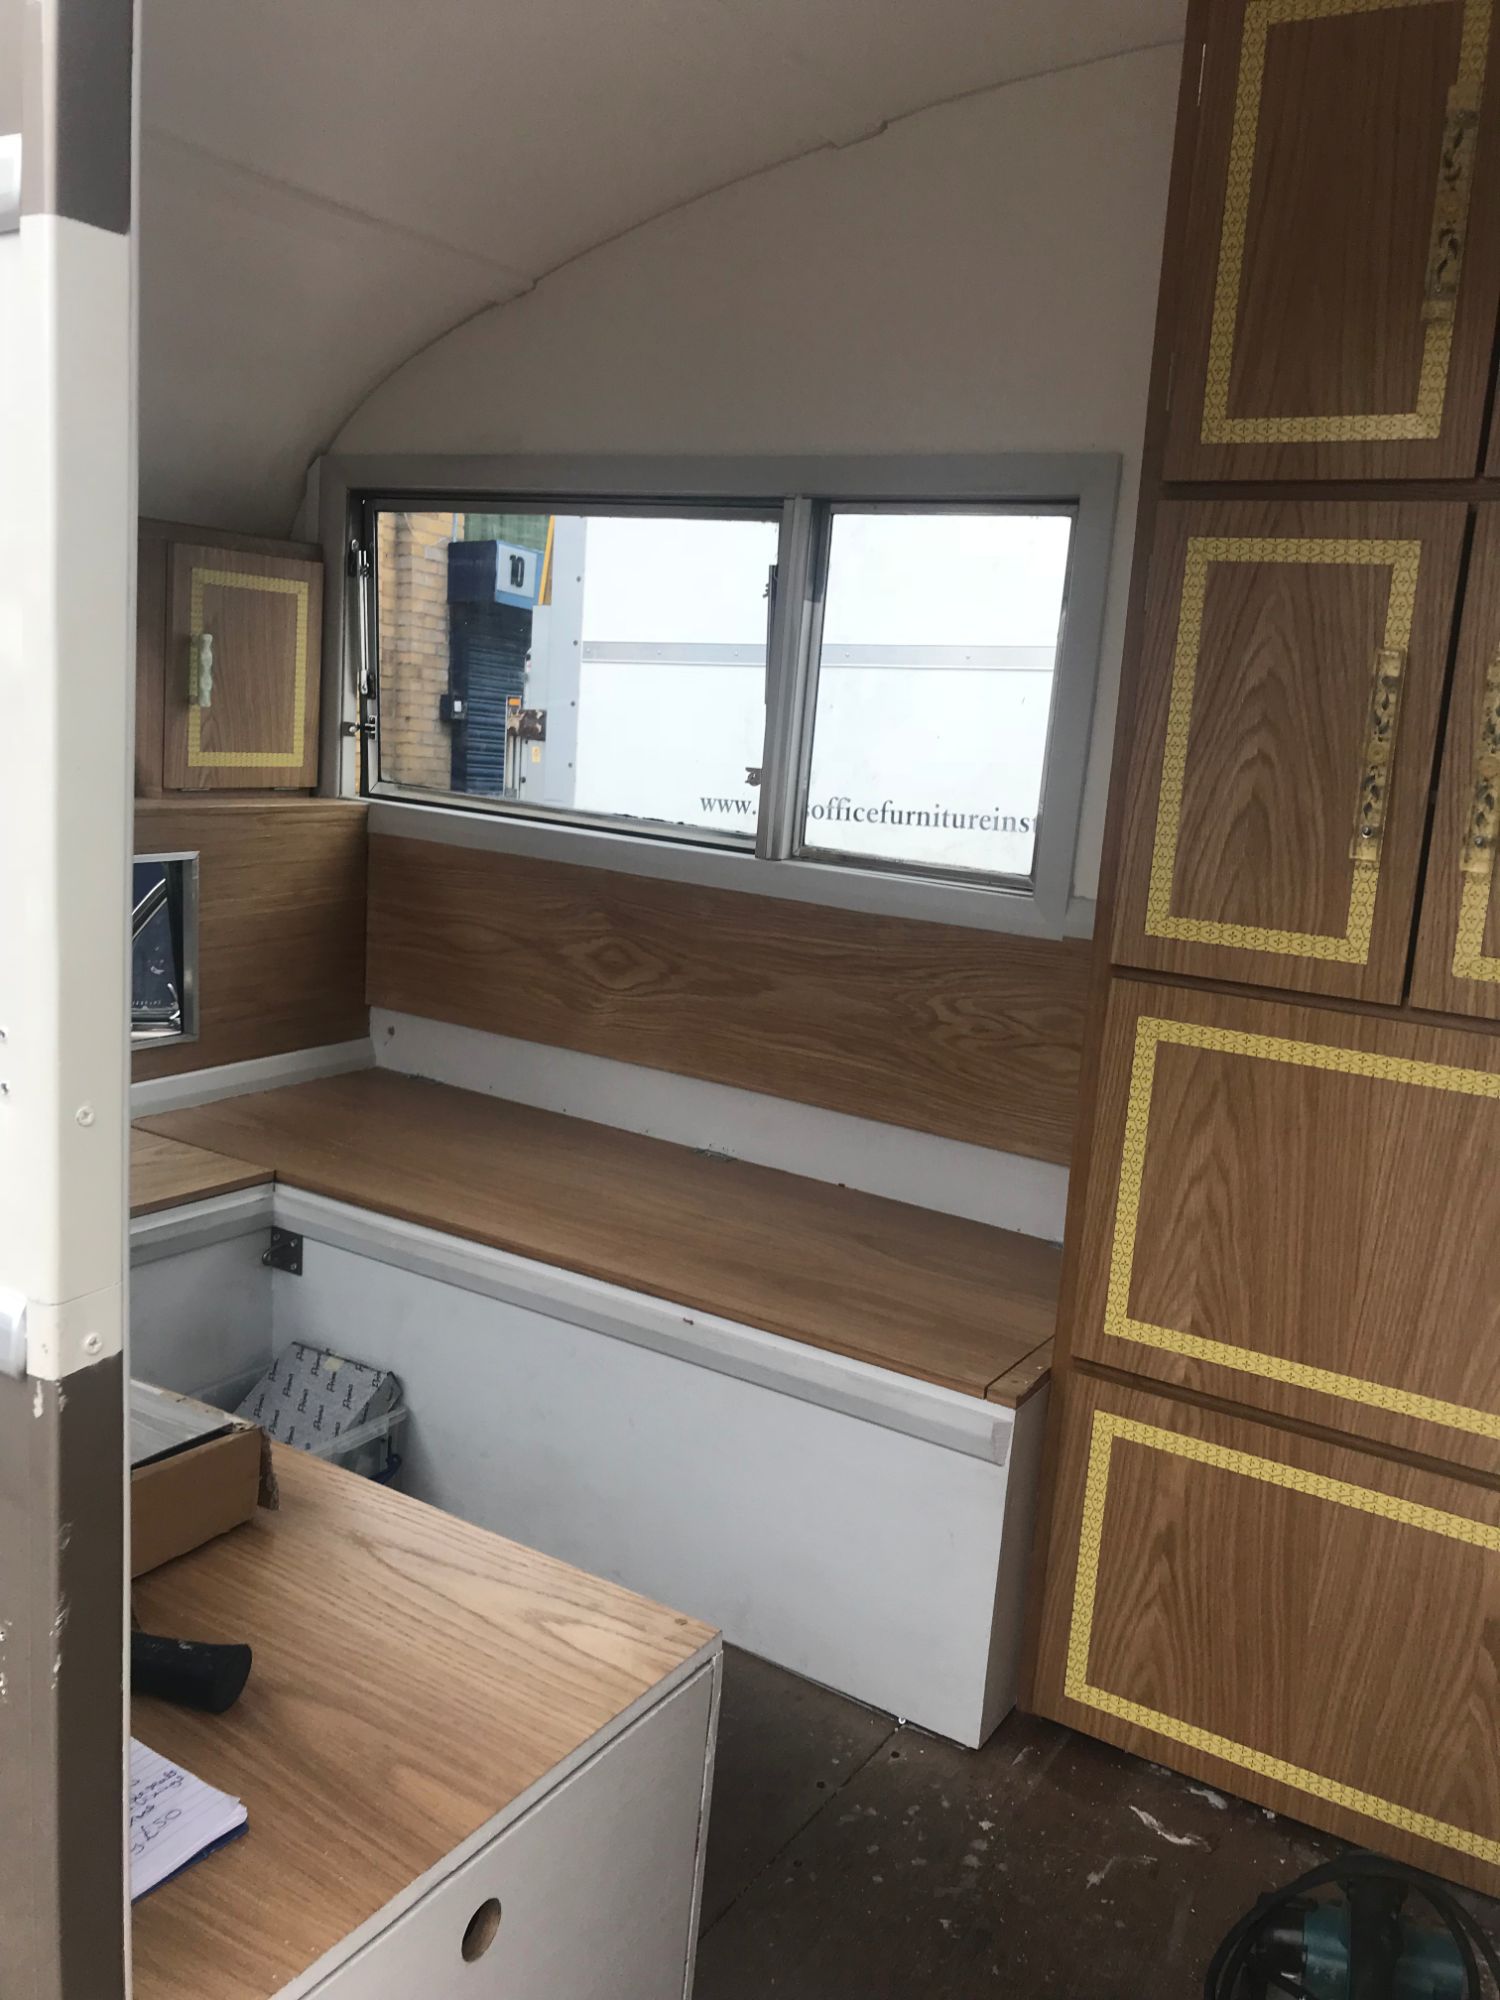
DETAIL AND STYLE
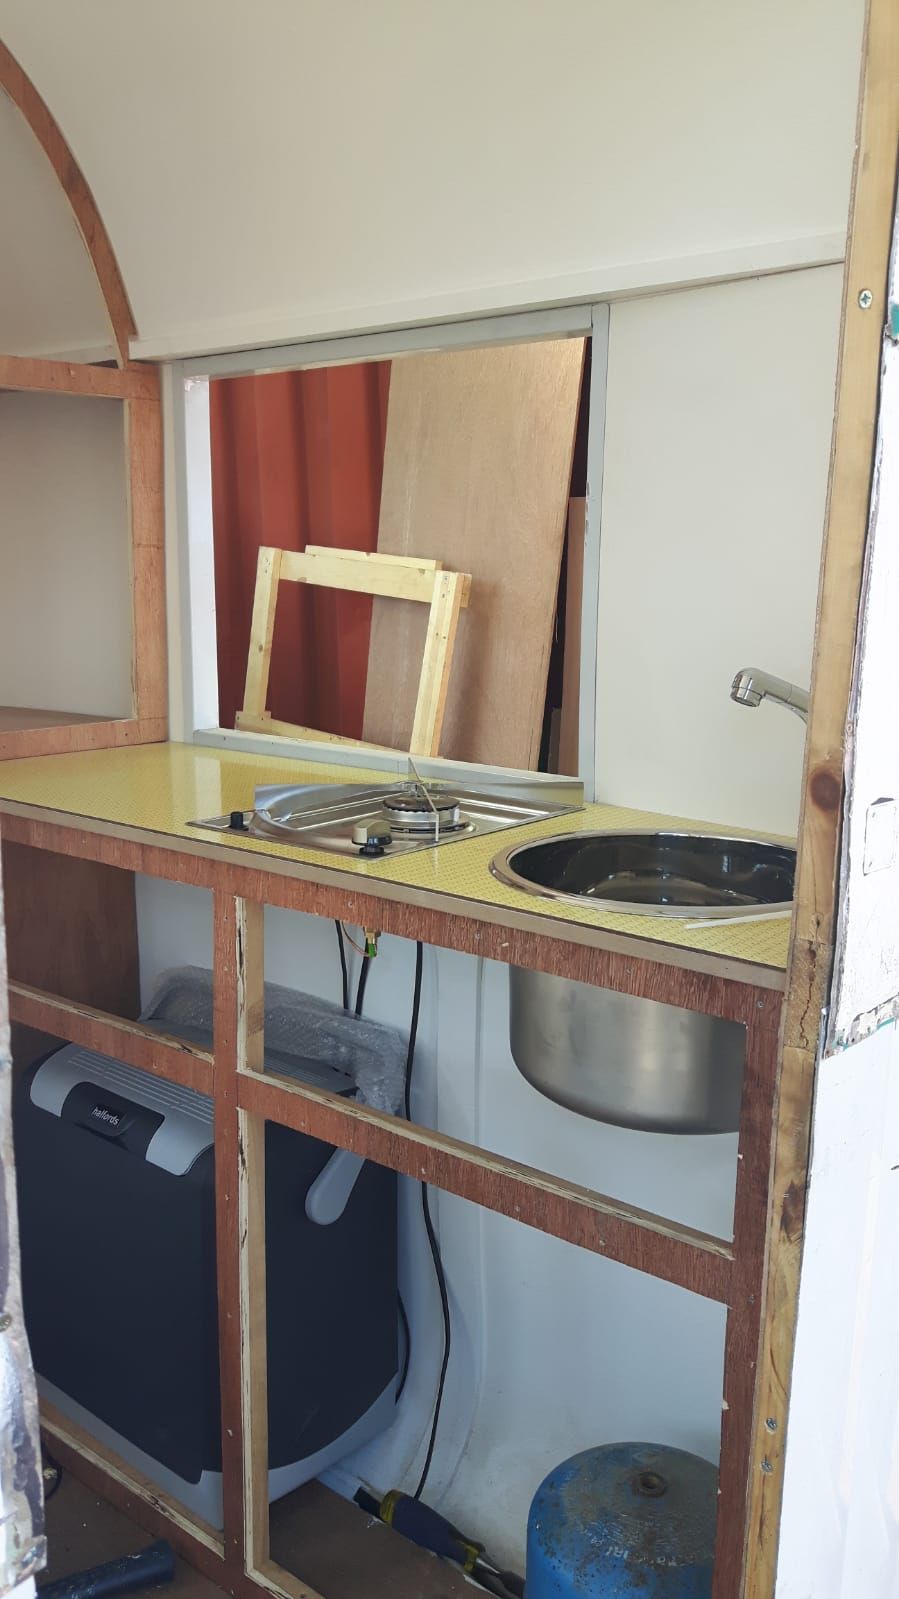
Many years ago I had found a large panel of original Warerite Formica Wallboard, which I wanted to use in Billy. After careful measuring and a lot of designing, I calculated I had enough to use as the top to the kitchen worktop and dining table, and as inlaid detailing on the door fronts. The wood has been varnished and polished, and completed with vintage Lucite handles. The final effect is stunning.

FLOOR PLAN LAYOUT
With everything a classic camper van needs for the 21st Century. There's even a hidden loo!
Return to: The Restoration home page.
Jump to: Bodywork and Sub-Frame, Front Cab Interior, Final Bodywork and Re-Spray.